The 930 Resurrection Project

The 930 Resurrection Project

With over 20 years of expertise in 4×4 swaps and automotive electronics, and the invaluable help of my father, a mechanic with 50 years of experience working with air-cooled engines, I embarked on the journey of restoring a Porsche 930 from the ground up. Every screw, every nut, and every washer was inspected and replaced or restored as necessary to ensure the vehicle’s authenticity and performance. This restoration project aims to preserve the Porsche legacy while ensuring the car operates at its best for the modern age.

As part of the restoration process of this 930, all rubber components were replaced with OEM parts to ensure both functionality and safety.
This included all weatherstrips, brake hoses, fuel hoses, exterior rubber seals, and even the bumper accordions. Additionally, the side rubbers of the wheel wells (guardrock) and rear bumper seals were all renewed.
Over time, rubber parts lose their flexibility, tend to crack, and lose both their functionality and aesthetic appeal. For critical components like the brake lines and fuel hoses, safety and reliability are paramount. Not only do these parts enhance the appearance of the car, but they also provide the security needed for safe driving.

  • Fuel pumps and other fuel system components were replaced, including a new fuel filter and fuel retaining seal, ensuring optimal fuel delivery and preventing leaks.

  • The brake system was completely restored, including the brake hoses and necessary components to guarantee safety and performance.

  • A new A/C dryer, A/C compressor, A/C hoses, and a new condenser were installed, along with all related components to restore the climate control system to optimal working conditions. An adjustable TXV valve was also added to better manage the refrigerant flow, improving cooling efficiency.

  • All relays were replaced with new ones to prevent electrical issues, especially in older components that often fail with age. While not all switches were replaced, the ones that showed signs of wear or failure were upgraded to ensure reliable, fault-free operation for decades to come.

  • The tires were replaced with new ones, ensuring better traction and handling.

  • Suspension and steering components were replaced to ensure smooth handling and improved driving comfort.

  • The electrical system was thoroughly inspected, and any problematic harnesses were replaced with new wiring, as these cars are known for having wiring differences over the years.

  • The headlamp and windshield washer pumps were also replaced to restore full functionality.

  • The engine was completely disassembled, and bearings, piston rings, cylinder seals, injectors were replaced with new components. A new turbo was also installed to improve performance and efficiency. The warm-up regulator was fully restored, along with the auxiliary air intake system.

  • Every component was tested, restored, or replaced as necessary to ensure the vehicle runs like new.

The body was meticulously restored, stripped down to bare metal, and painted from scratch. No areas were left with mismatched or residual paint, as the vehicle was completely disassembled and restored in its entirety.

Body

The work on the body was done from bare metal, as shown in the images. The body was in excellent condition, as seen in the first image. After being painted with Brown Metallic, the result can be observed in the video.»

Here we can see the body fully stripped and in optimal condition, ready to undergo a new paint process.
Here we can see the body with primer applied, ready for the necessary corrections using putty
New rubber protectors have been installed on the rear bumper.
A new foam rubber shock absorber has been added to the contrabandist box
A new lock has been added to the rear hatch (tailgate).
A new hood lock has been added
The tailgate lock was zinc-coated and yellow-passivated, remaining in excellent condition both aesthetically and functionally
A new hood lock has been added
A new strap for the jack has been added.
New rubber stop installed on the jack, securing its position and ensuring optimal functionality
A new retainer was added for the front bumper’s protective rubber, enhancing its firmness and rigidity to ensure the rubber stays properly aligned for many years to come
Three new support rubber mounts for the rear fuse box have been added
A new retainer was added for the front bumper’s protective rubber, enhancing its firmness and rigidity to ensure the rubber stays properly aligned for many years to come
Three new support rubber mounts for the rear fuse box have been added
Additional thermal insulation has been installed in the engine bay to enhance heat management.
Three new support rubber mounts for the rear fuse box have been added
As part of the restoration process involving the replacement of all rubber components, a new OEM seal was installed on the smuggler’s box lid.
Three new support rubber mounts for the rear fuse box have been added

Fuel System

In these images, you can see the newly replaced fuel lines, both the main and return lines, routed and secured with the original-style clamps to maintain the authenticity and performance of the vehicle. Every component, from hoses to fittings, was carefully selected to ensure optimal fuel flow and reliability.

The new OEM main fuel hose installed,
Both the new OEM main and return fuel hoses have been installed, secured with their original clamps for authenticity and reliability."
Here we can see the new fuel hoses installed, along with the zinc-coated clutch cable in perfect condition and the two new heater flapper cables
The sway bar was installed with a powder-coated paint finish, new zinc-coated clamps, and new stabilizer mounts,
In this image, we can see the new fuel hoses installed, the left heater flapper, and the heater cable still without its cover, awaiting final installation.
The new fuel hoses are securely held in place by clamps in perfect condition
Here we can see the process of rebuilding the K-Jetronic fuel distributor and its rebuild kit.
The adjustment screws are placed to allow for the calibration process before testing the system. It is likely that a readjustment will be necessary after measuring the balance of each outlet
The 6 adjustment screws were set to 50 thousandths of an inch to ensure proper calibration before testing the system. A readjustment may be necessary after measuring the balance of each outlet.
Air Flow Meter Disassembly, Restoration, and Cleaning Process.
This K-Jetronic fuel distributor model has the unique feature of being adjustable to balance each outlet more precisely. It is commonly found in most 930s and high-end Mercedes-Benz models.
Flow Meter Rebuild
flow meter rebuild
The air flow meter also received service, including disassembly, cleaning, and a new yellow zinc passivation, just as it came from the factory.
6 News Injectors
In this image, we can see that every engine bolt and stud was zinc-plated or replaced when necessary, as part of the meticulous restoration process. You can also see three of the six brand-new Bosch injectors already installed, ready to deliver optimal spray performance for the K-Jetronic system.
Oil line from the engine to the turbo, chrome-plated for enhanced durability and appearance."
New OEM nuts installed on the intake manifold for proper fitment and authenticity.
The fuel tank has been professionally cleaned and coated with a durable bed liner system for added protection. Additionally, a new fuel float has been installed to ensure optimal performance for years to come
Here we can closely examine the final OEM-style paint finish on the fuel tank, along with the newly installed fuel sender.
A new rubber seal has been added to the fuel inlet.
Fuel accumulator and filter bracket
The fuel filter bracket and fuel accumulator, installed in the engine bay, have been thoroughly cleaned, zinc-coated, and yellow passivated to ensure a polished appearance and long-lasting durability
Another view of the fuel filter bracket and fuel accumulator installed in the engine bay. Some loose cables are visible as we are still in the process of installing engine bay components, including the wiring harness.
A new fuel filter and fuel accumulator have been installed, contributing to a fully restored and reliable fuel delivery system.

Rear Suspension Details

Suspension Rear Work – Full Overhaul and Zinc Coating

In this section, we highlight the extensive work done on the rear suspension of the Porsche 930. Every part was completely disassembled, inspected, and meticulously reassembled.
The bushings of the control arms and the stabilizer bar rubber components were replaced with high-quality OEM parts to ensure superior handling and durability. Additionally, the torsion axle rubber components were also replaced to improve the overall performance and smoothness of the suspension system.
To prevent corrosion and extend the lifespan of these critical components, all metal pieces were zinc-coated. This coating not only protects the parts from rust but also enhances their durability and resistance to harsh conditions.

rear suspension system fully disassembled, with red powder-coated torsion bars, completely cleaned trail arms, and the rear drive shafts and other suspension components zinc-coated for durability."
Trail arms have been fully restored and are now equipped with new bushings
trail arms have been fully restored and are now equipped with new bushings
the new bushings for the trail arms, still uninstalled, ready to be fitted for enhanced suspension performance
new seal has been installed on the trail arm, ensuring proper sealing and protection for the suspension components."
Here we can see part of the fully restored suspension, including supports, suspension arms, bushings, and the installed sway bar
The rear strut and housing have been restored with zinc-coated bolts and nuts for enhanced durability and corrosion resistance
the brake dust shield, handbrake support zinc-coated, and the trail arms still without the bearing and outer seal."
New Right Rear Sway Bar Bushing
Here we can see part of the fully restored suspension, including supports, suspension arms, bushings, and the installed sway bar
New Rear Left Sway Bar Bushing
New link Sway Bar
View of the rear sway bar connected to its respective link on the right exterior side
view of the rear sway bar connected to its respective link on the left interior side
Another view of the sway bar link from a different angle
View of the torsion axle bushing perfectly aligned with the cover, showing no signs of wear.

Complete Brake Overhaul System From Pedal to Caliper

The brake system of this Porsche 930 underwent an extensive restoration. We began with the pedal assembly, replacing all the bushings, powder coating the pedal, and zinc-coating the brackets and springs. Additionally, the accelerator pedal was replaced to complete the setup.
The master cylinder was fully rebuilt and also received powder coating for durability. The brake booster was thoroughly inspected, and after testing its vacuum function, we confirmed it was in excellent condition. It was then refinished with new paint.
The hard brake lines were pressure-tested for integrity, and the front right brake line was replaced due to a damaged fitting and a bend caused by improper handling in the past. All four flexible brake hoses were replaced with new ones. The clamps between the hard and flexible lines were zinc-coated, and a new rear brake line was installed, which the vehicle previously lacked.
The brake discs were resurfaced to provide a perfect, smooth surface and are well above the minimum thickness specification. The front and rear brake pads were replaced with high-quality new pads. The handbrake shoes were also renewed.
Every piece of hardware related to the braking system was zinc-coated or chrome-plated, including the handbrake springs and dust boots, to provide a durable and aesthetically pleasing finish. The calipers were fully reconditioned and powder-coated with chrome-plated retention springs and brake bleeders.
The handbrake cables were inspected and found to be in perfect condition, so they were only zinc-coated to match the rest of the components.

Rear Left Shock Absorber
The front caliper has been installed, along with the dust shield, and is now waiting for the installation of the axle spacer to complete the assembly
the new handbrake shoes that were installed as part of the restoration process. These new components ensure that the handbrake system operates smoothly, providing reliable stopping power when needed. Replacing the handbrake shoes is crucial for maintaining the Porsche 930's safety and functionality, ensuring long-lasting performance."
the chromed handbrake springs along with the cleaned hardware, including the adjusters, all restored
The center hub has been thoroughly cleaned, painted, and is now free of rust, ready to receive the brake disc for installation."
This image shows the master cylinder, which has been completely restored and repainted with a powder coat finish. This treatment enhances the durability of the cylinder, protecting it from corrosion and wear over time. The powder coat finish also gives the component a sleek and clean look, ensuring that it looks as good as it performs, ready for installation in the Porsche 930
The booster base has been carefully painted, the booster tested, painted, and installed with a powder coat finish. Additionally, the bracket for the brake fluid reservoir has been zinc-coated for added durability and protection against corrosion."
we can see the right rear brake fully installed, and the lower fender has been treated with 3M waterproofing bed liner to protect the metal and restore its classic corrugated paint texture under the car.
This image shows the new Textar brake pads installed on all 4 wheels of the Porsche 930. These high-quality brake pads offer superior performance, ensuring reliable and safe braking. Textar is a renowned brand for its durable and efficient brake pads, and these new installations guarantee optimal stopping power for the vehicle.
Rear Left Shock Absorber
IMG_1176
Pedal cluster with powder coat applied before baking
The pedals are shown after the powder coat finish has been baked
The pedal cluster is fully assembled after receiving a powder coat paint finish, zinc-coated springs and supports, and new bushings
This is the pedal cluster completely disassembled, awaiting reassembly, now with a new OEM accelerator pedal
IMG_1607
Zinc-coated brake distributor support and ultrasonic cleaned bronze brake distributor.
Hard line brake front Left
Rear Right Hose Brake New
Hard Line Caliper Front Right
Hard Line Caliper Front Left
Front Disc Left
Front Disc Left
Front Disc Right
Rear Right Hard Line
Rear Hard Line Left
Rear Left Hose Brake New
Rear Right Hose Brake New
Hand Brake Cable Left
Hand Brake Cable Right

Steering System Overhaul

Steering System Restoration:

The steering system was thoroughly inspected, from the steering wheel to the wheel terminals. The tie rods were checked and found to be in excellent condition, as the previous owner had replaced them. The steering rack boots were replaced with new ones. The outer tie rod terminals received a zinc treatment for added durability. The tie rods were powder-coated for a clean and durable finish. The steering rack was disassembled, cleaned, and lubricated. The steering column was zinc-coated, and a new bushing was installed. The clamps on the column were also zinc-coated, ensuring everything is in perfect working condition and fully secure.

The sway bar bushings were replaced with new ones, ensuring better stability and control. The clamps were zinc-coated for added protection against corrosion. Additionally, the sway bar received a fresh coat of powder coat paint, giving it a durable and attractive finish.

Steering box professionally cleaned with ultrasonic, zinc-coated register covers, new axial arm rubber bushings, and serviced by a specialized steering workshop
we can see the auxiliary support, which has been professionally cleaned, along with the struts that have been renewed, zinc-coated, and finished with a yellow passivation
Here we can see the new sway bar bushings, ready for installation of the sway bar
Left sway bar support awaiting sway bar installation
We can observe the assembled steering shaft, with the roller bearing installed, as seen from a top view
we can see the steering bar, which has been zinc-coated, thoroughly cleaned, and is now installed,
A new Left tie rod was installed on the Porsche 930 and zinc-plated to enhance corrosion resistance. This surface treatment protects the metal from moisture and other harsh elements, significantly extending the component's lifespan while preserving the original look and feel of the project.
A new Right tie rod was installed on the Porsche 930 and zinc-plated to enhance corrosion resistance. This surface treatment protects the metal from moisture and other harsh elements, significantly extending the component's lifespan while preserving the original look and feel of the project.
We can see that the steering shaft system has been inspected, zinc-coated, and the plastic bushing has been replaced with a new one
As part of the complete restoration of the steering system—from the column to the tie rod ends—a new roller bearing was installed on the steering shaft, restoring precise feel and eliminating any play.

Rod Bearing Inspection and Maintenance

The front rod bearings were replaced with new, high-quality German-made bearings, ensuring superior performance and durability. In addition, new seals were installed to guarantee a perfect seal and prevent any leaks. The rear rod bearings were thoroughly cleaned, lubricated, and received new seals, as they were still in excellent condition and required only minor maintenance to maintain their functionality.

In the images, you can see the old seals and bearings still mounted on the hub, with the new bearings and seals laid out on the table.


we can see the new seals and bearings, ready to be installed in the front hubs,
we can see the new seals and bearings, ready to be installed
the brake dust shield, handbrake support zinc-coated, and the trail arms still without the bearing and outer seal."
new seal has been installed on the trail arm, ensuring proper sealing and protection for the suspension components."

Shock Absorber Inspection and Maintenance:

During this part of the restoration, the shock absorbers were thoroughly inspected. The bushings were replaced, and the absorbers were repainted, as they were found to be in perfect condition. There were no leaks or damage of any kind, ensuring optimal performance for the suspension system.

Rear Left Shock Absorber
In this image, we can see the new fuel hoses installed, the left heater flapper, and the heater cable still without its cover, awaiting final installation.
Front Left Shock Absorber
Front Right Absorber

Air Conditioning and Heating System

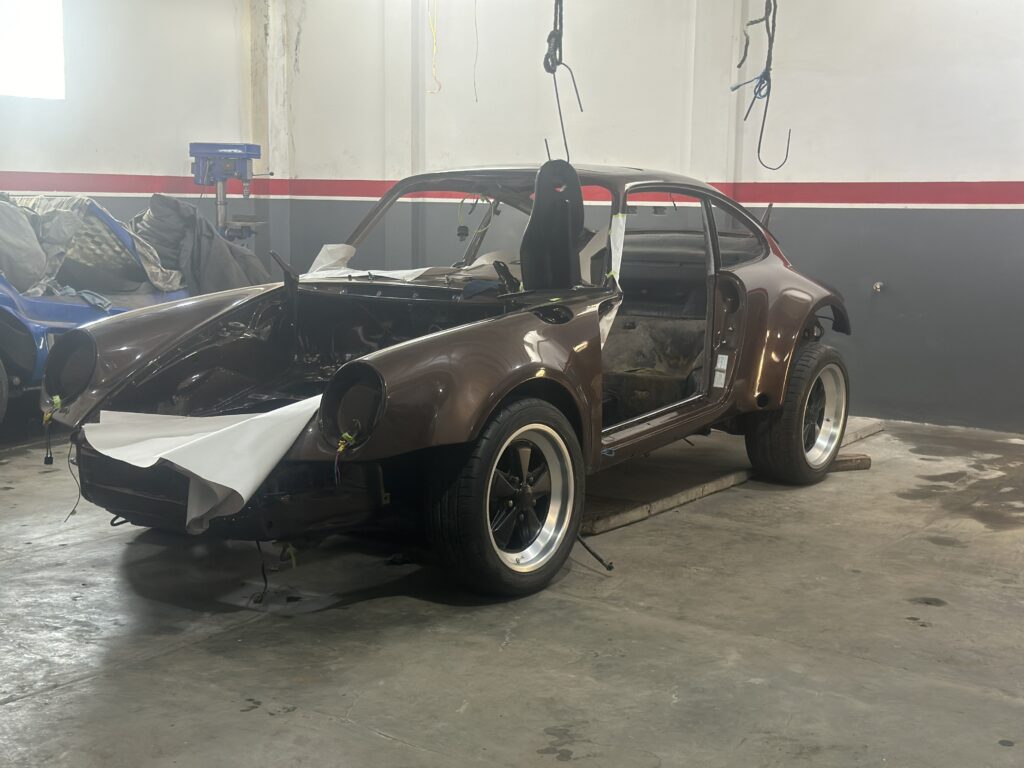
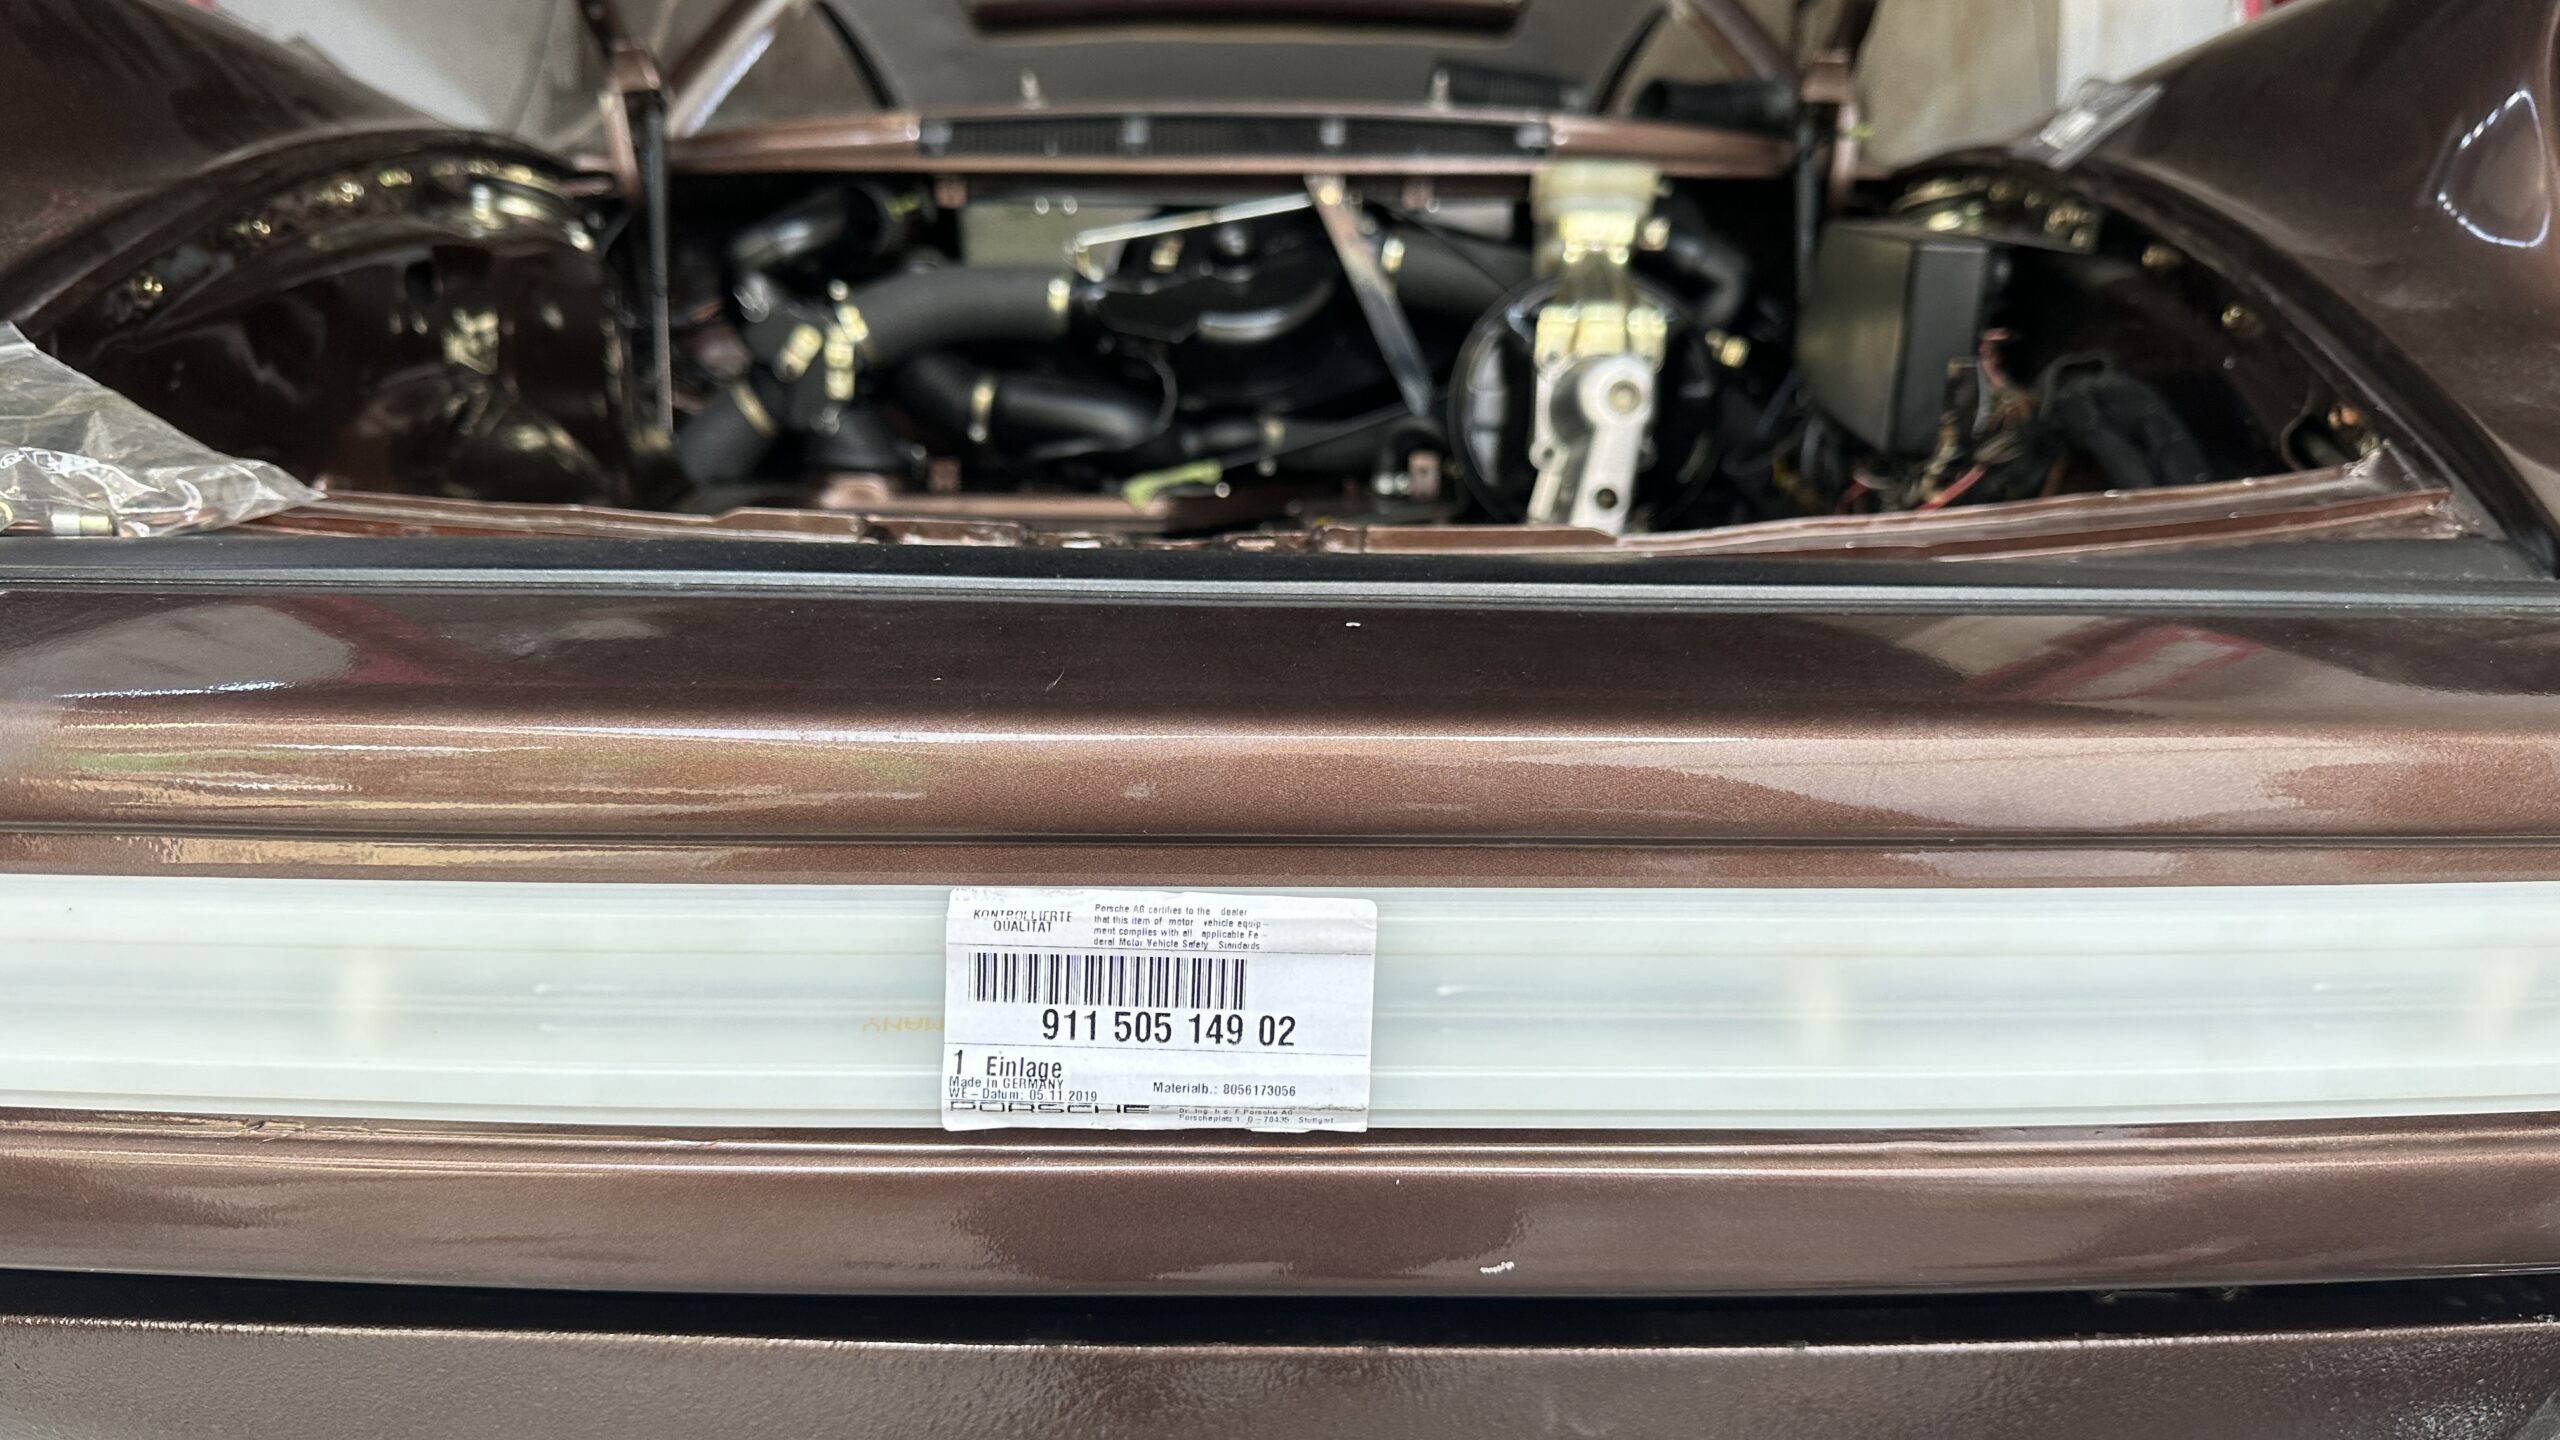
In this part of the restoration, we addressed a very critical aspect in all 911 and 930 models, especially regarding the A/C system, which has a reputation for being very inefficient from the factory. Our goal was to improve the system without being too invasive, so the originality of the 930 could be easily restored by any future owner who prefers to revert it to its original condition.

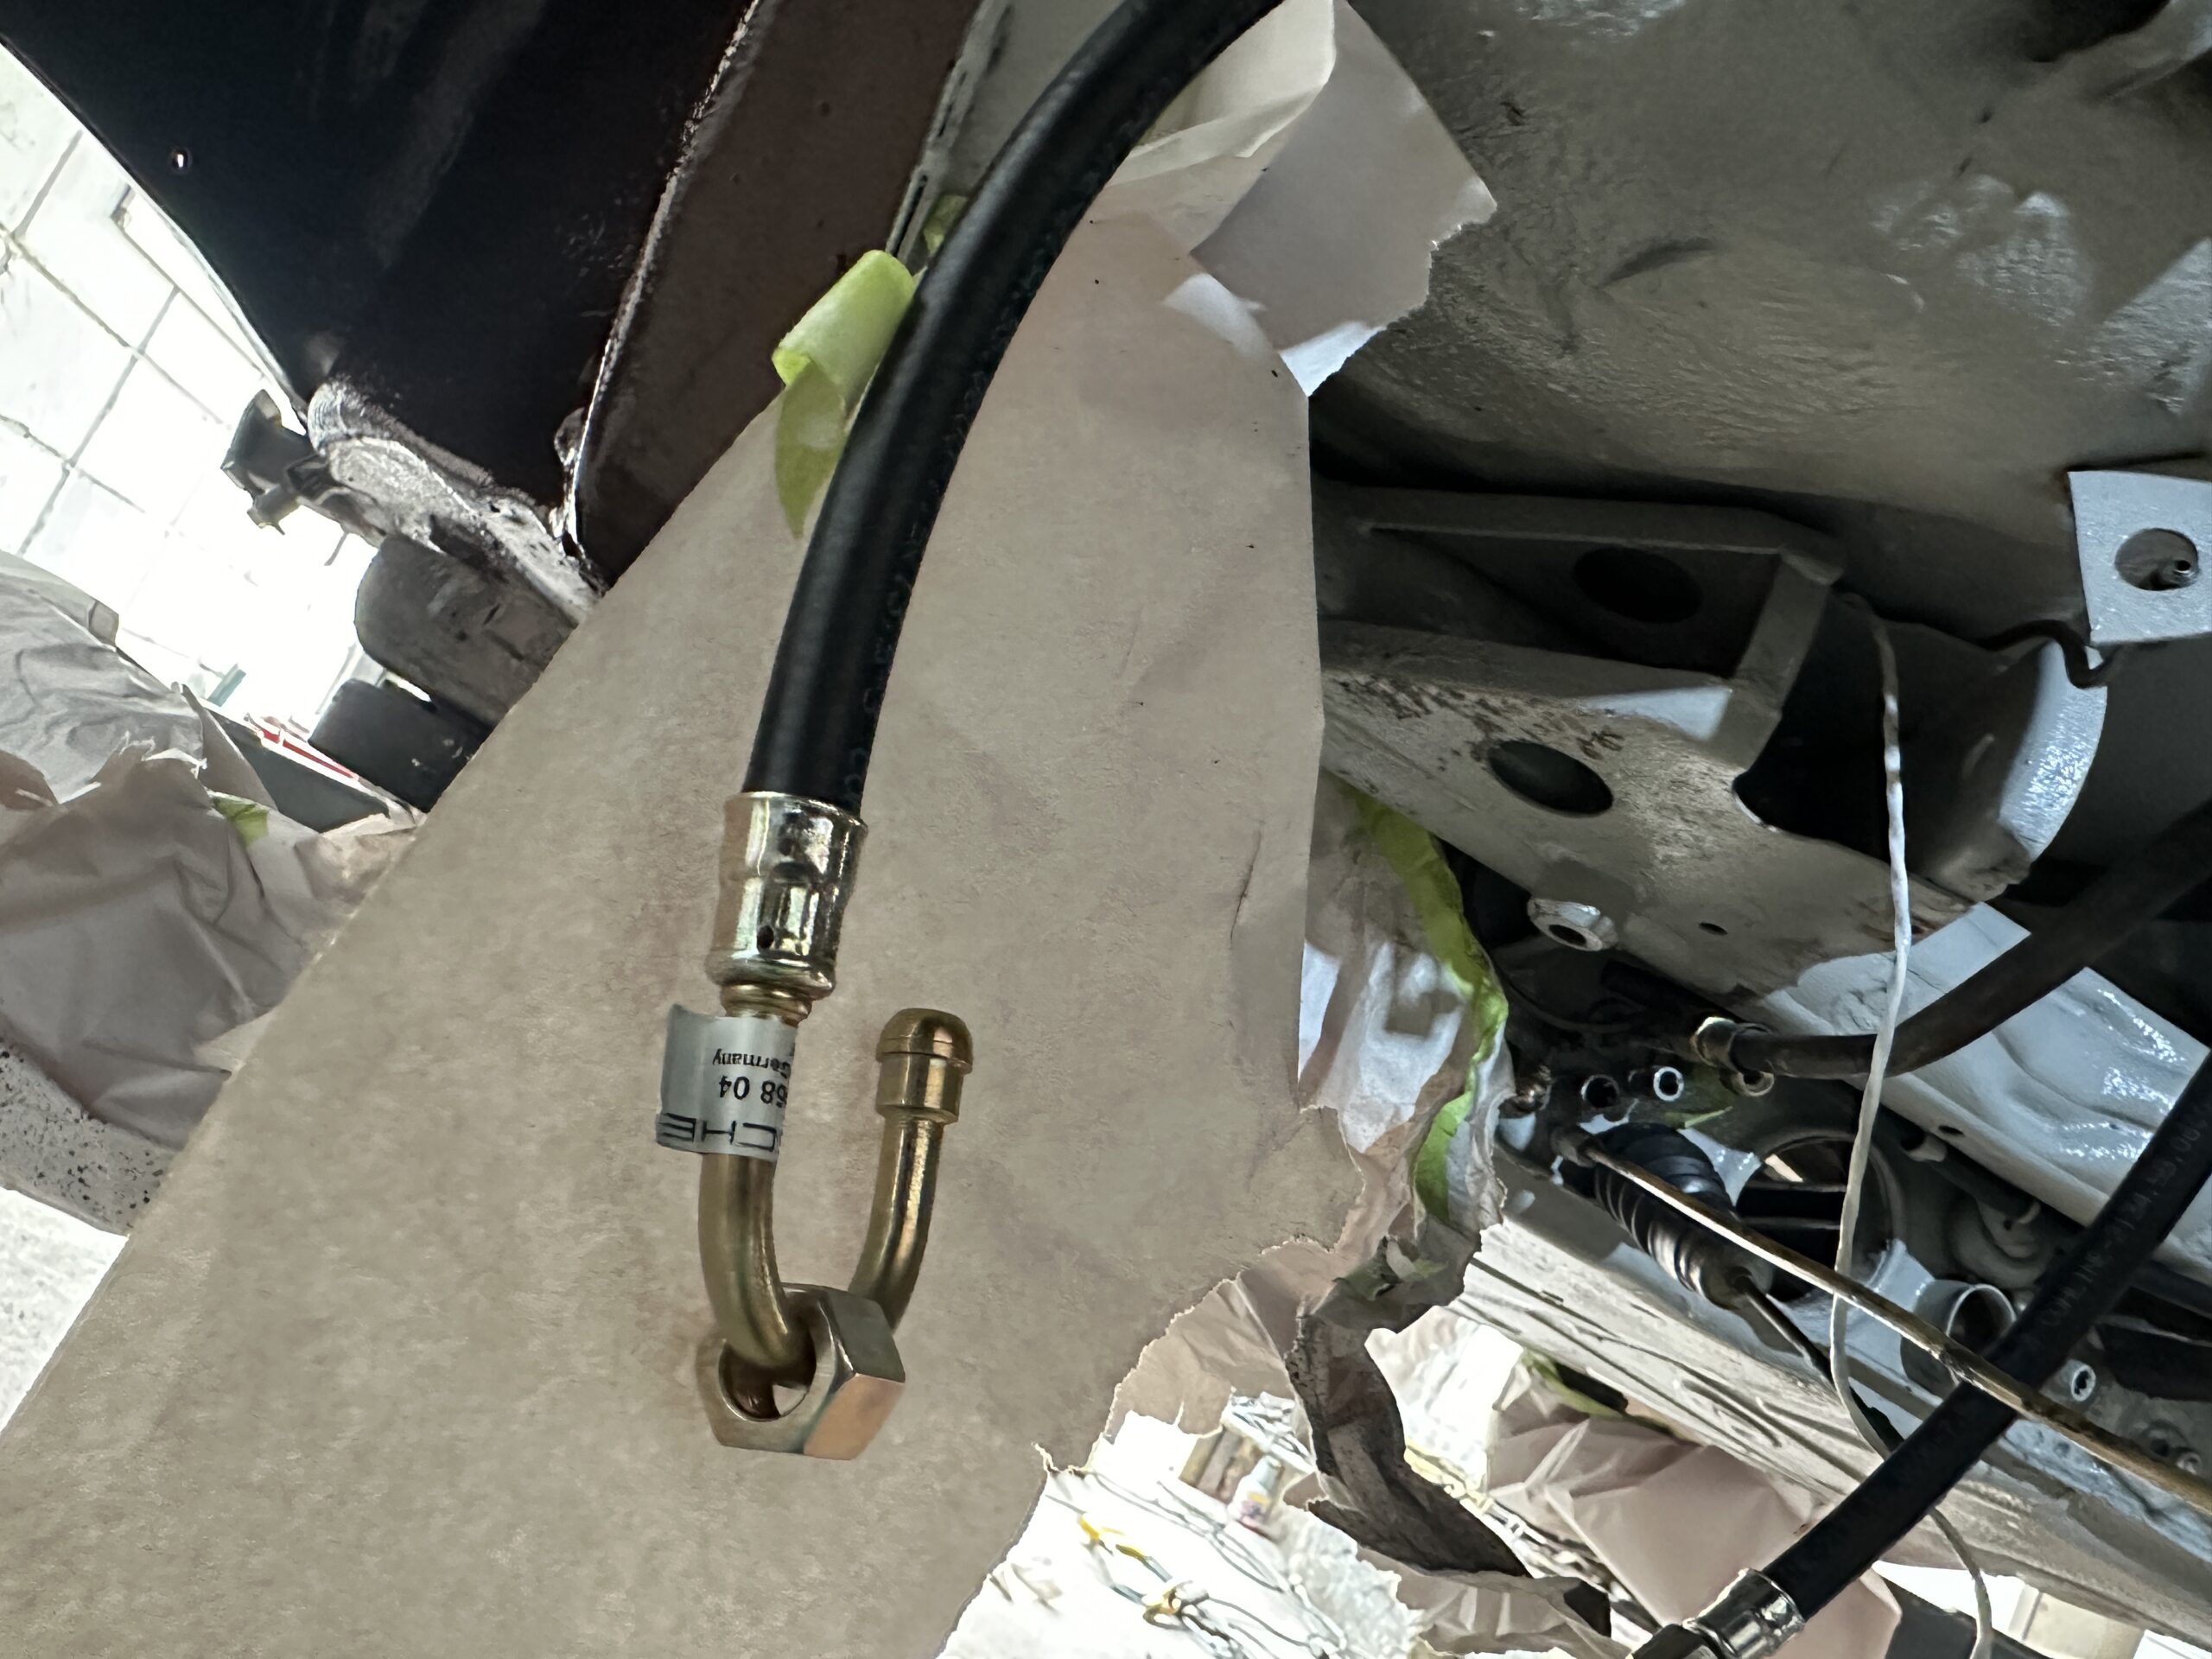
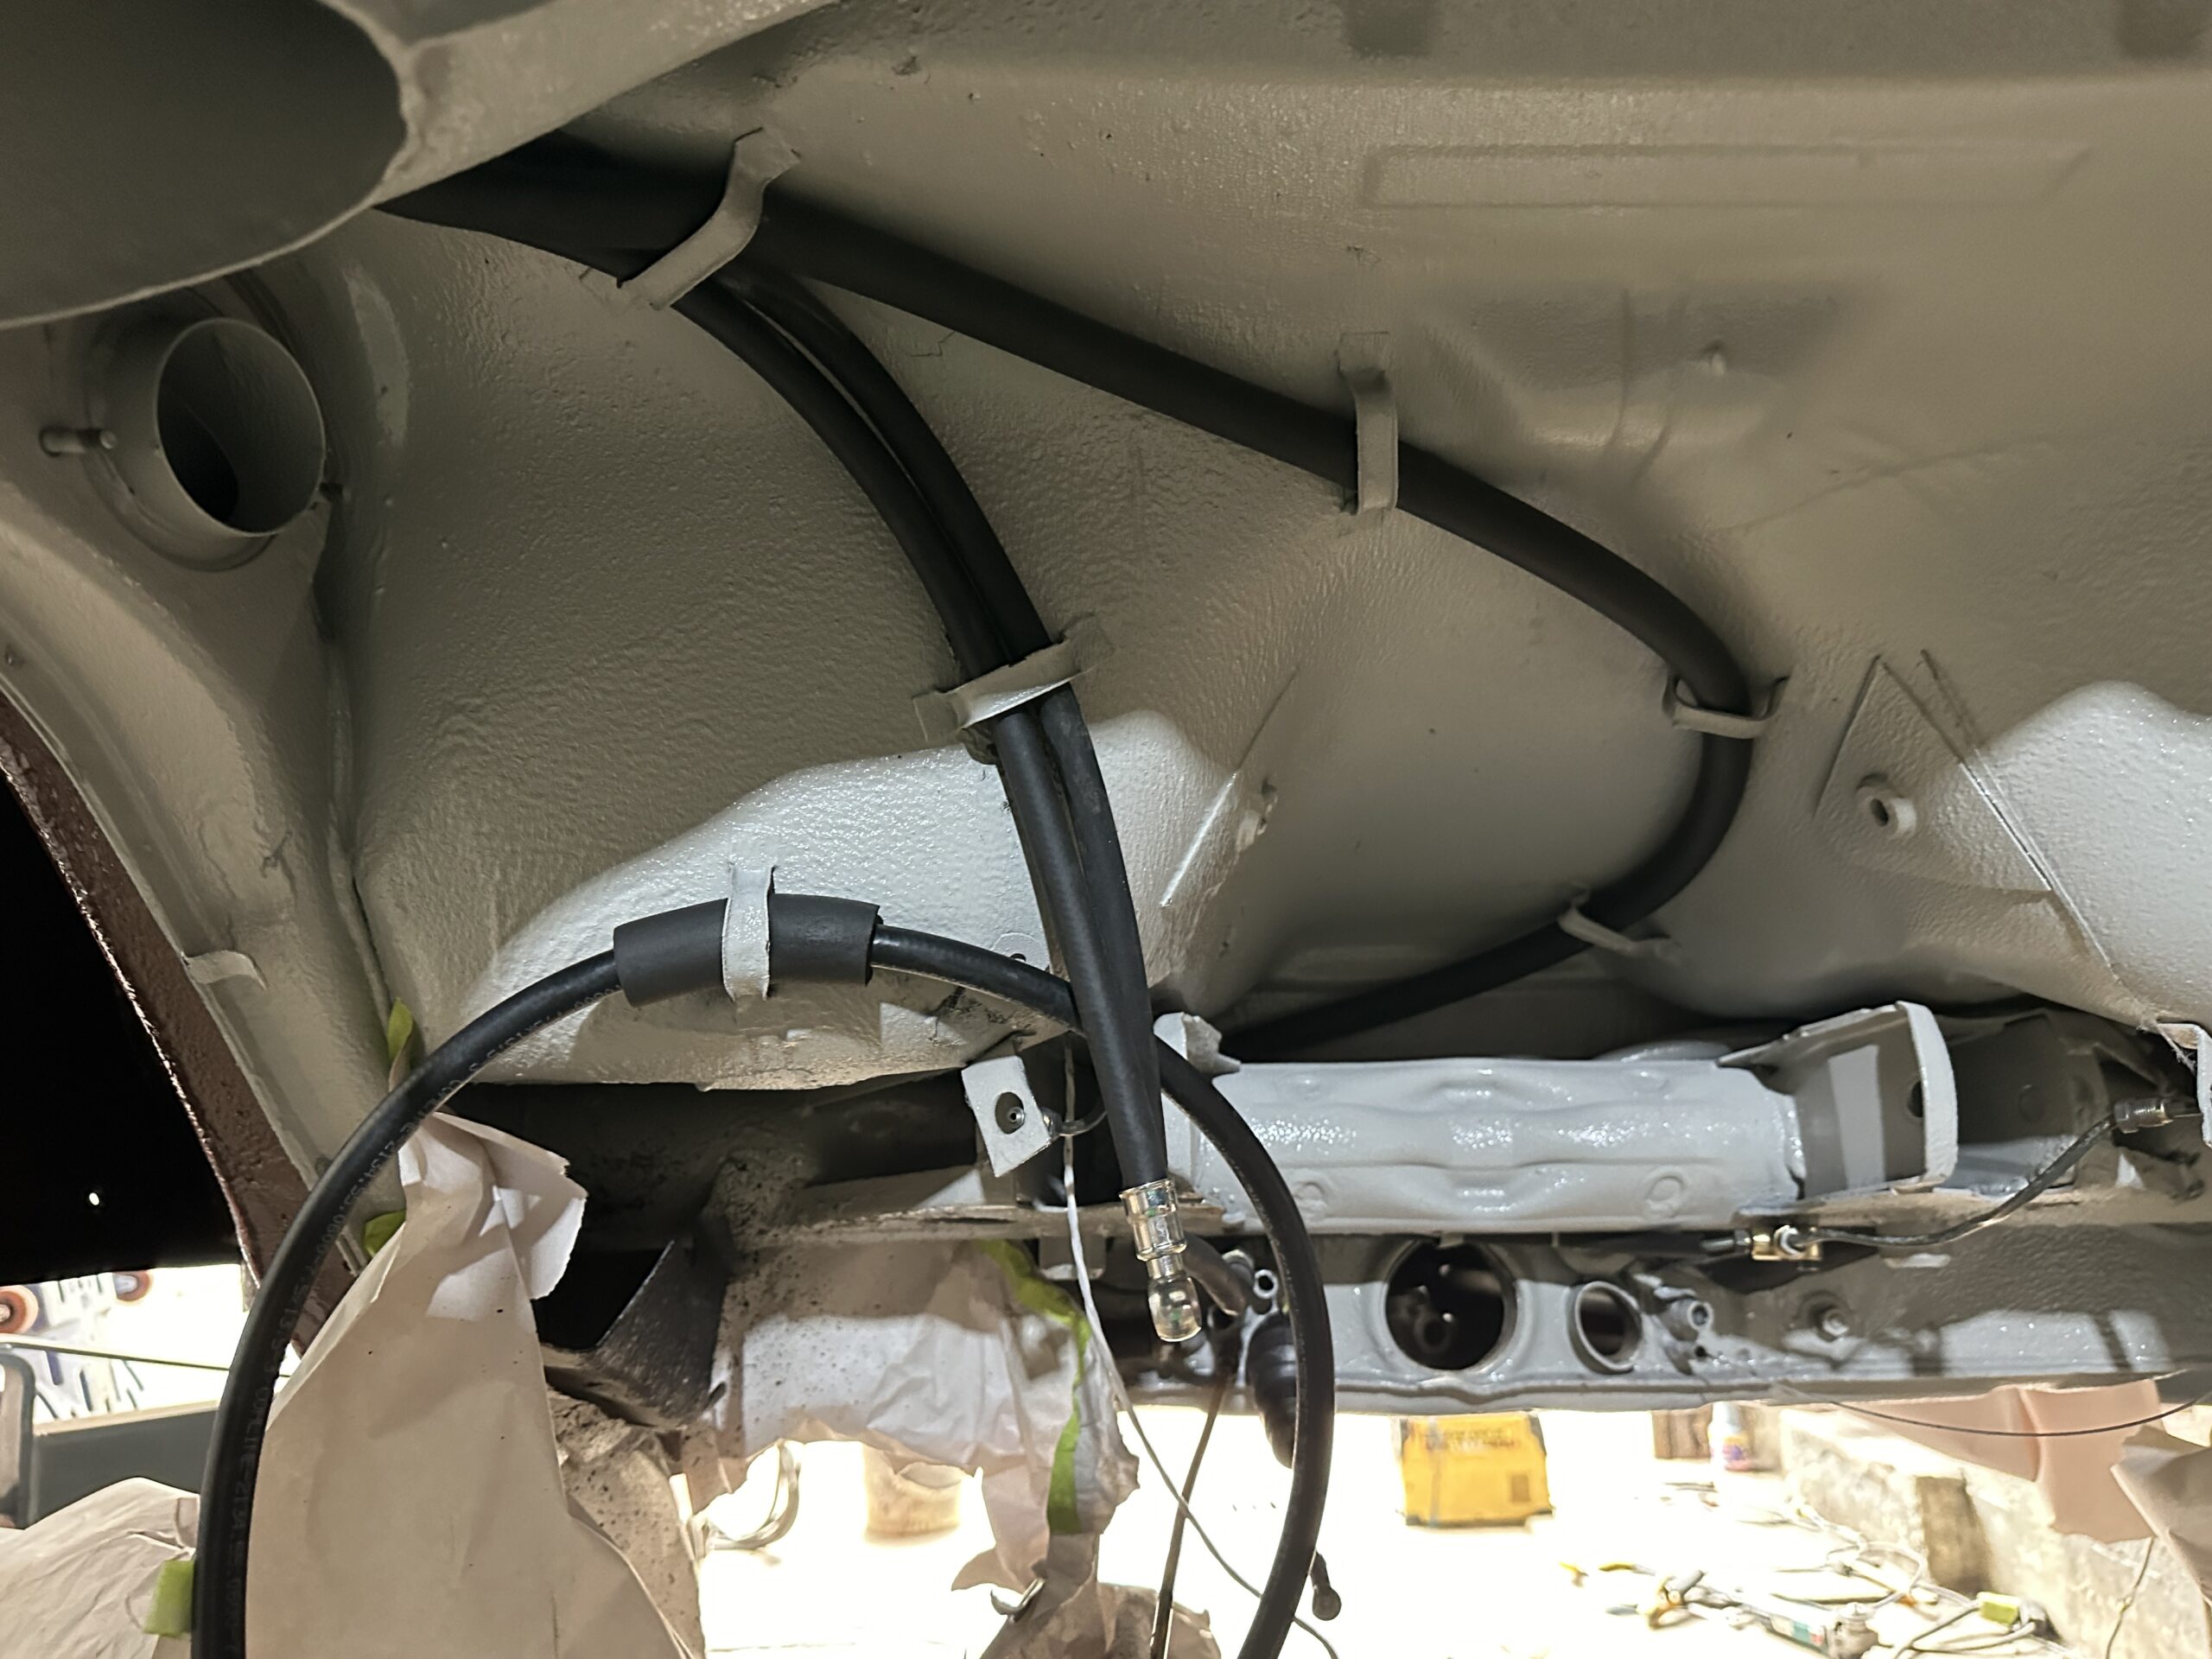
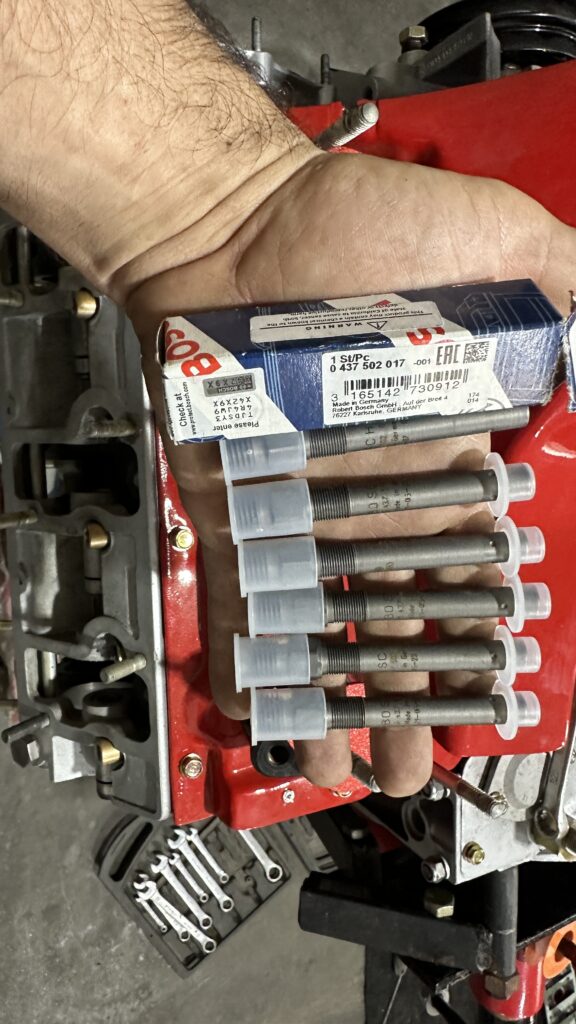
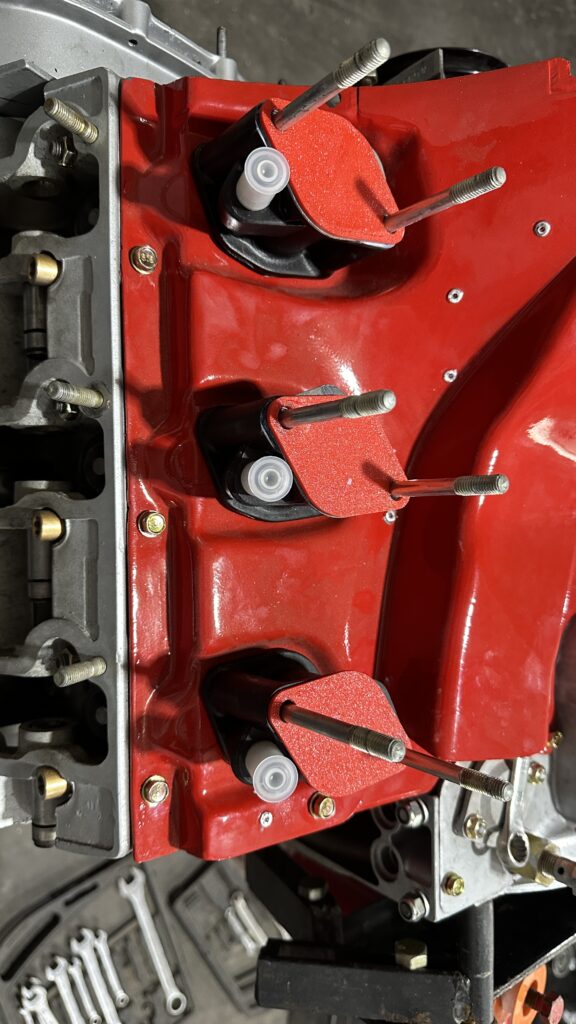
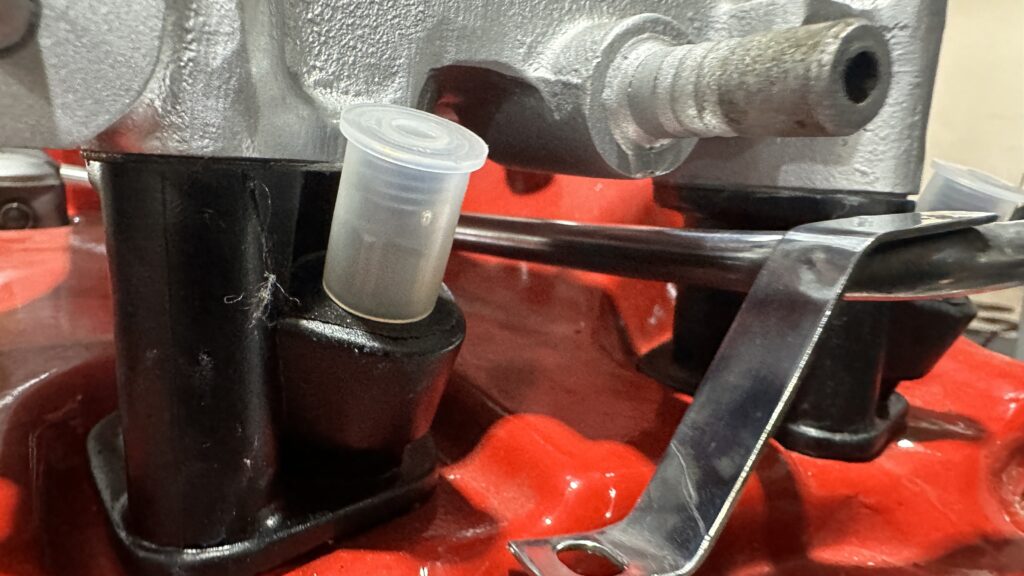
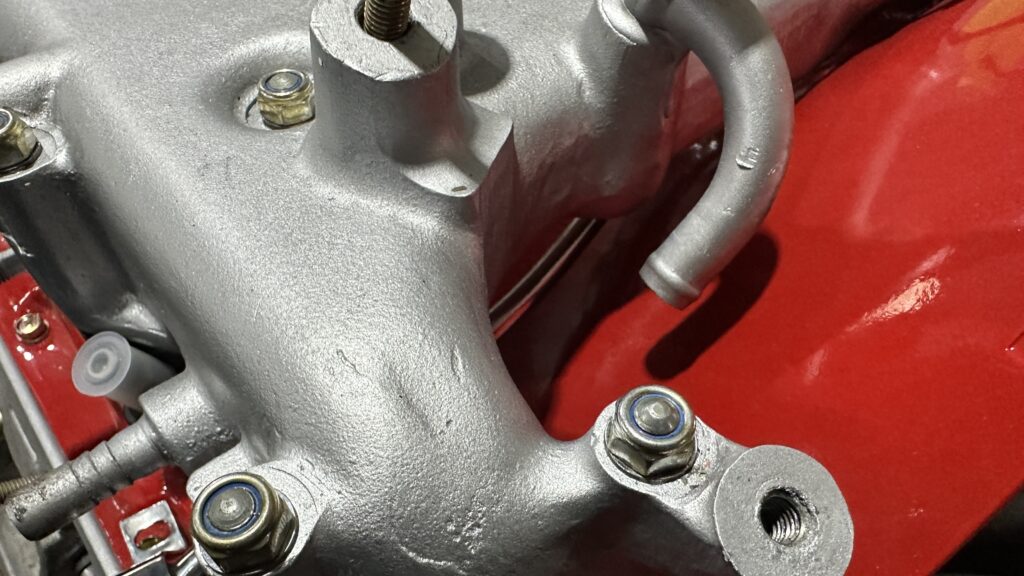
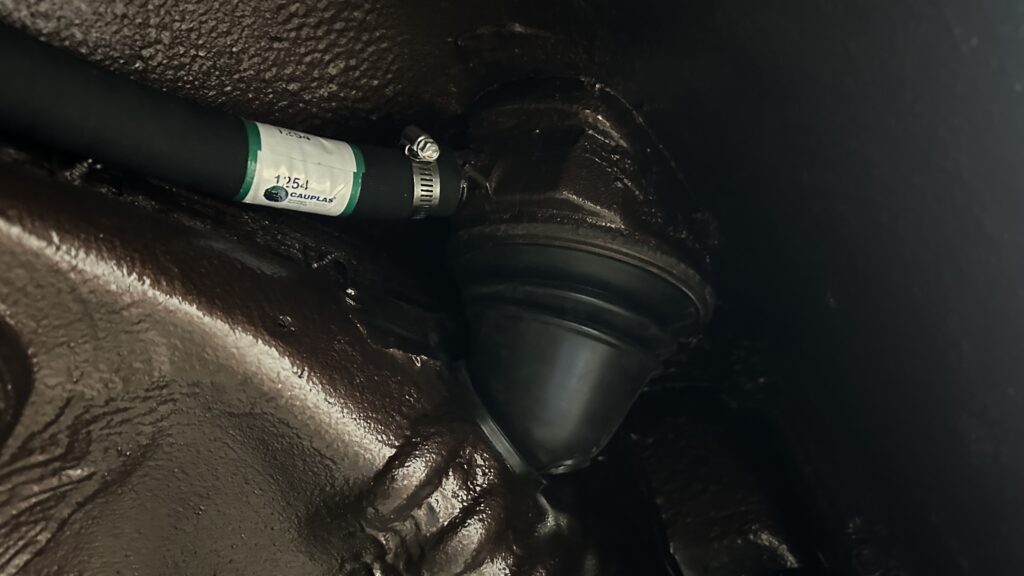
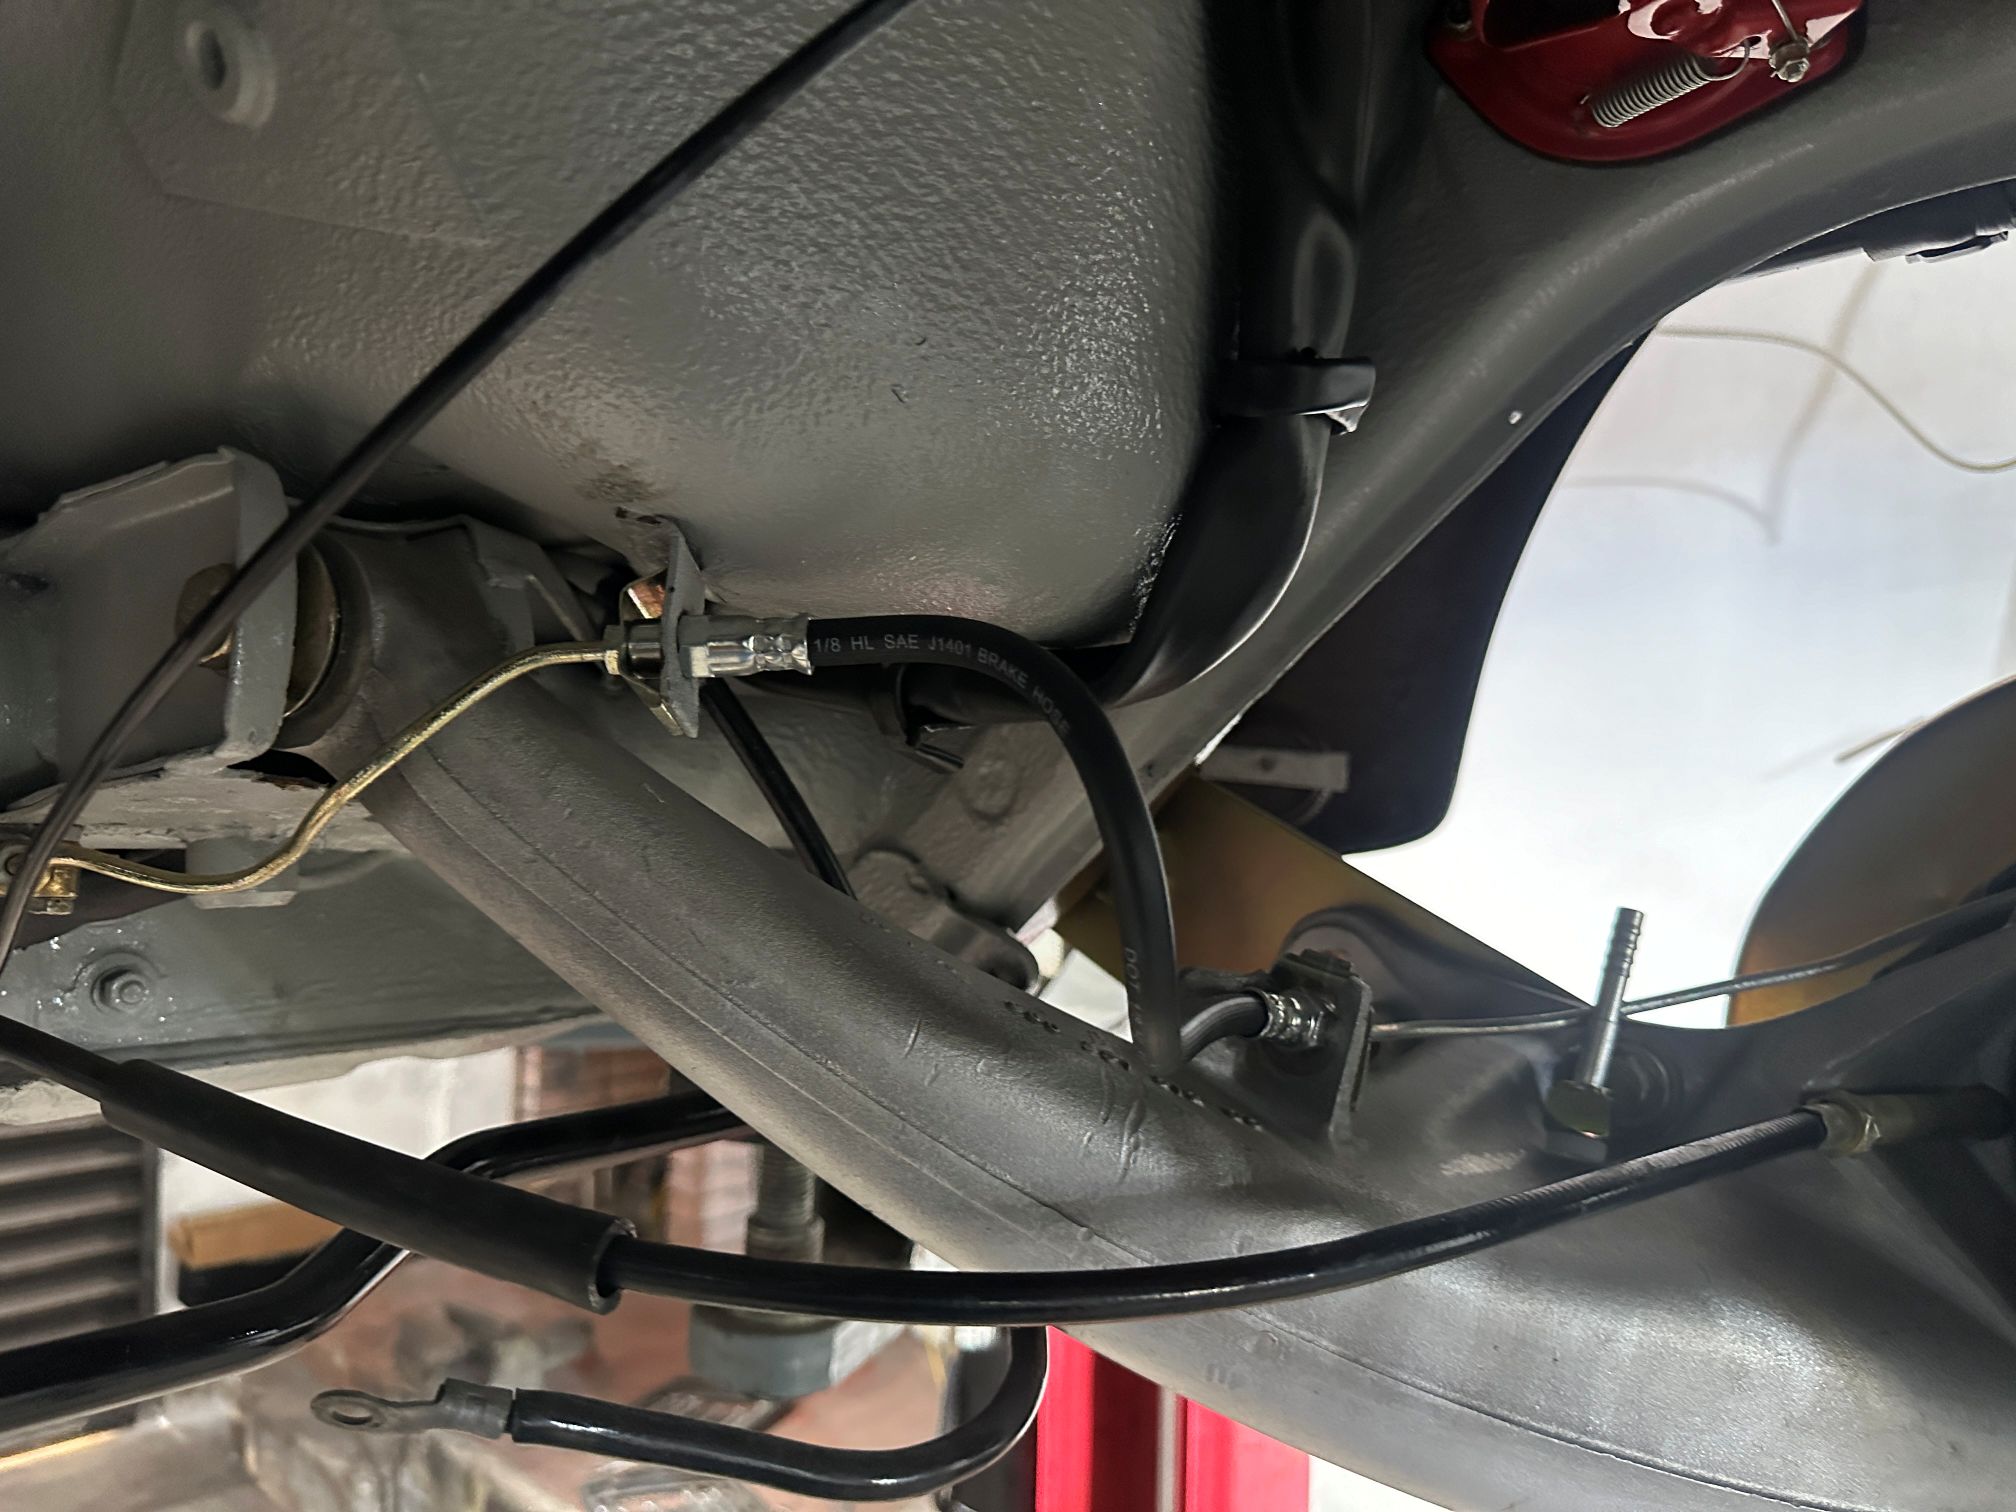
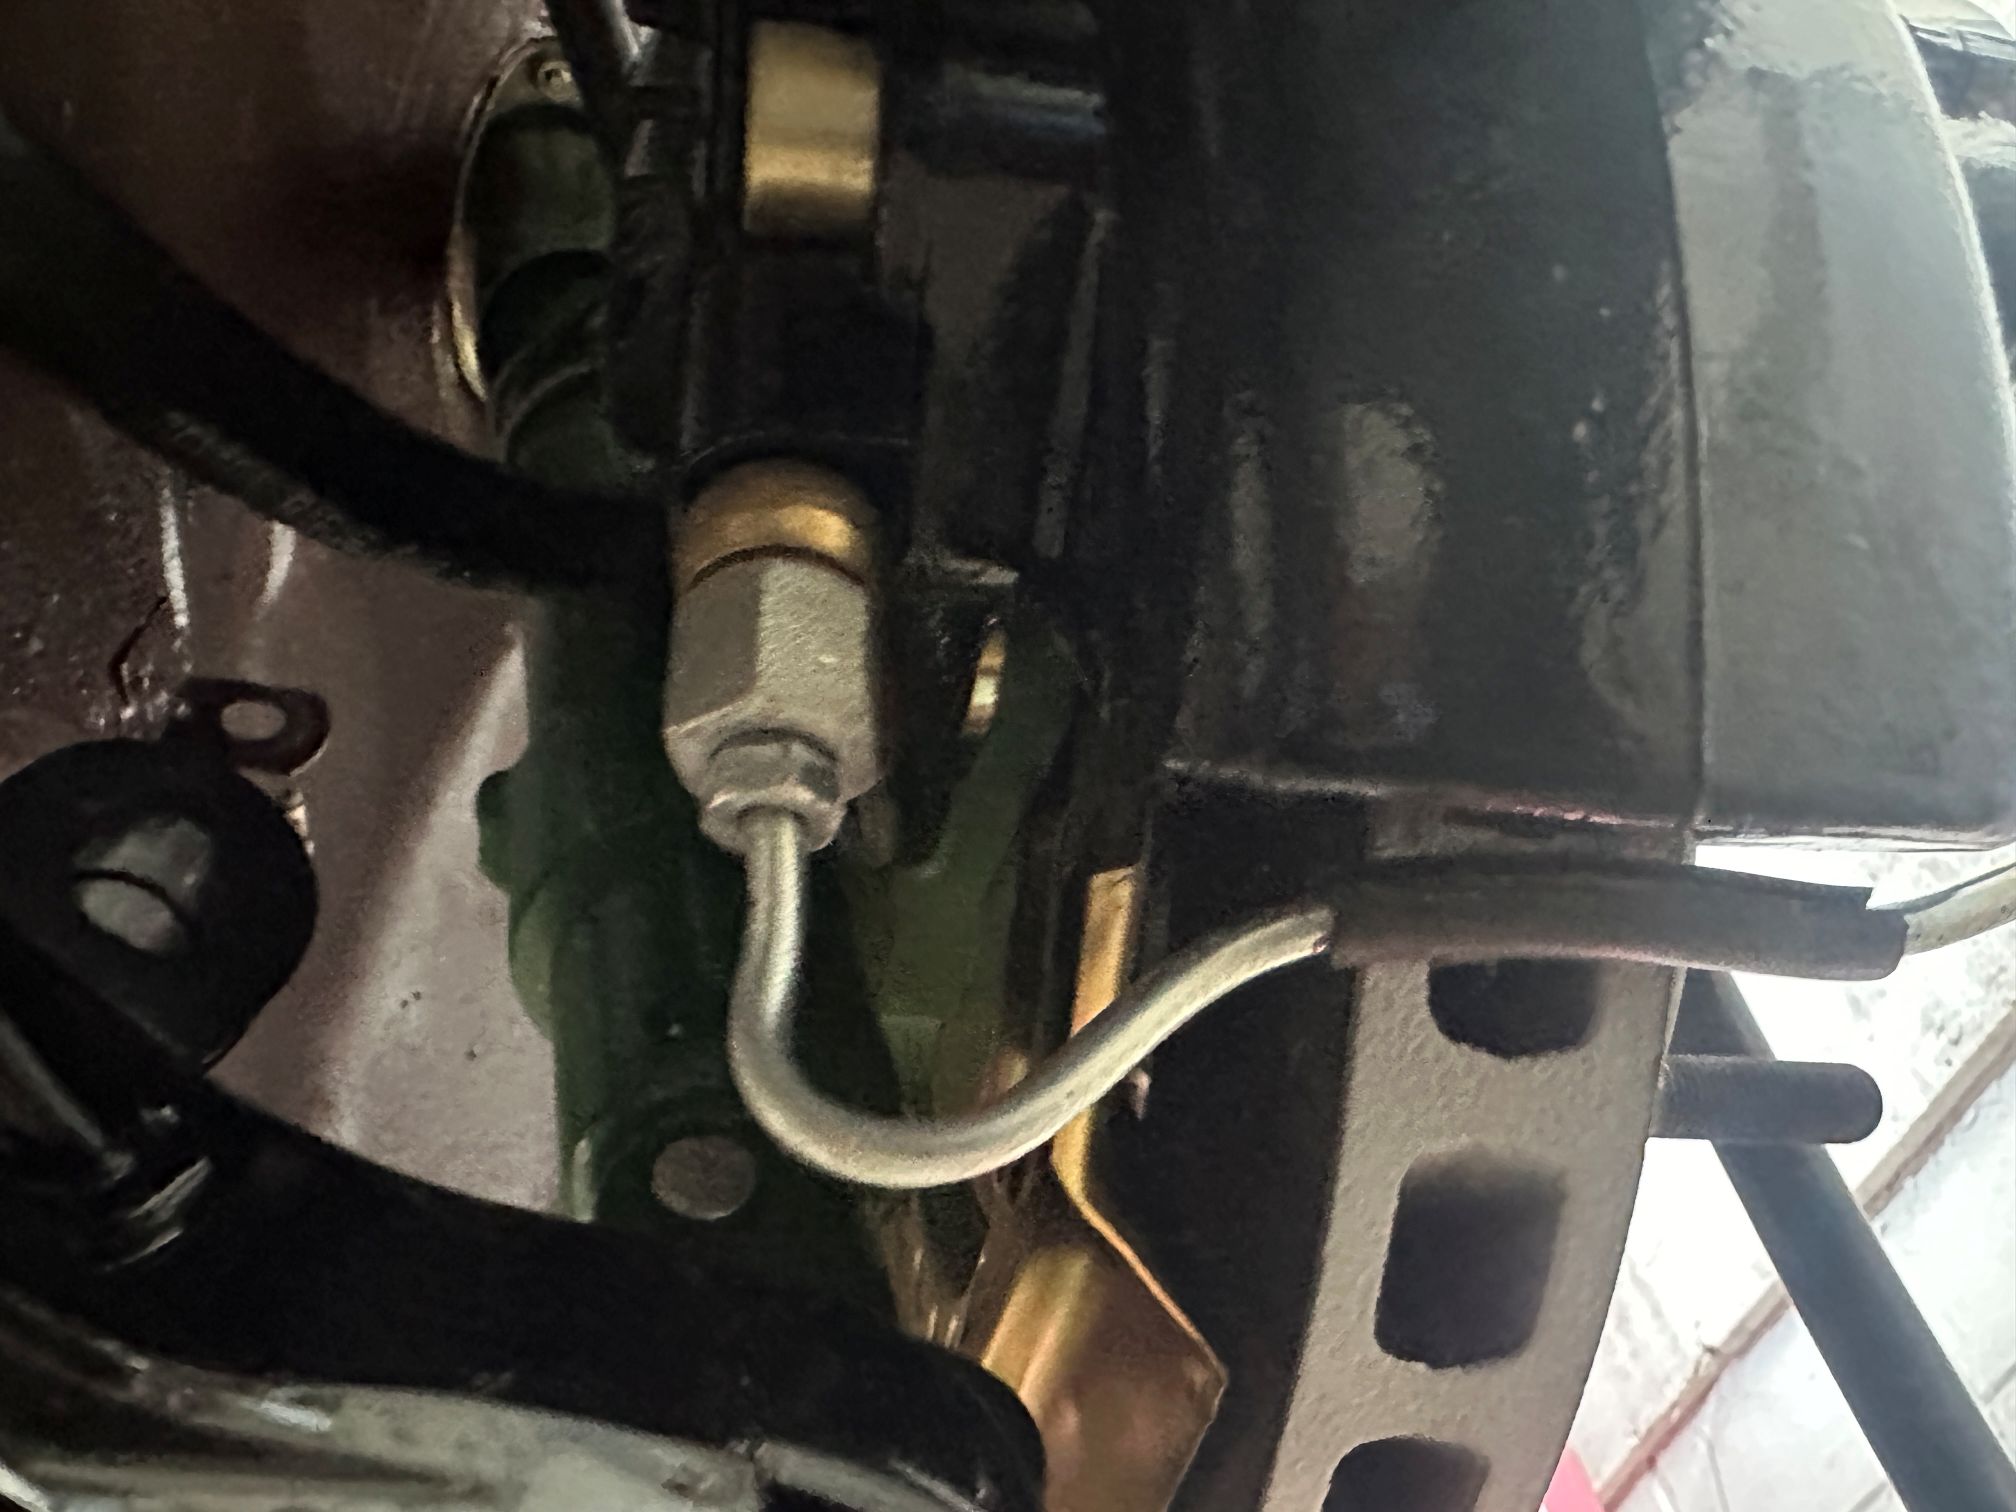
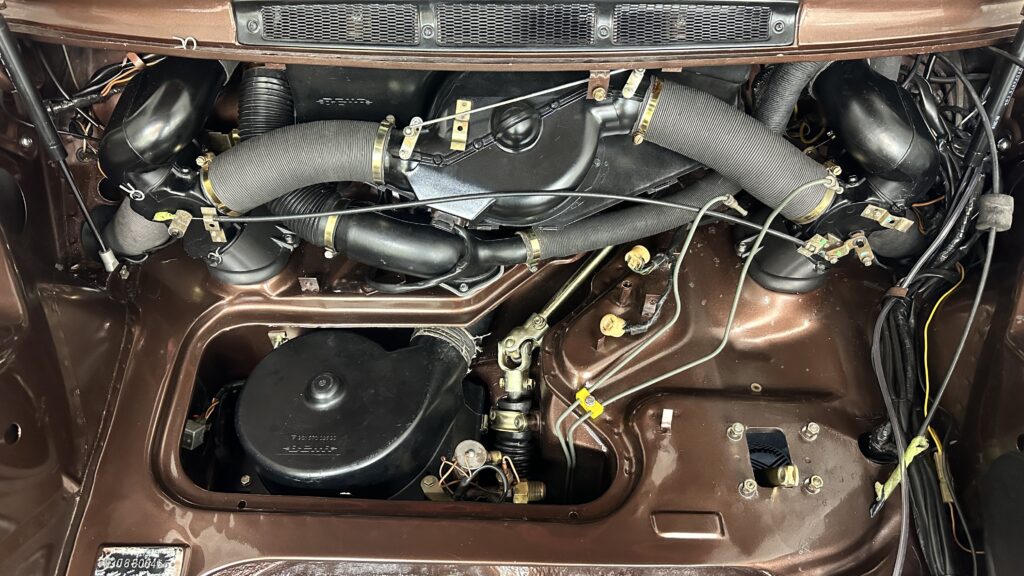
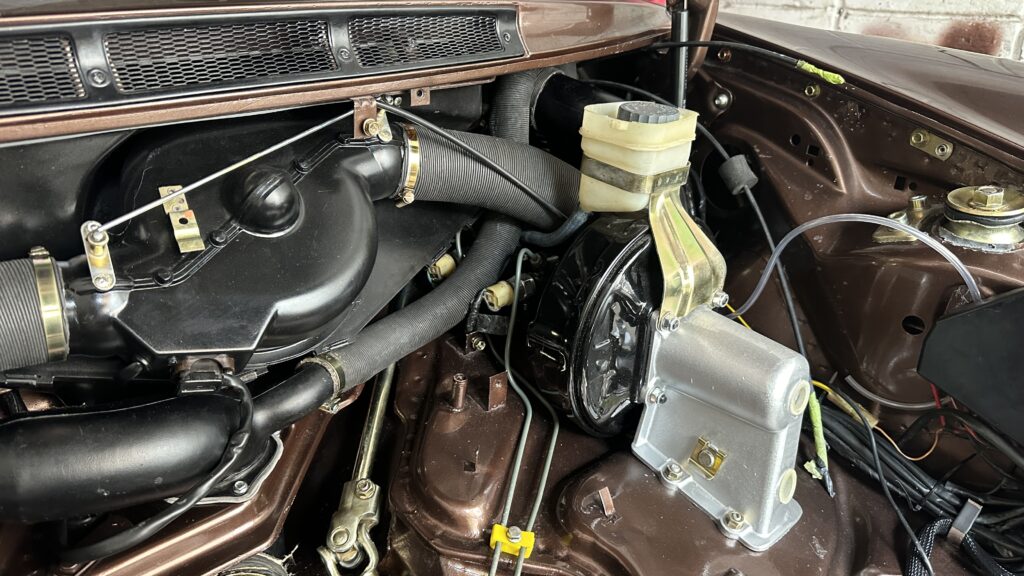
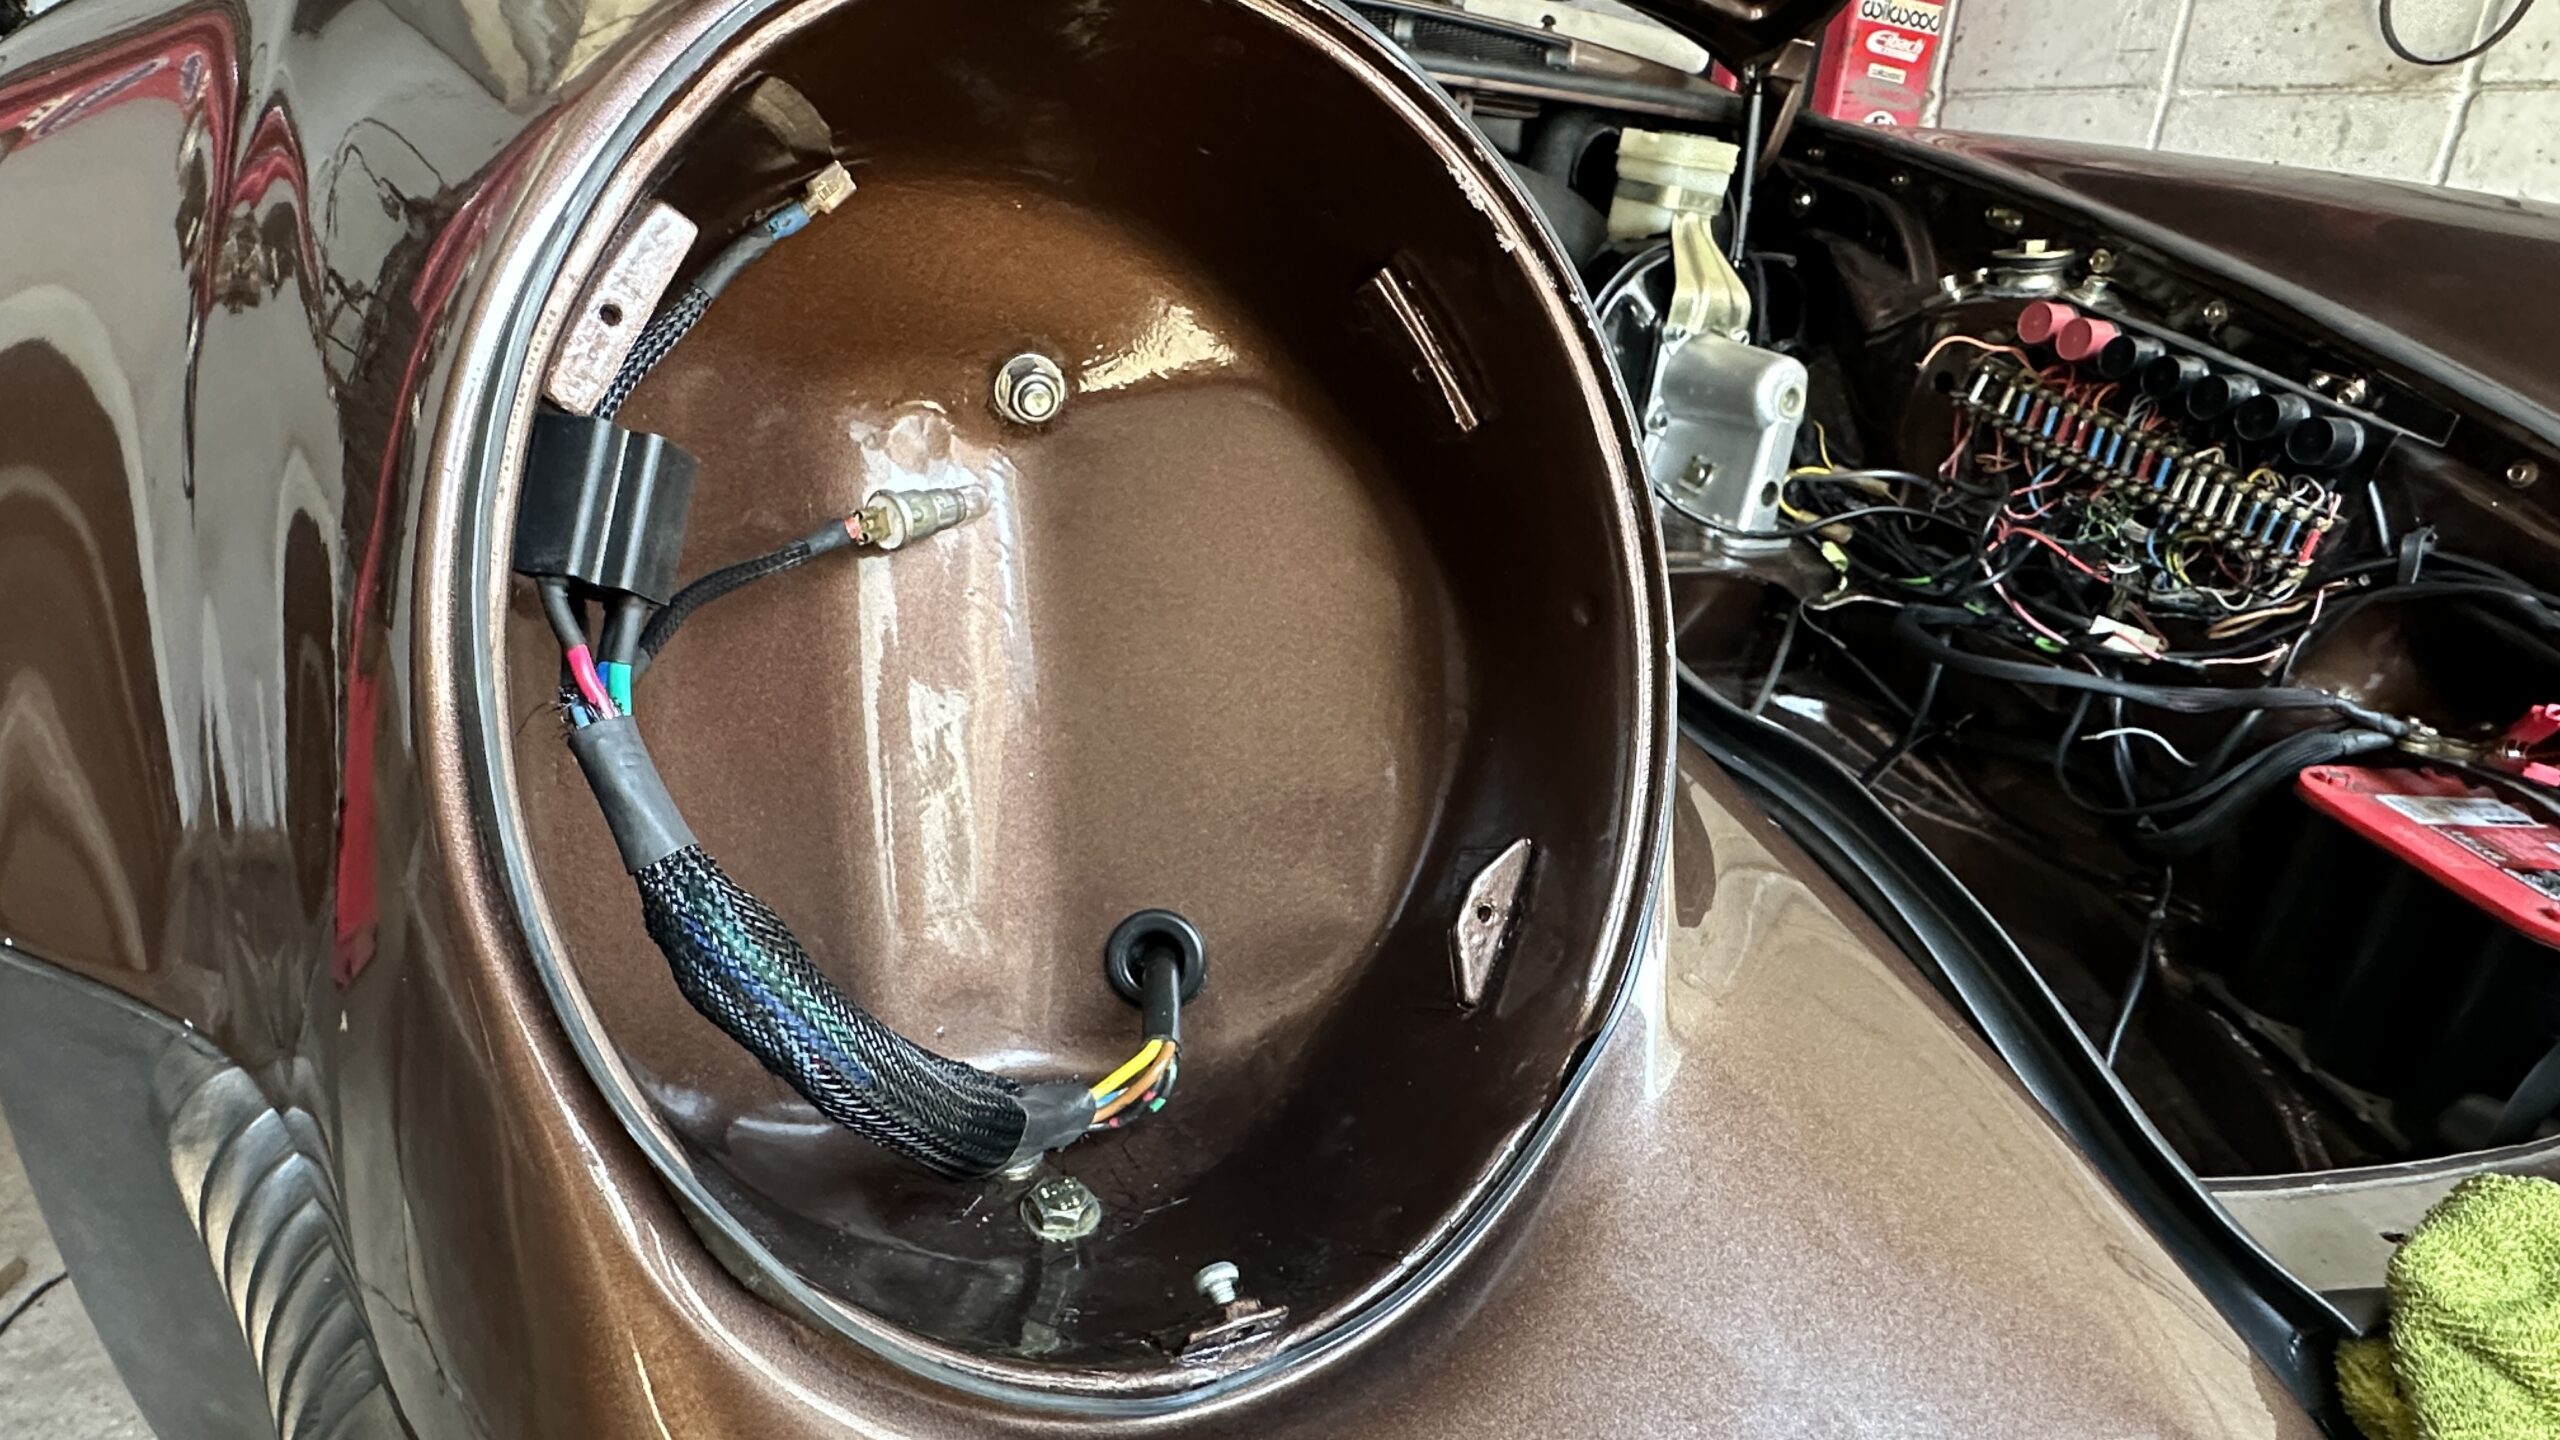
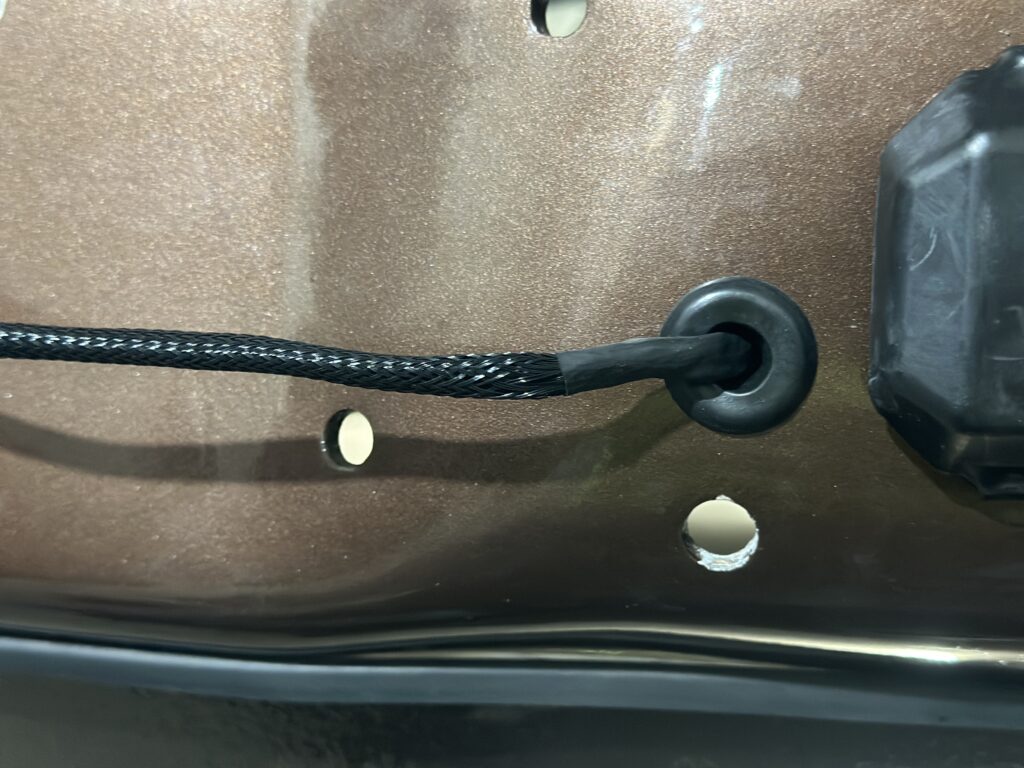
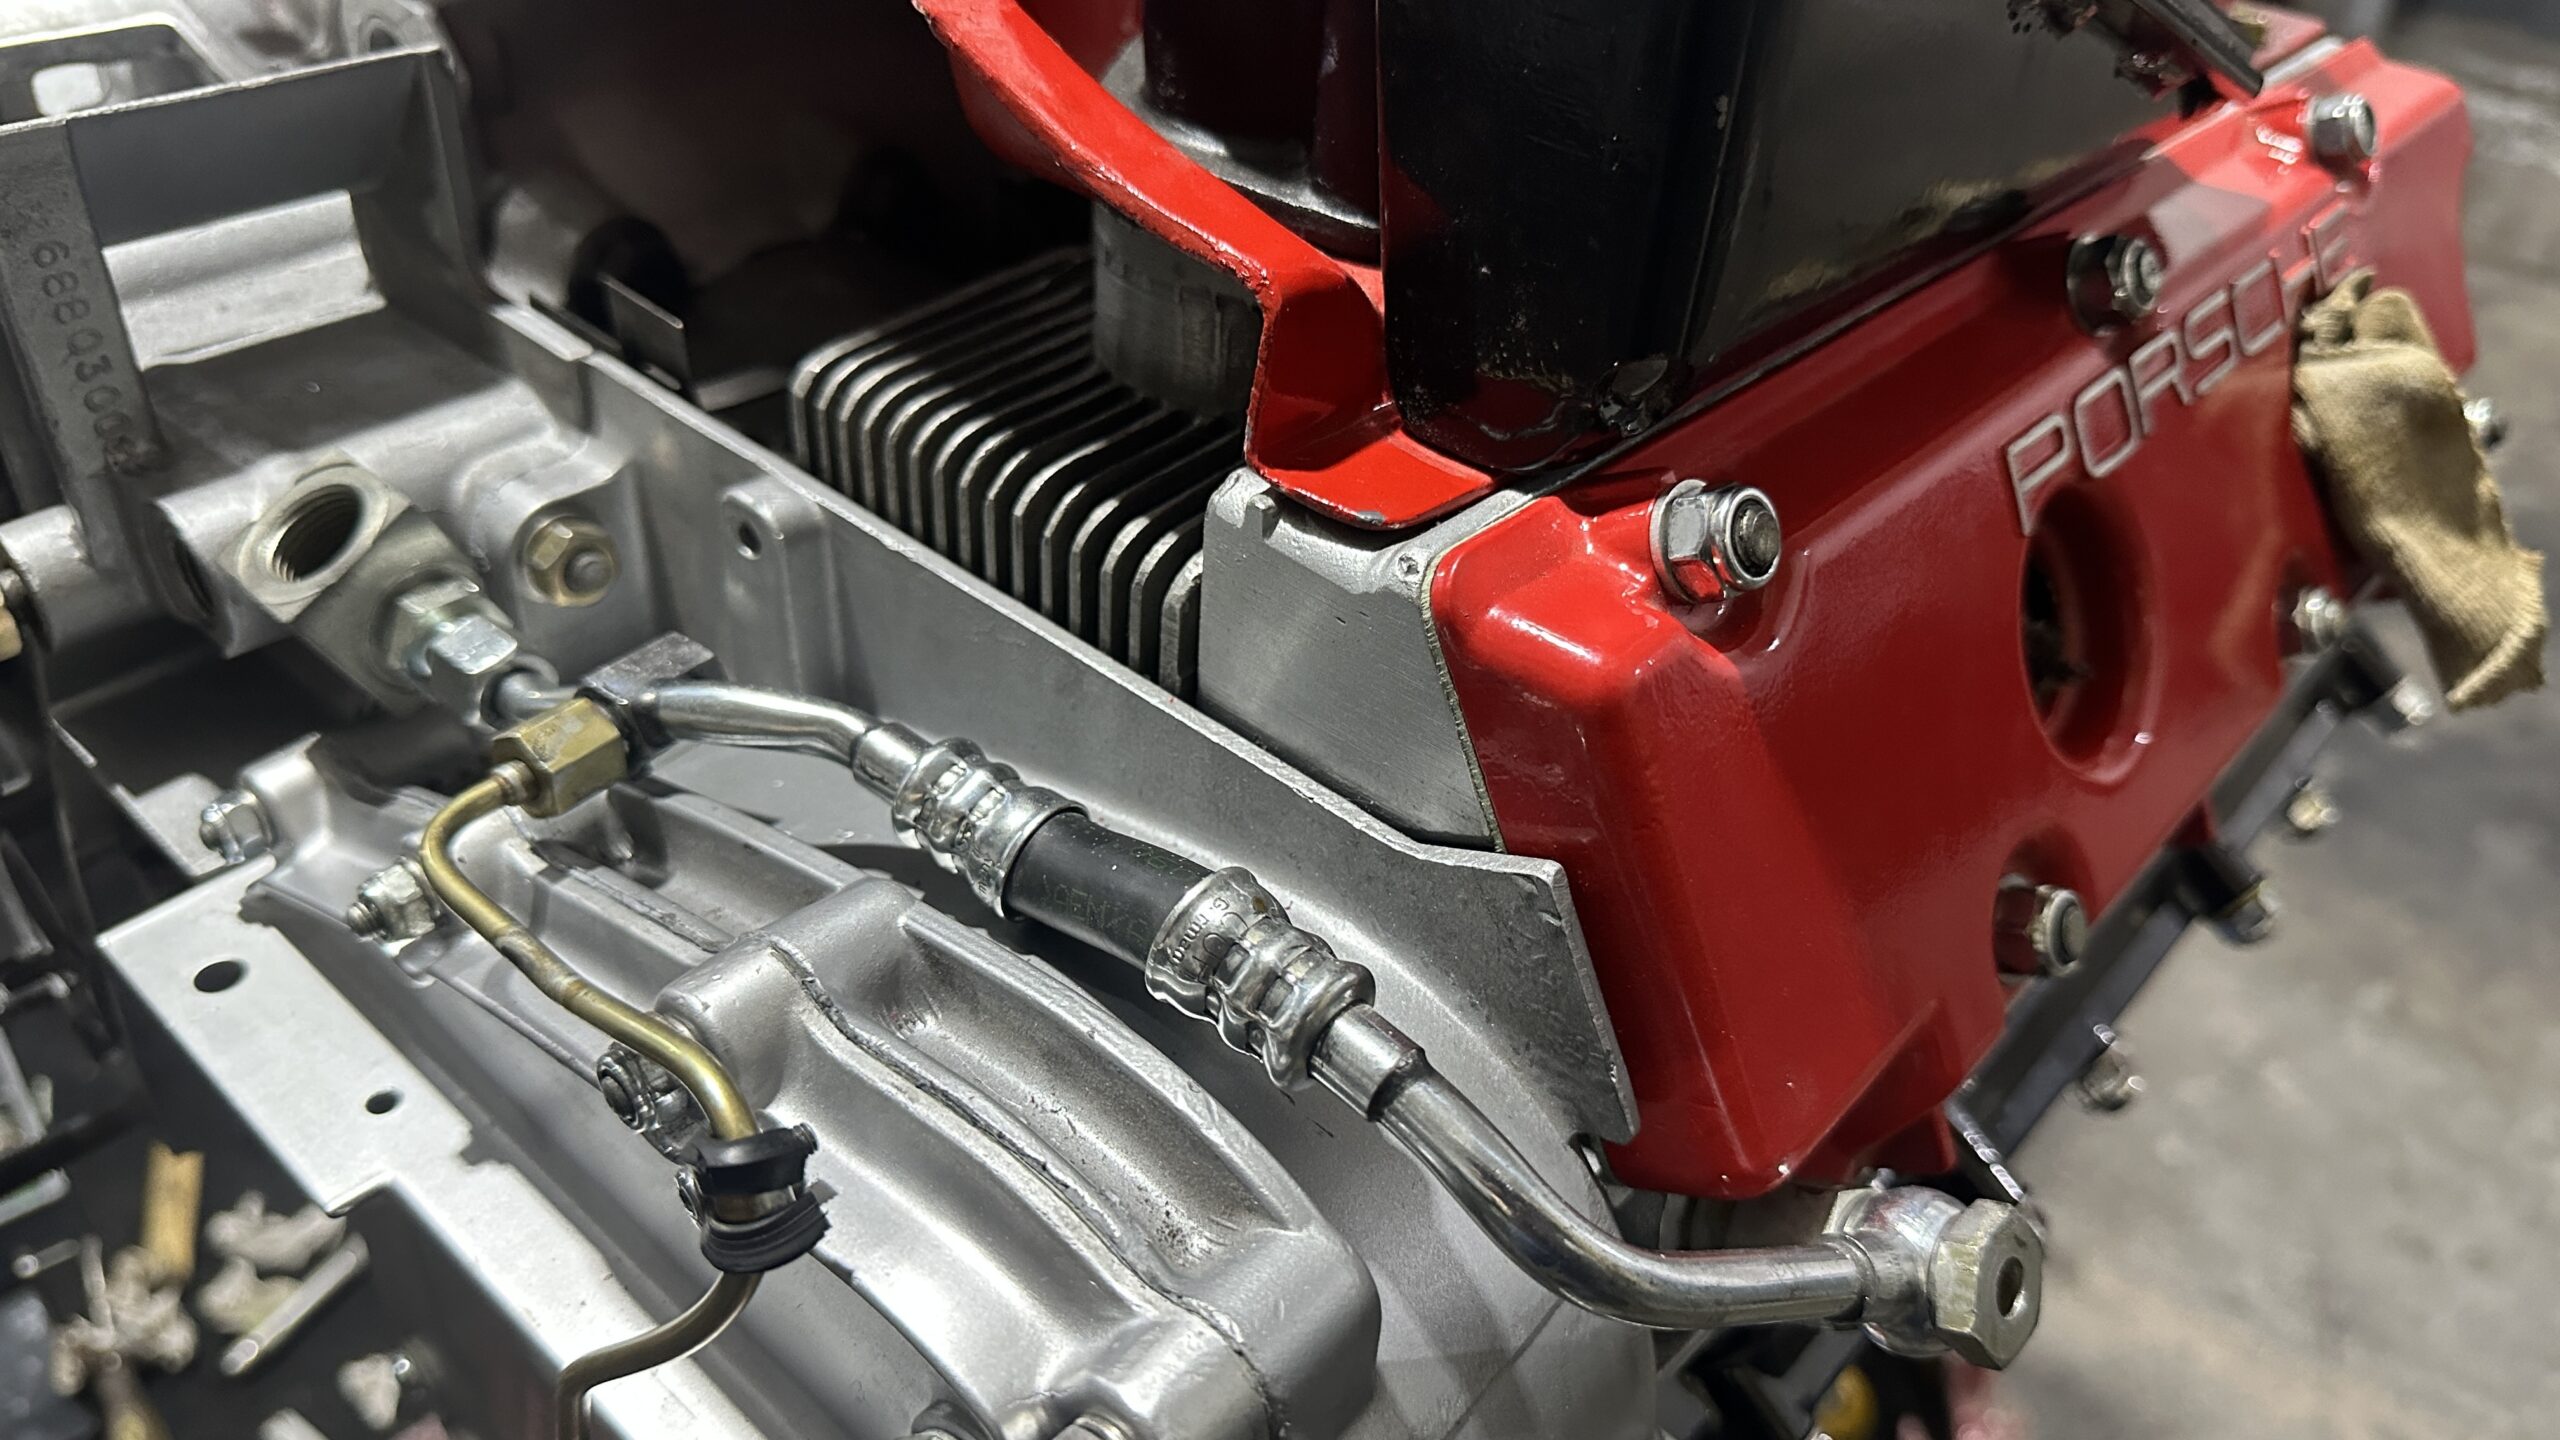
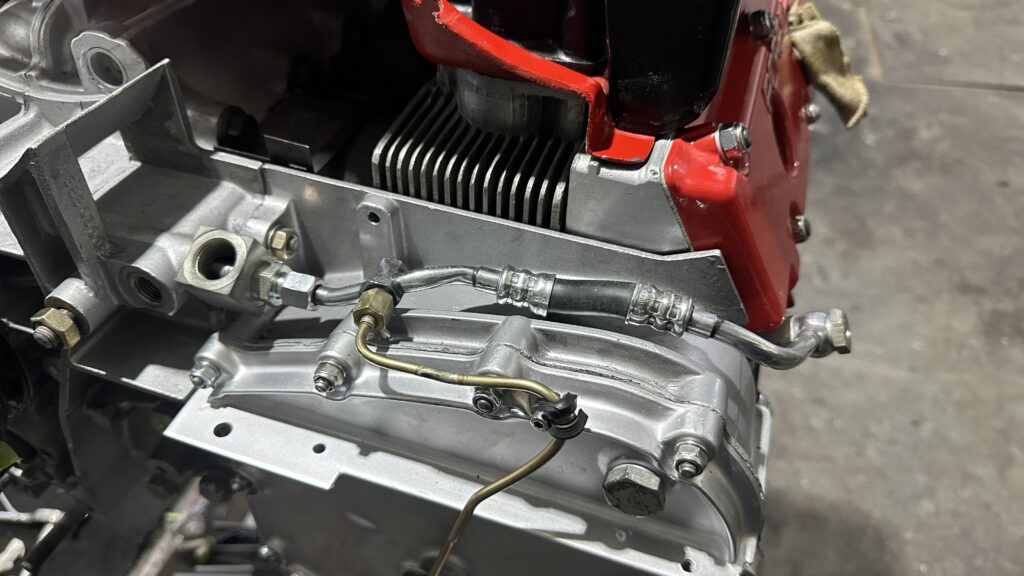
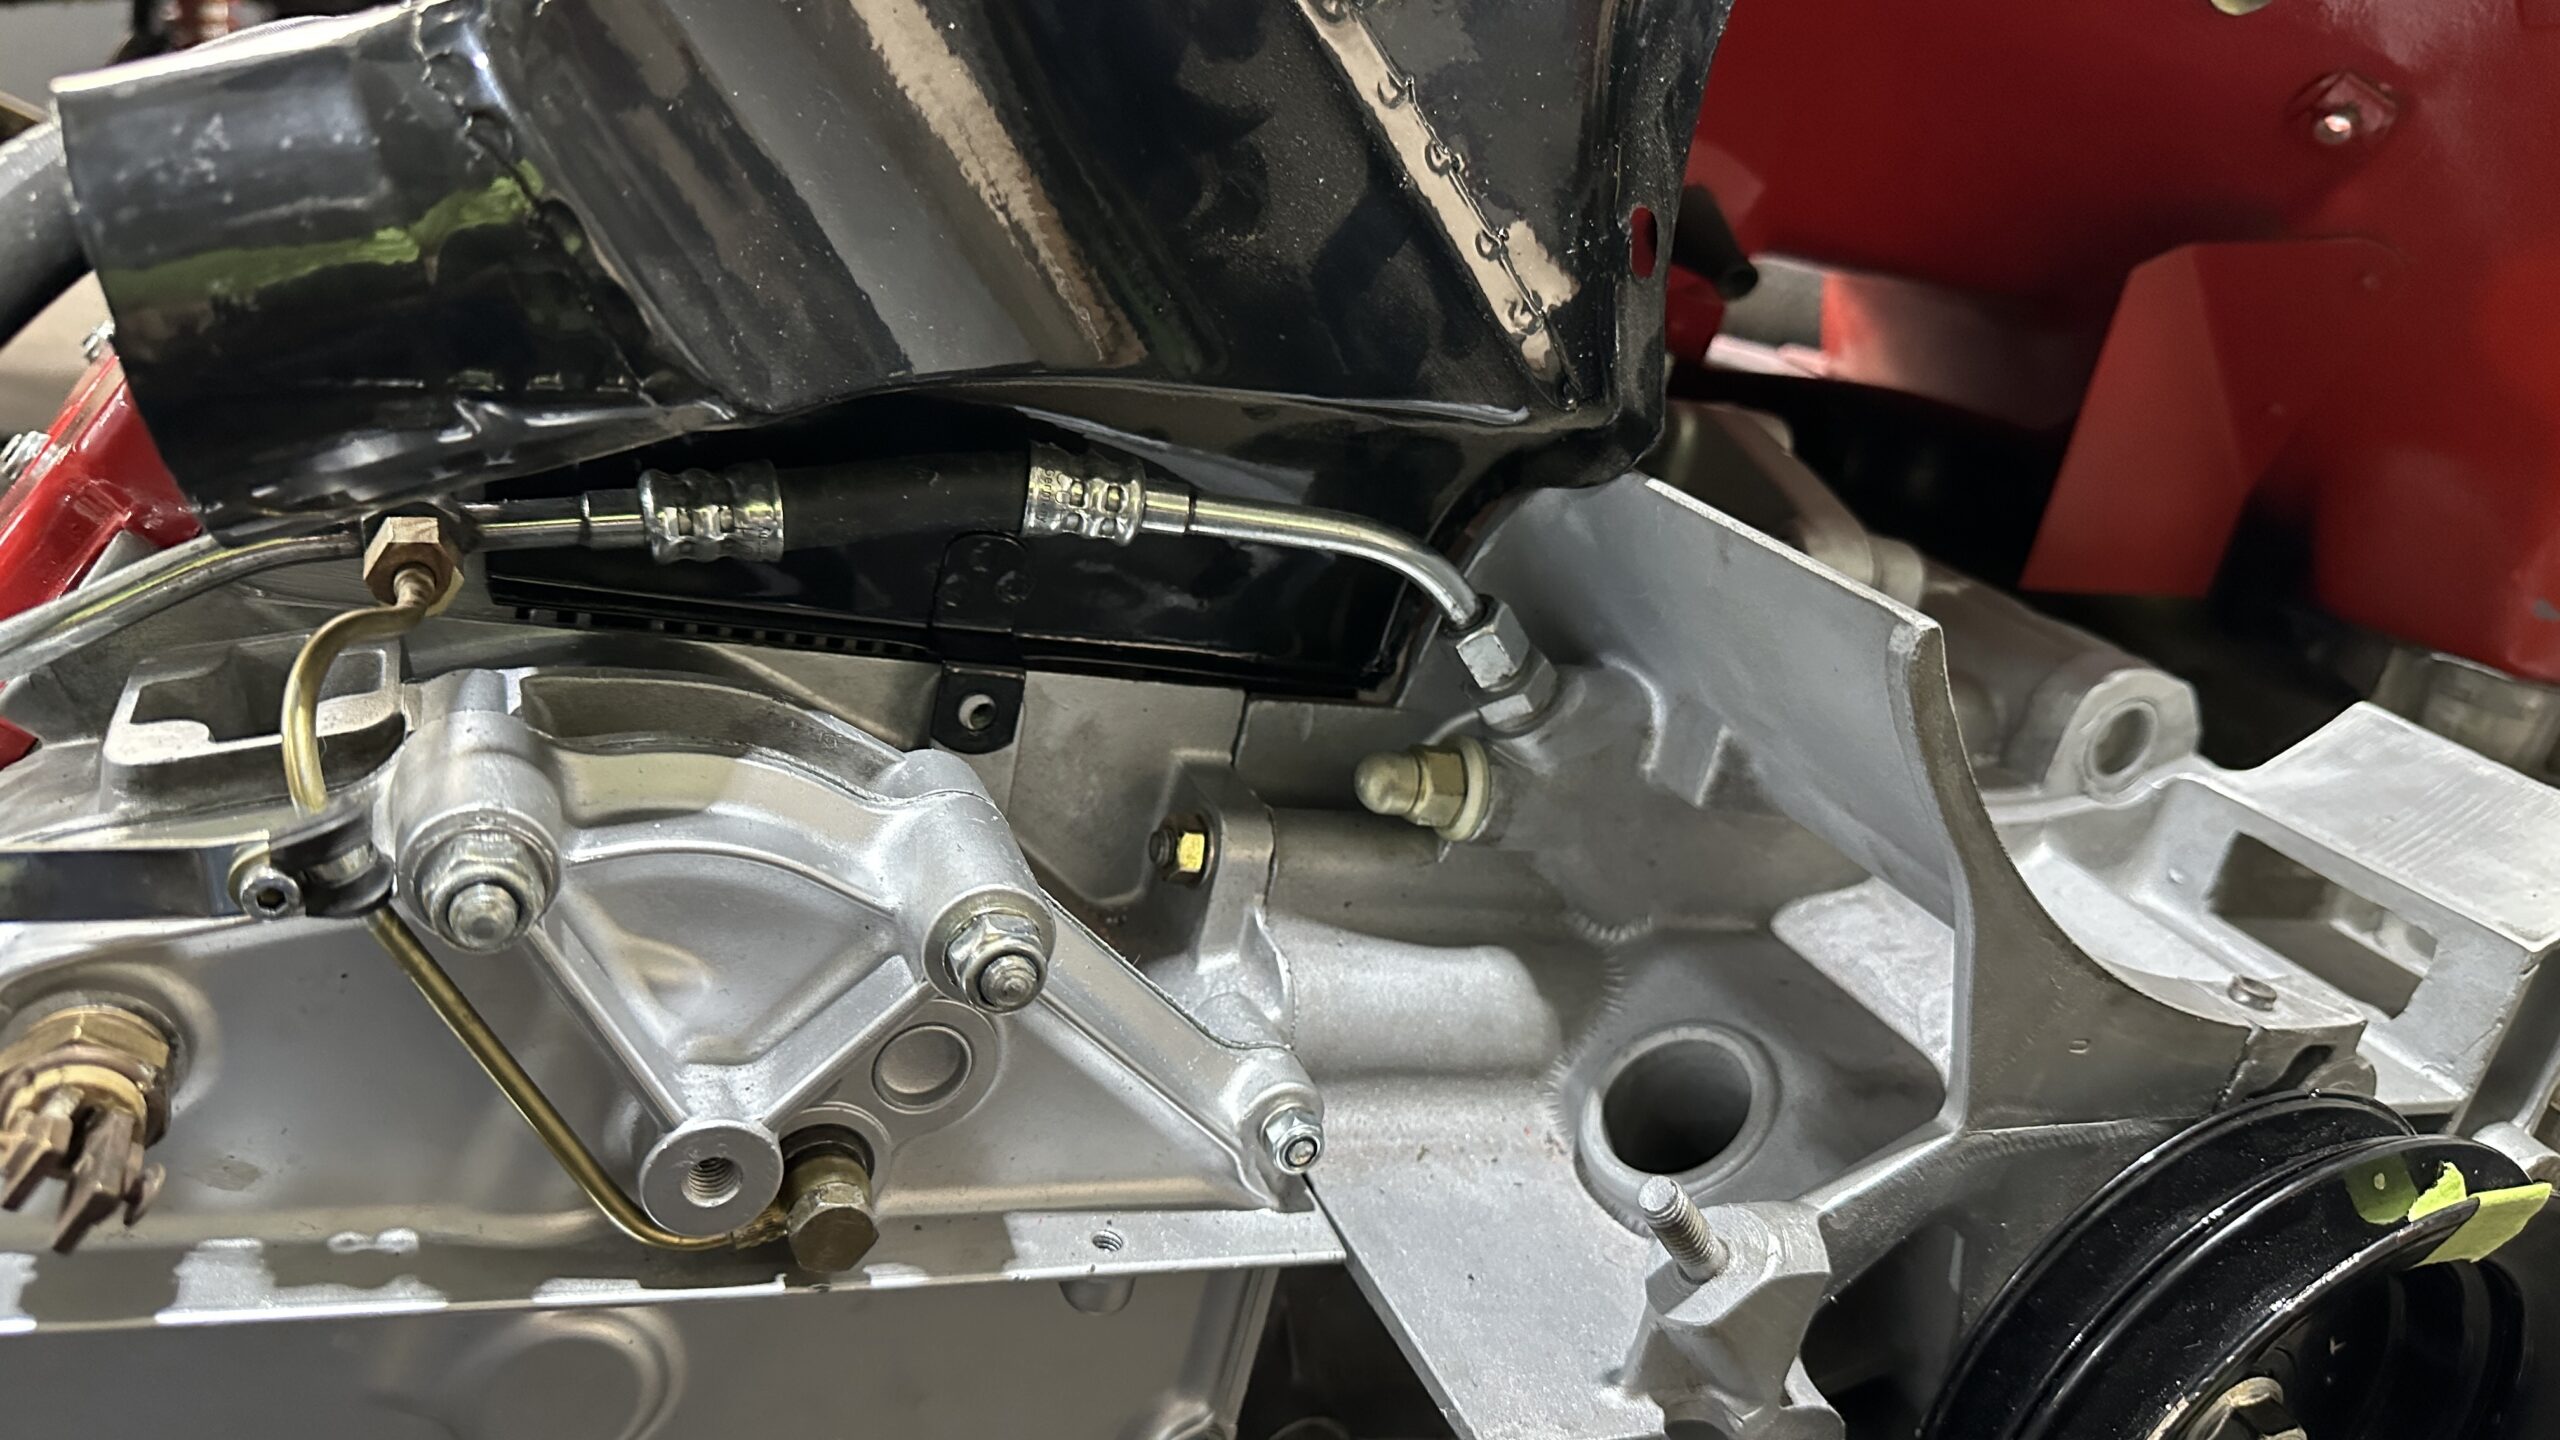
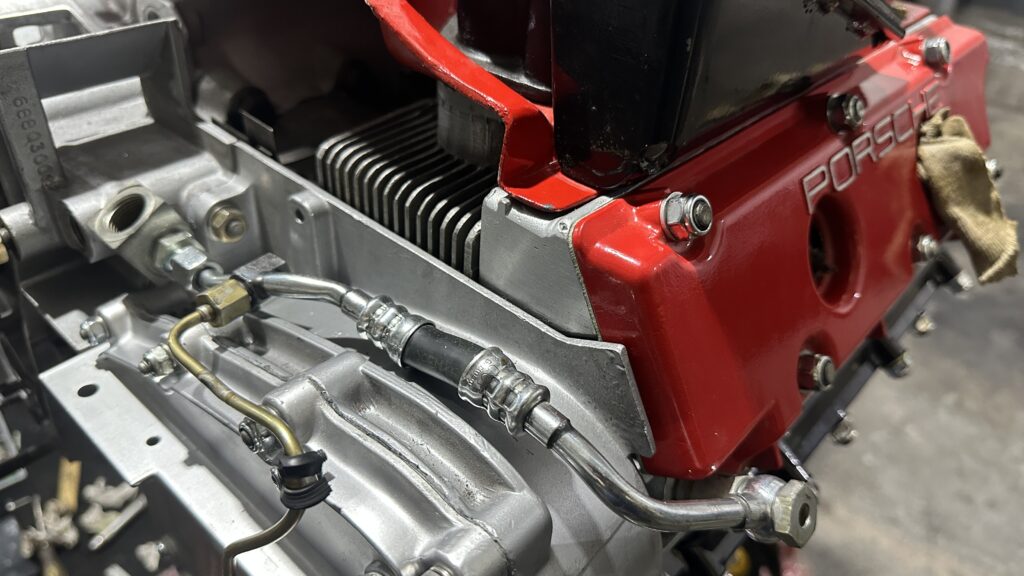
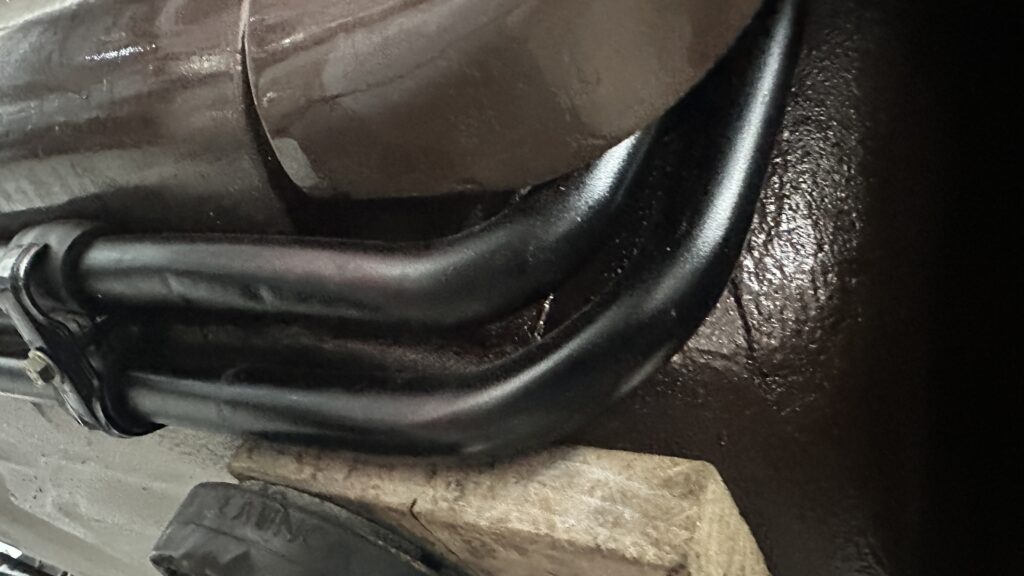
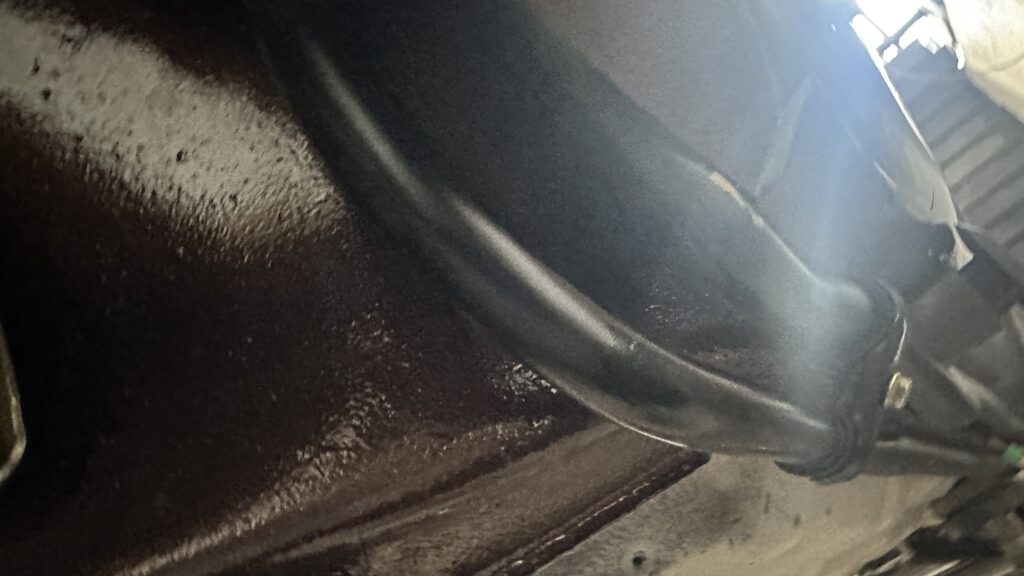
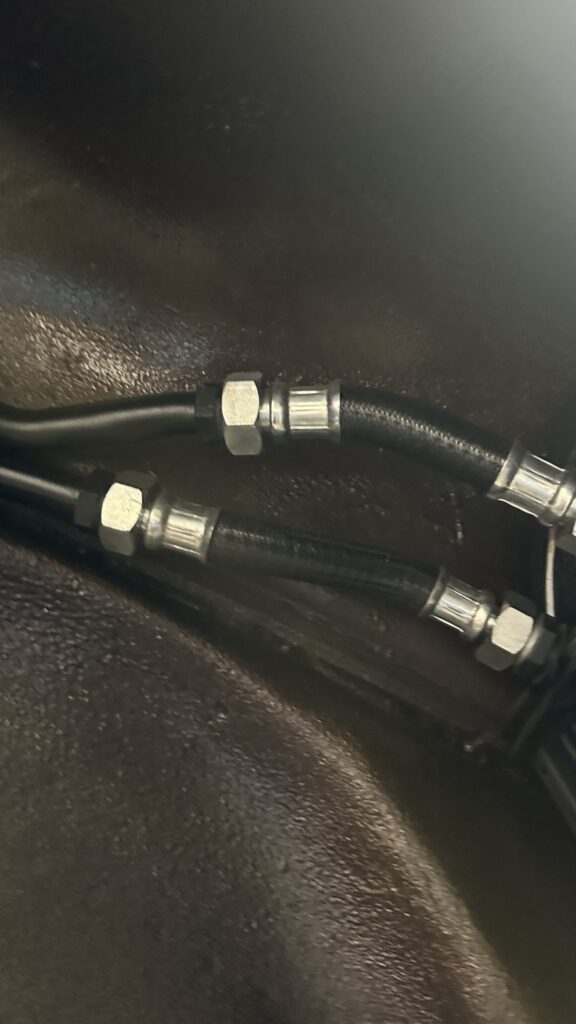
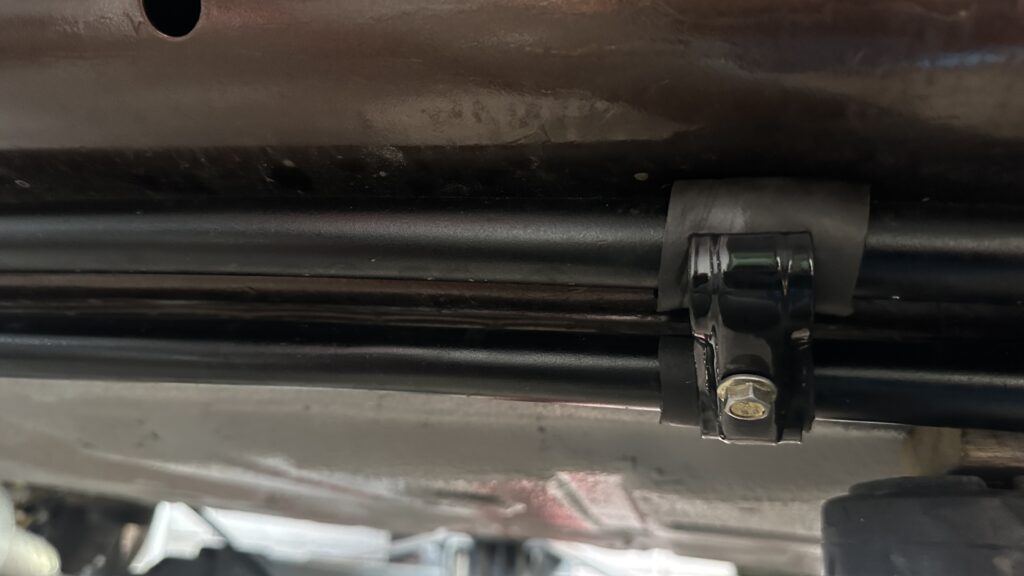
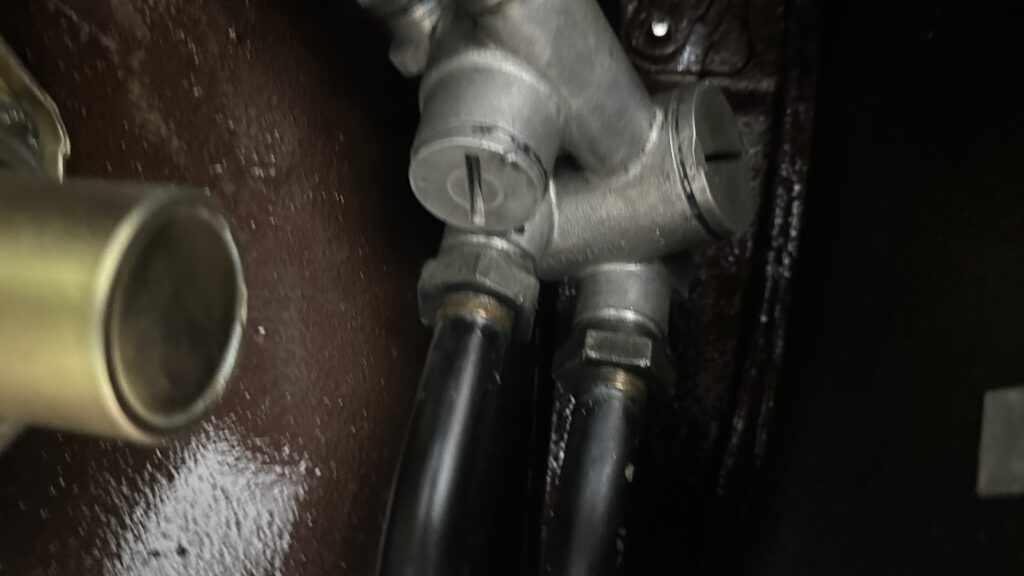
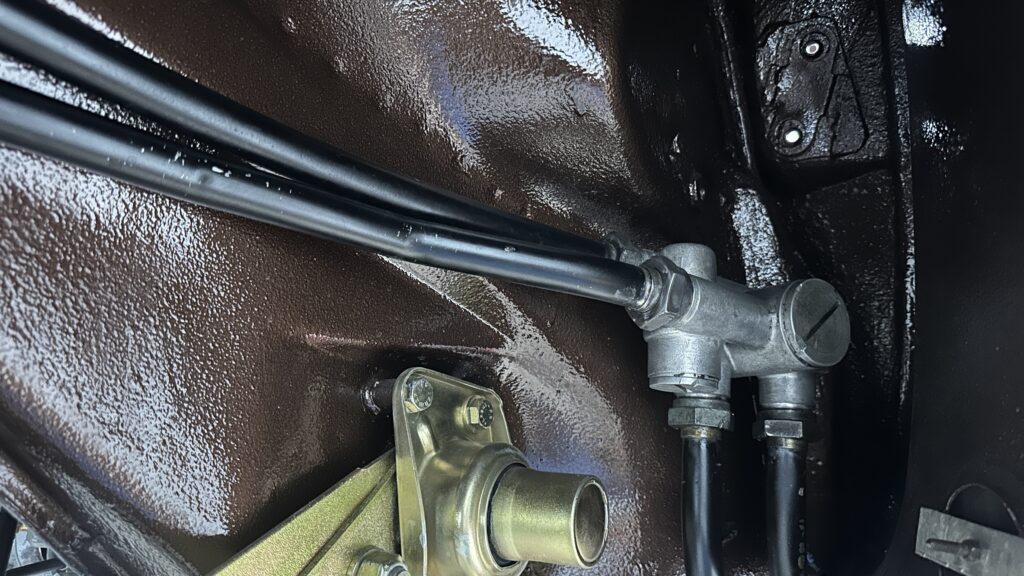
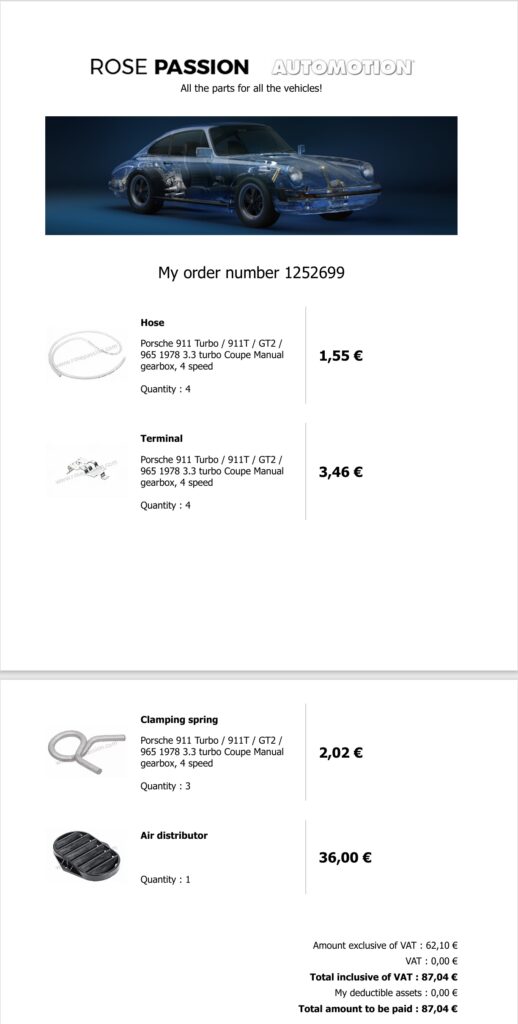
As mentioned earlier, the first step was to replace all the hoses, either due to age or the inefficiency of the old ones. The previous hoses were made of simple rubber both internally and externally. The most common cause of refrigerant leaks in these vehicles is undetectable due to the porosity of these hoses, which allow small leaks over time. This is why owners of these older Porsches must recharge their A/C system periodically. We replaced these with new barrier hoses that feature a hard silicone or plastic inner liner, effectively preventing leaks.

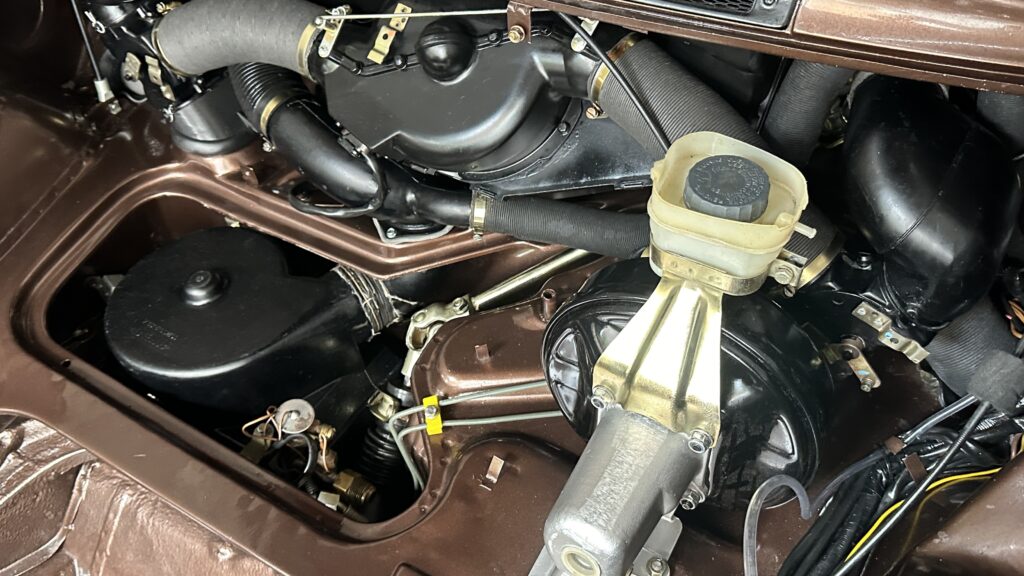
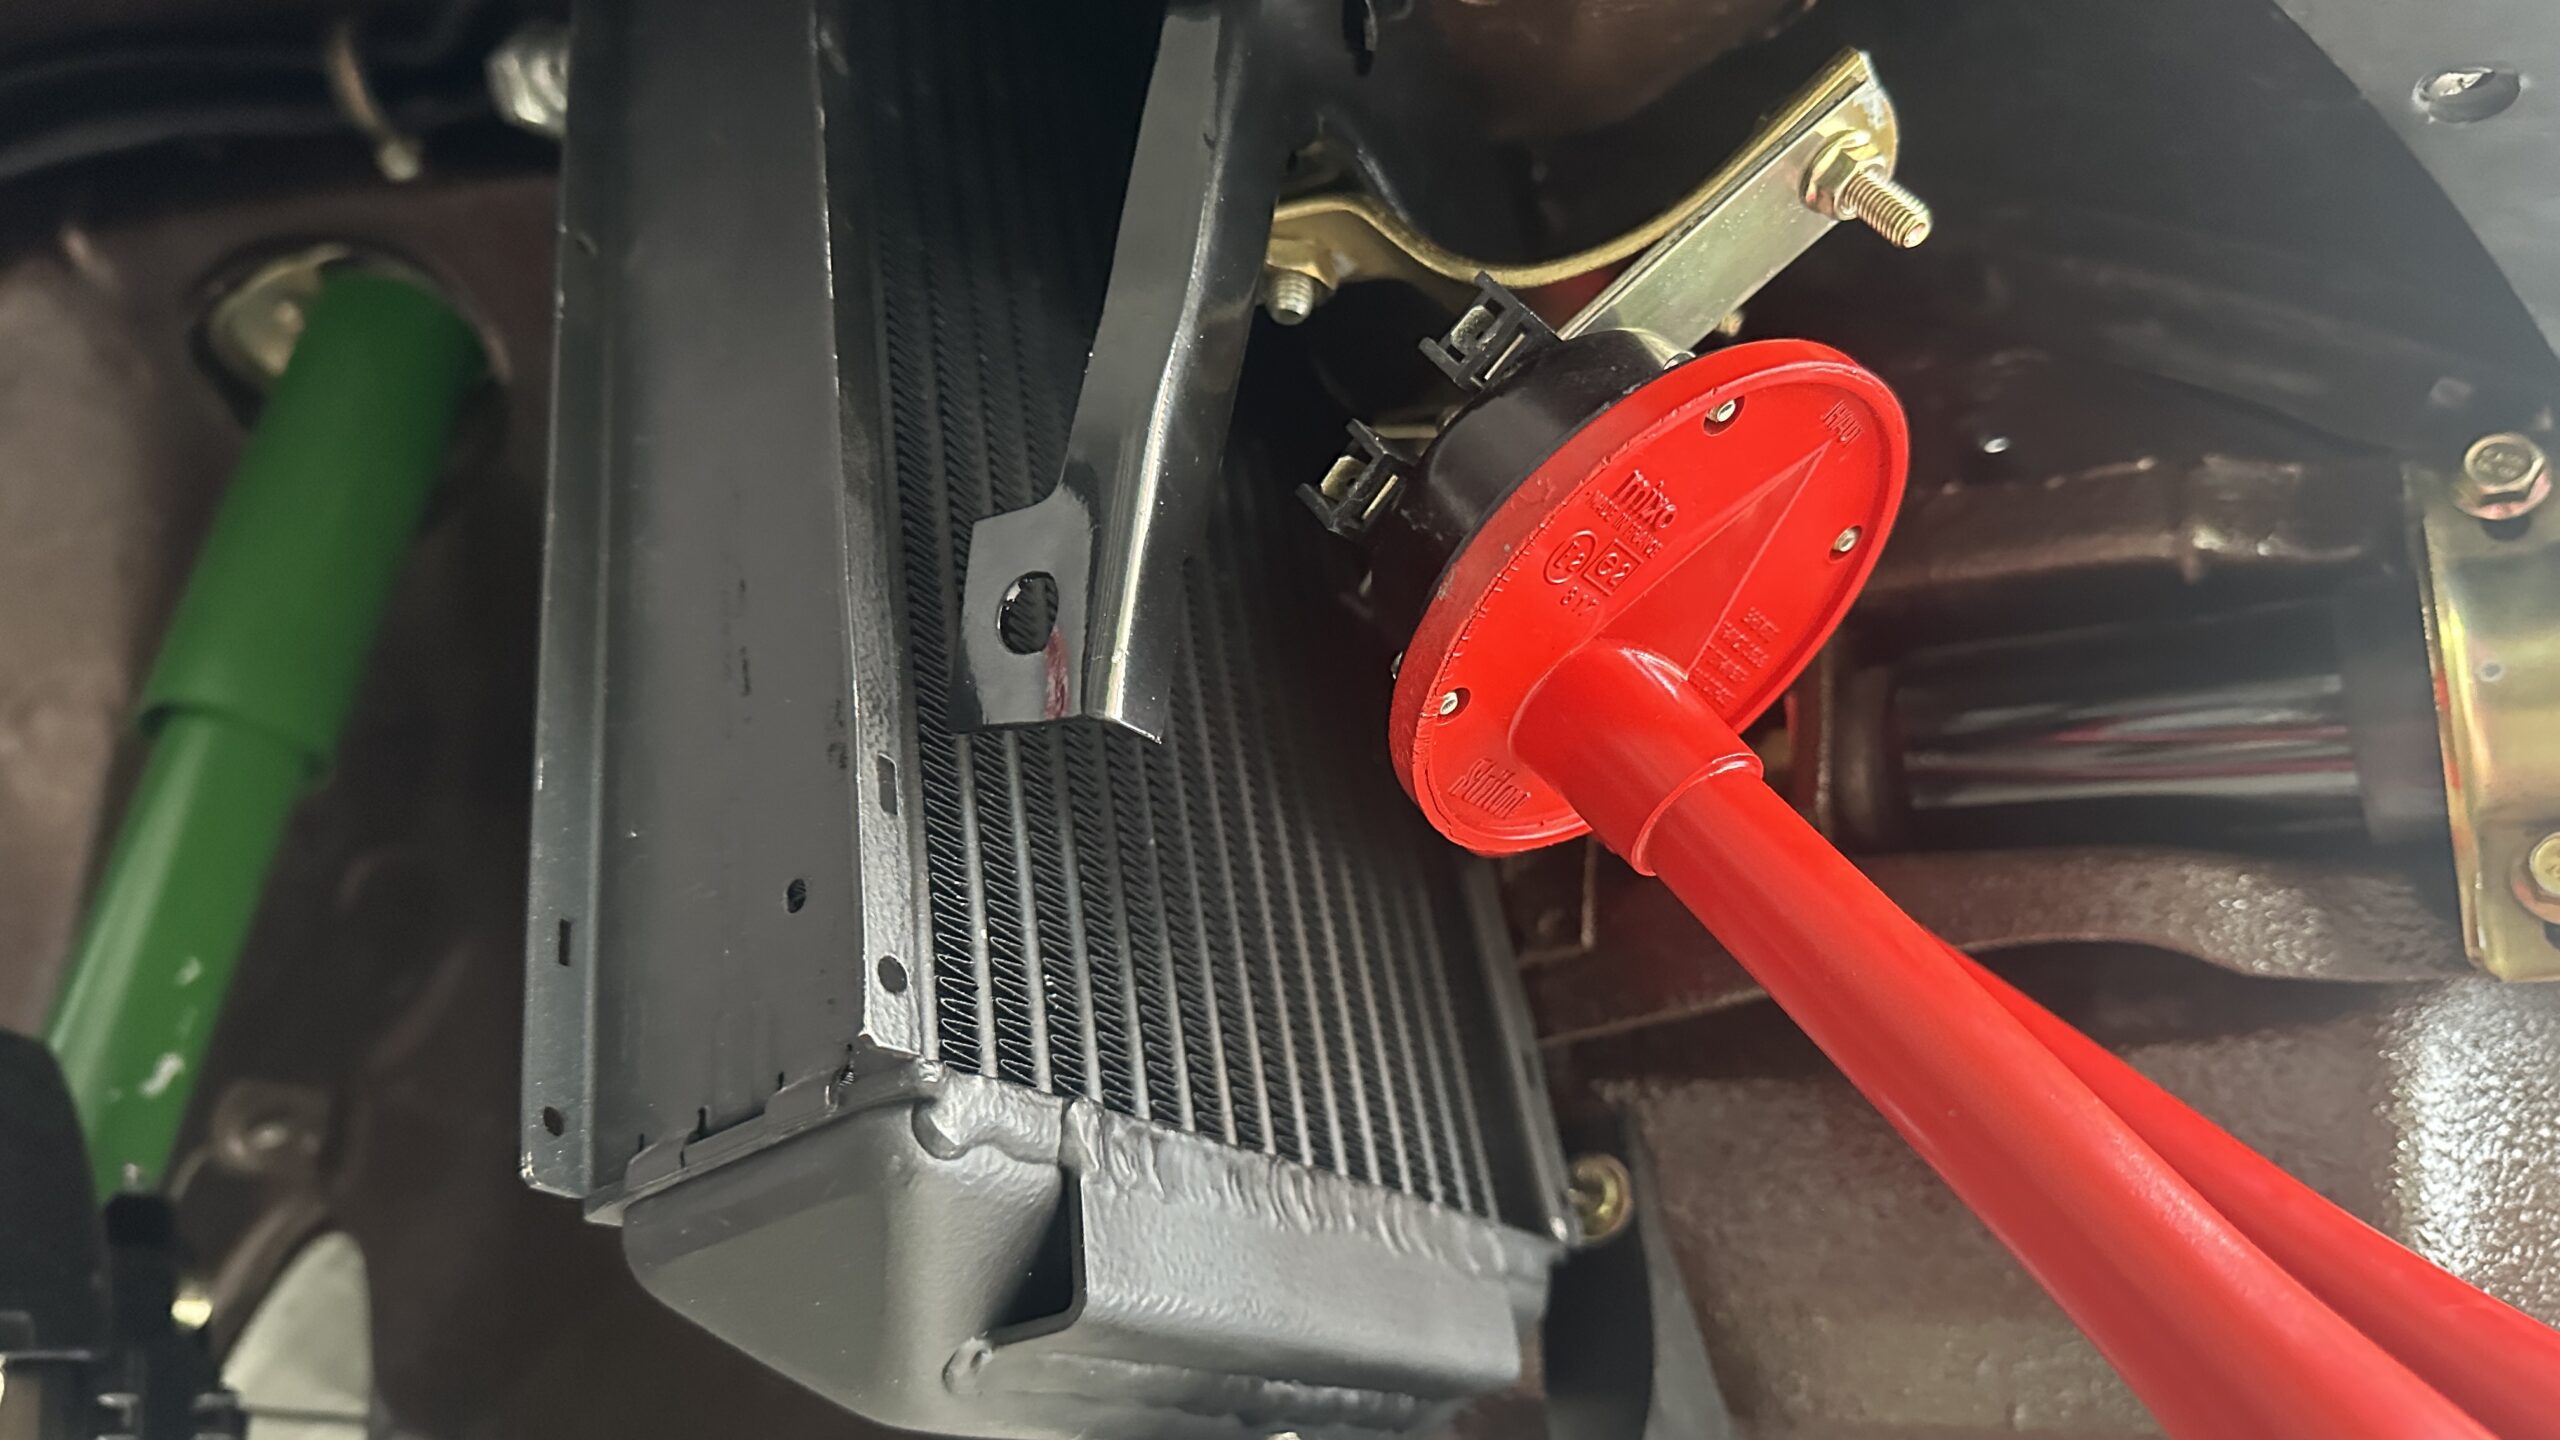
Another common issue with the Porsche A/C system is its low condensation capacity due to the placement of the condensers. One is located at the rear without any auxiliary fans, relying only on the engine cooling fan. However, despite the engine bay absorbing cool air from the outside, it was still difficult for the condenser to cool the refrigerant enough to reach the necessary subcooling temperatures, which are required to achieve proper liquid saturation.

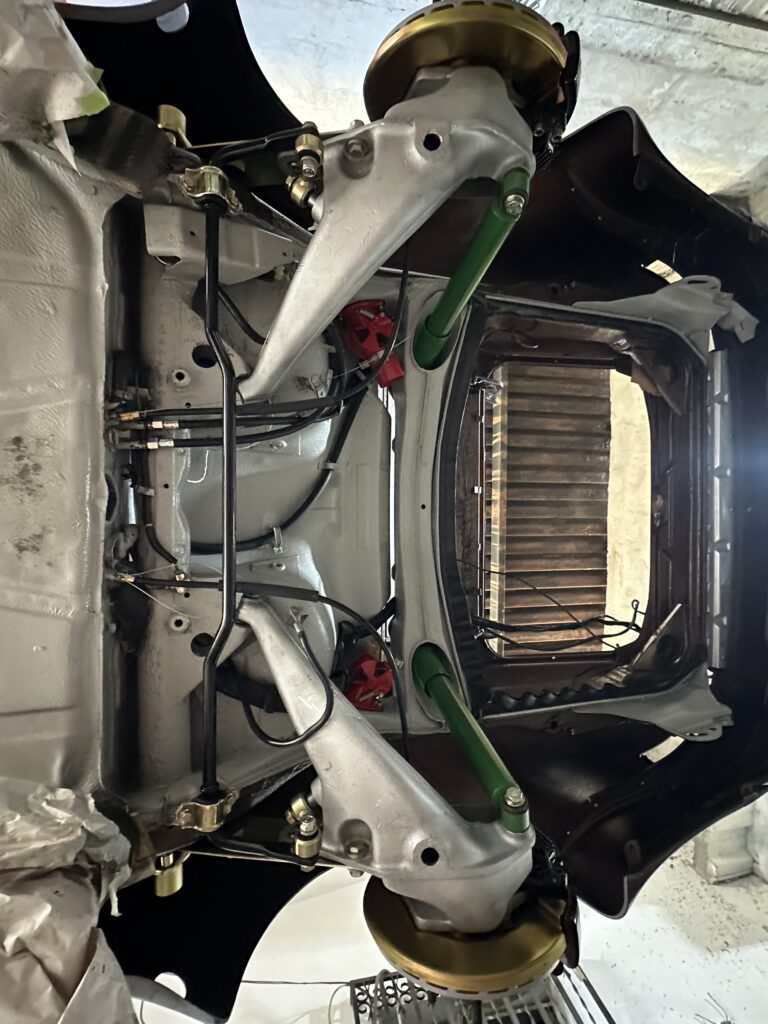
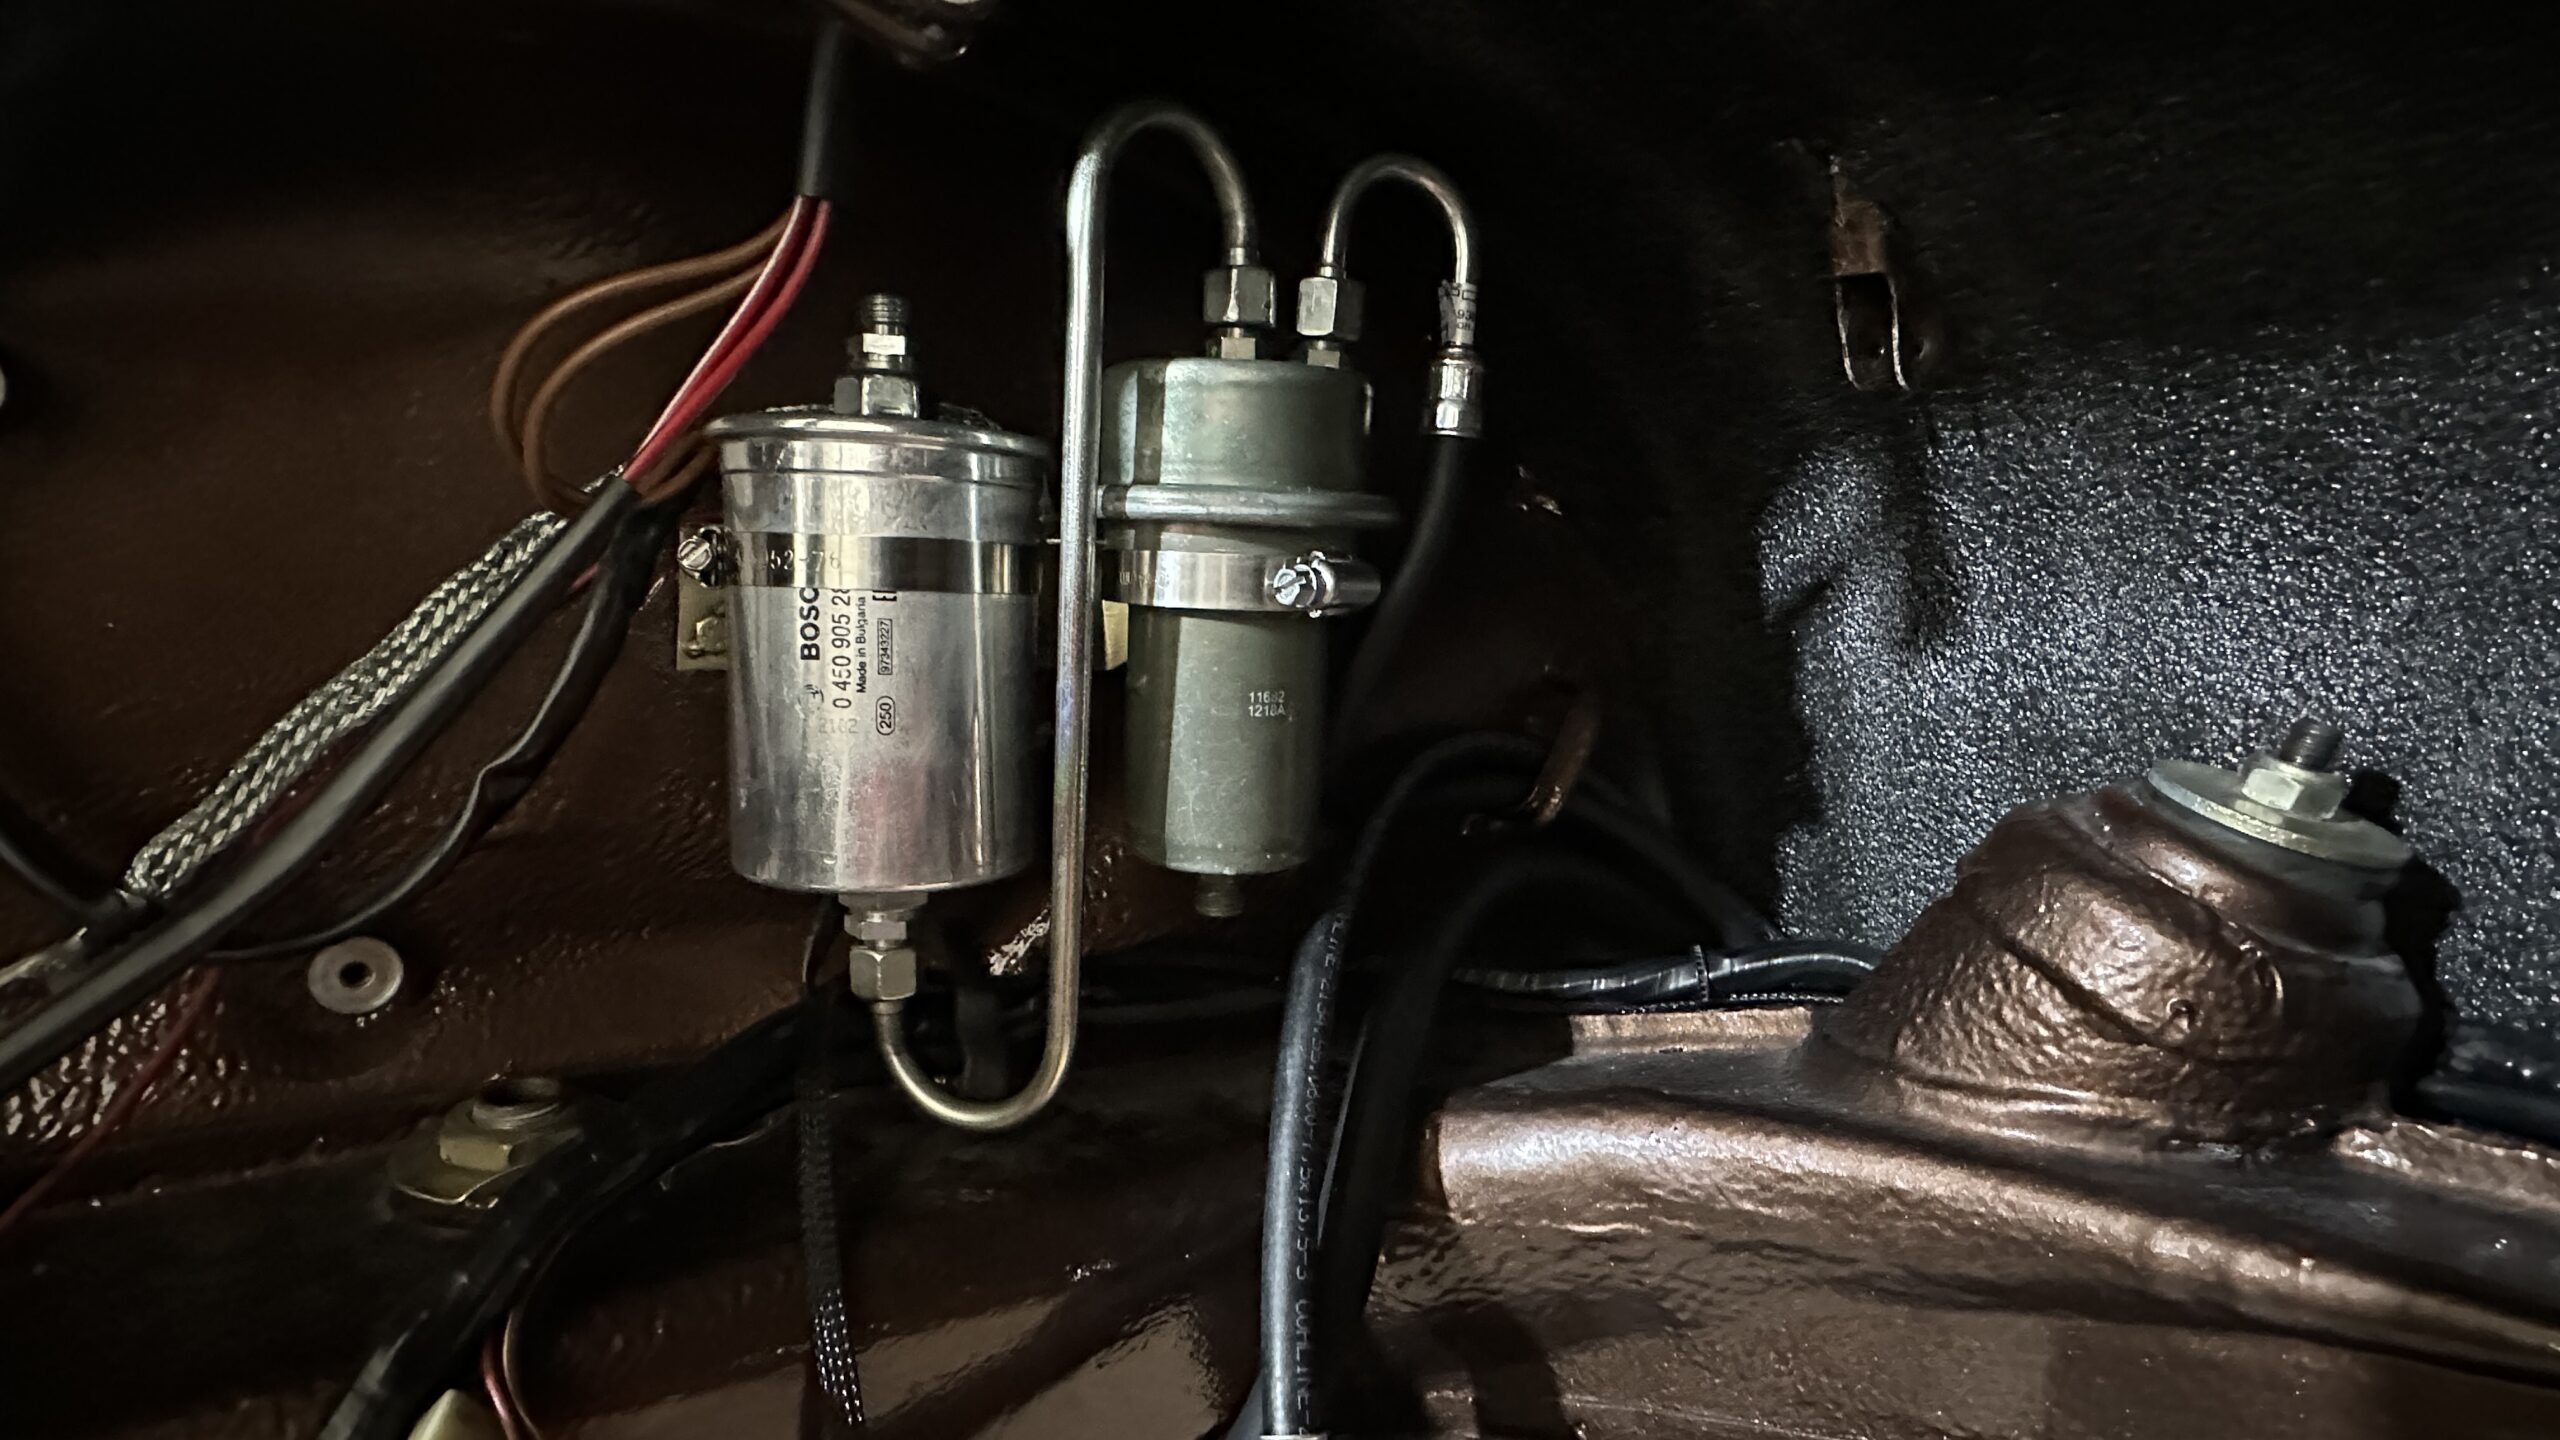
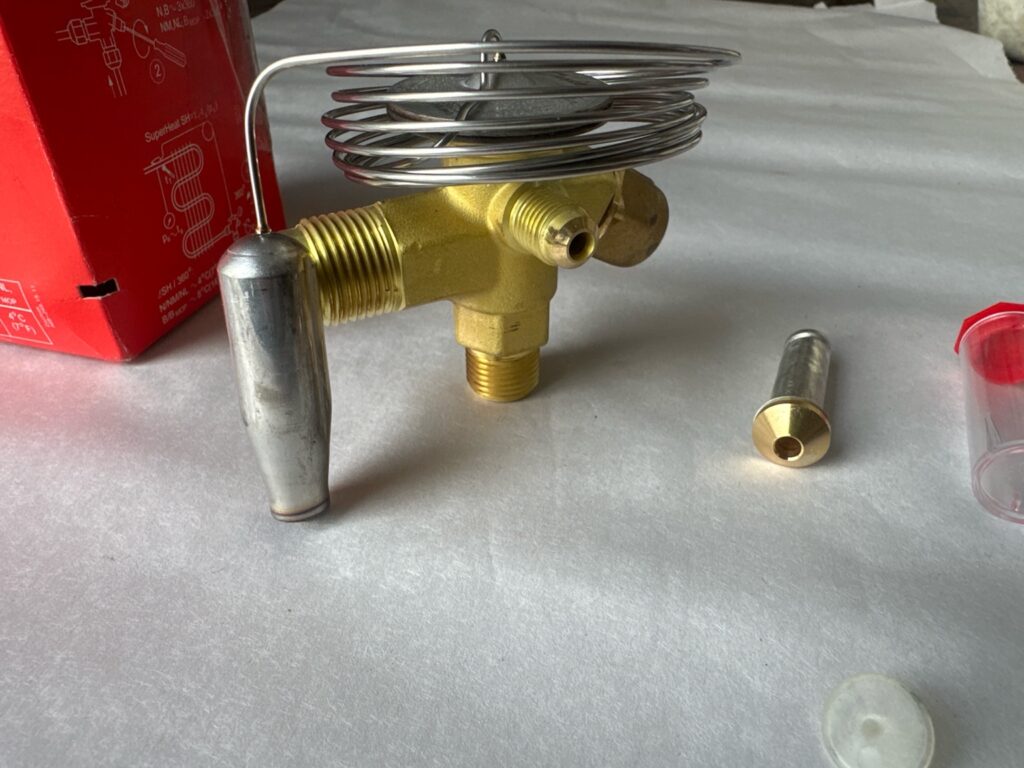
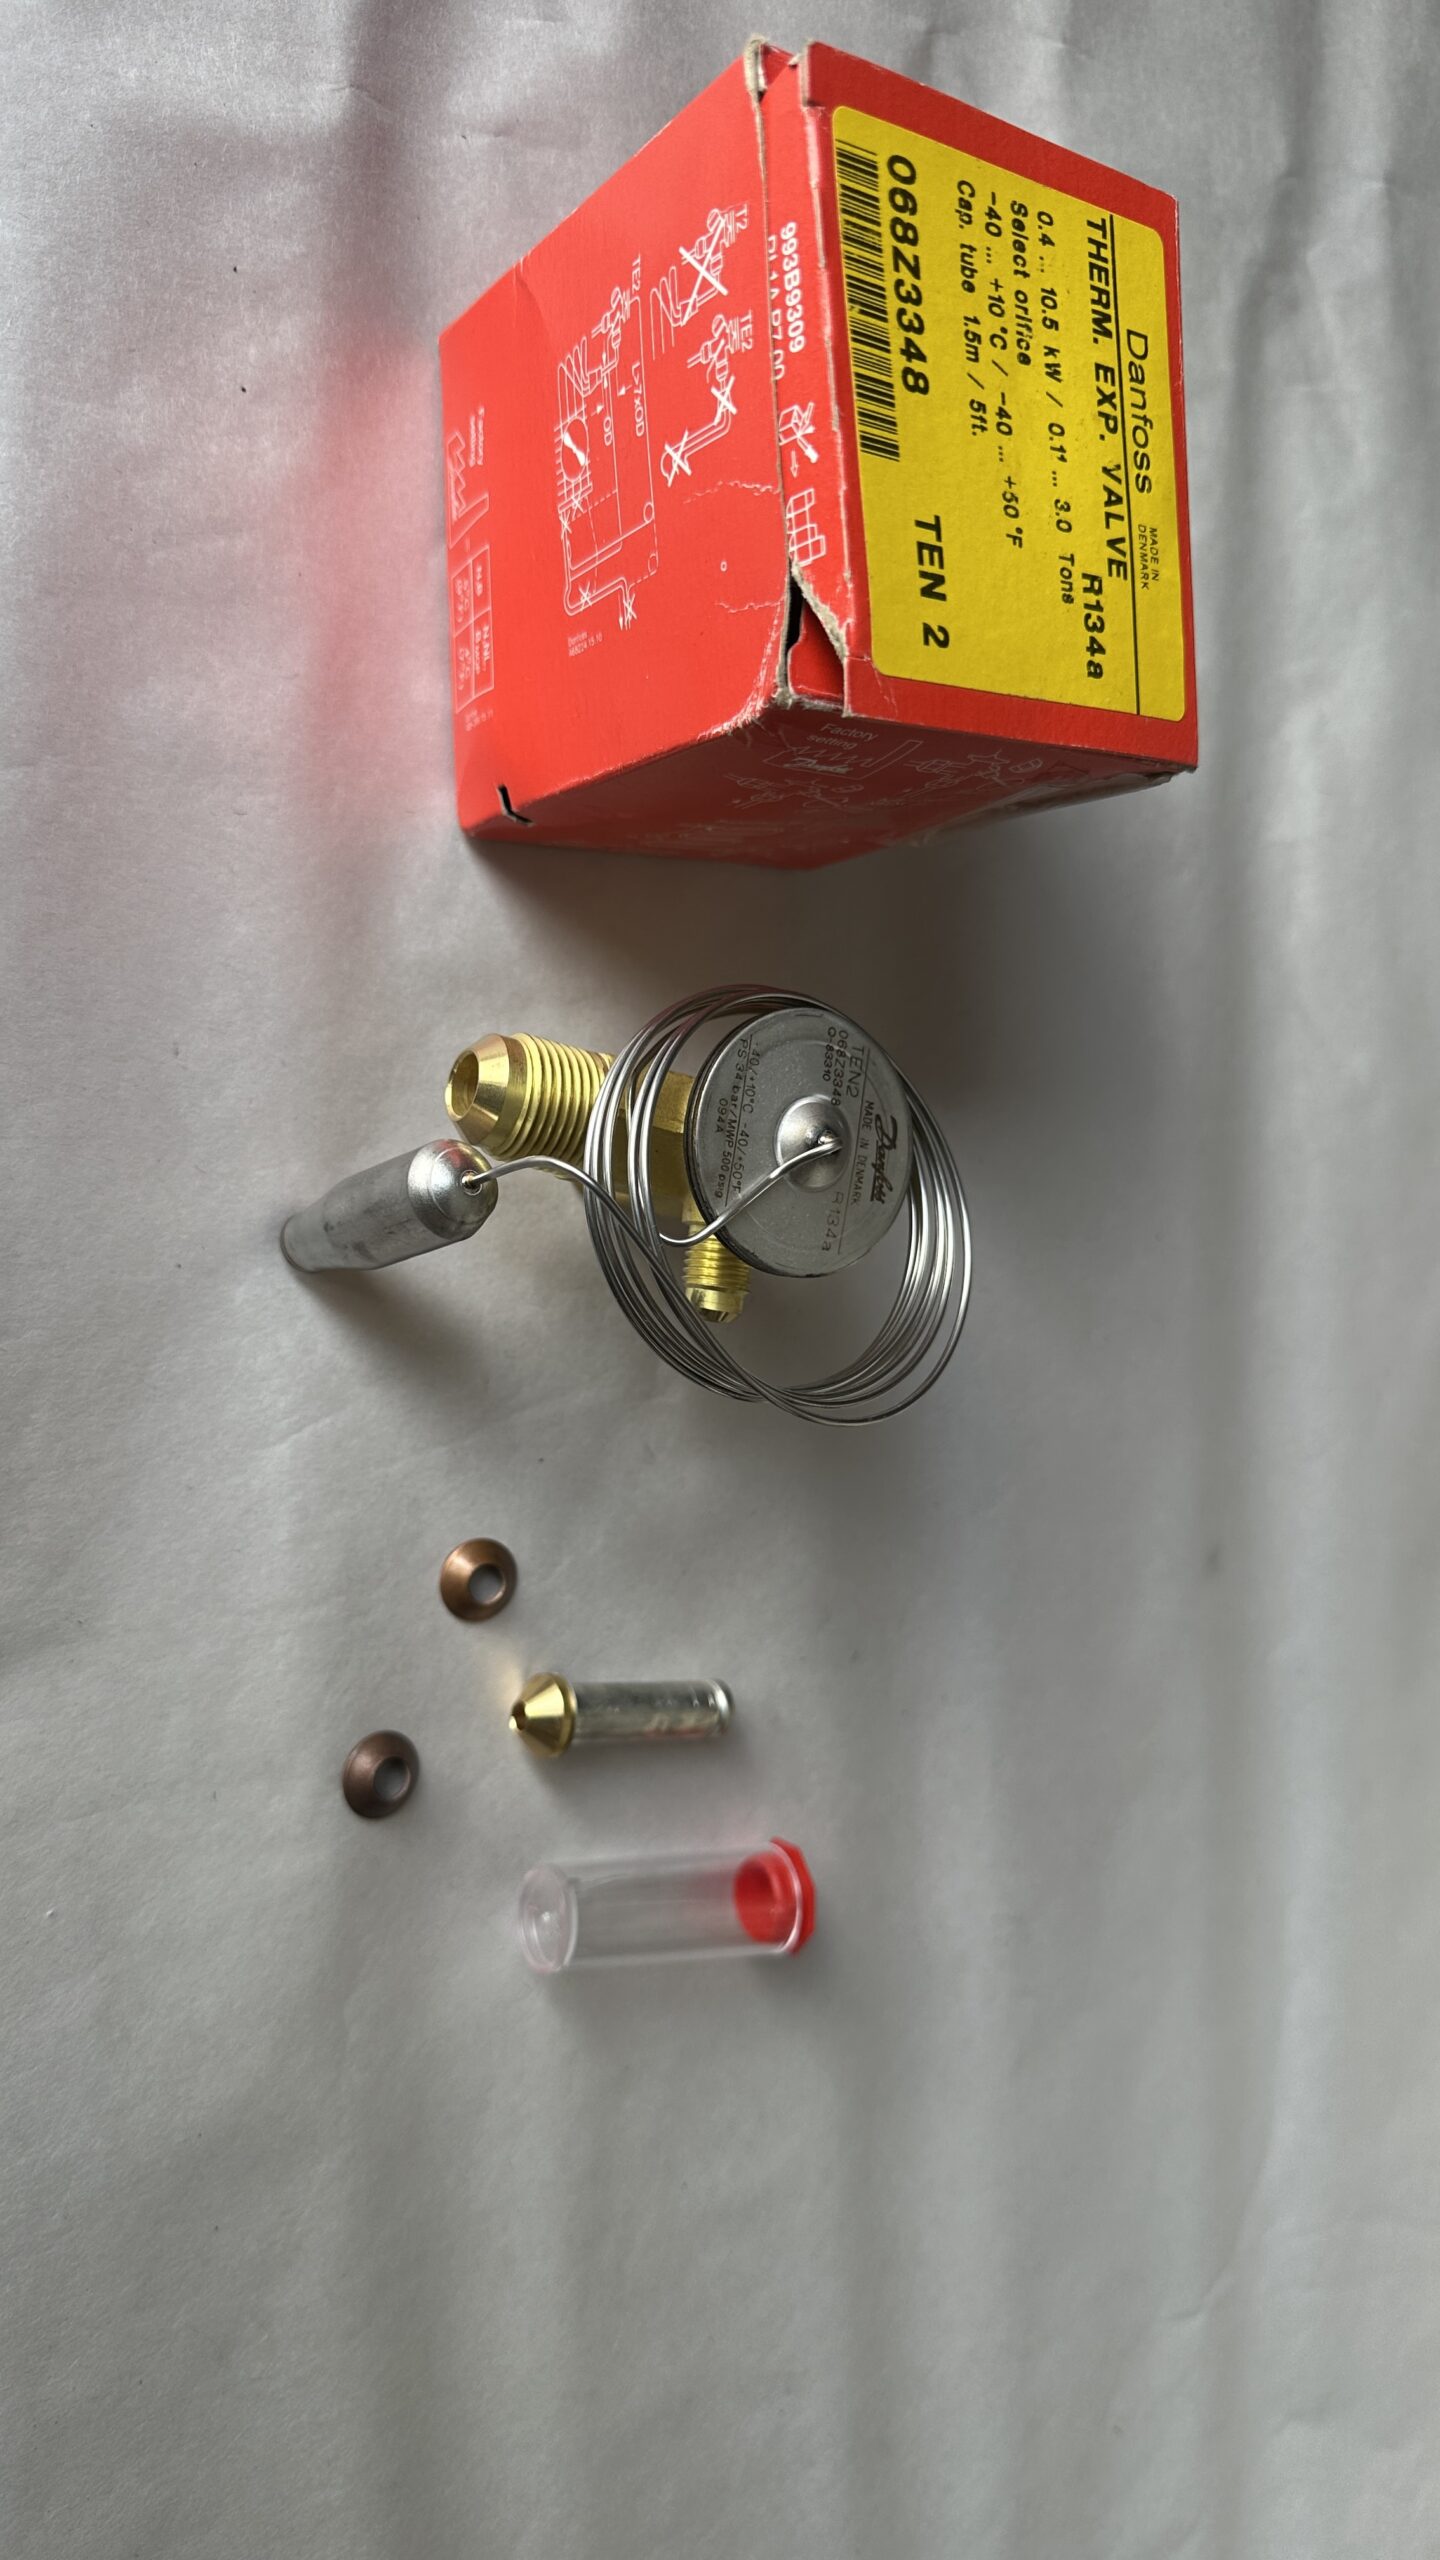
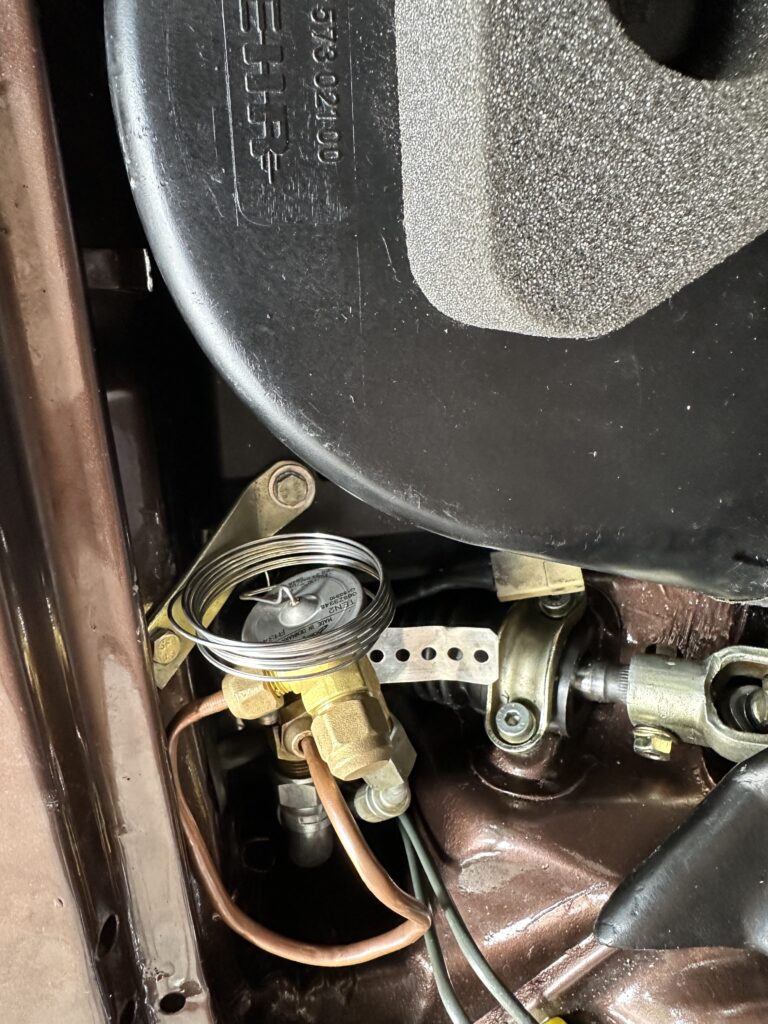
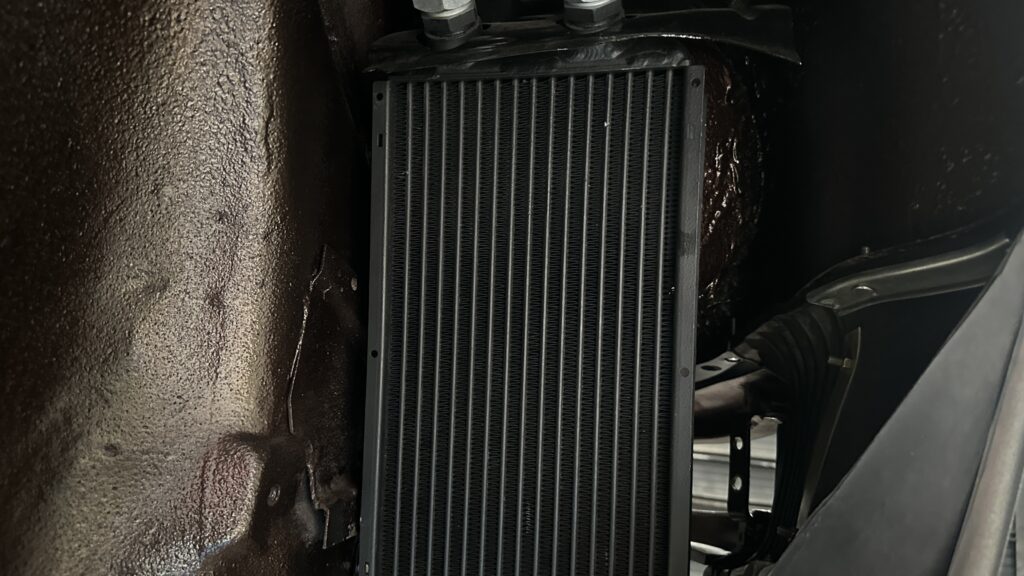
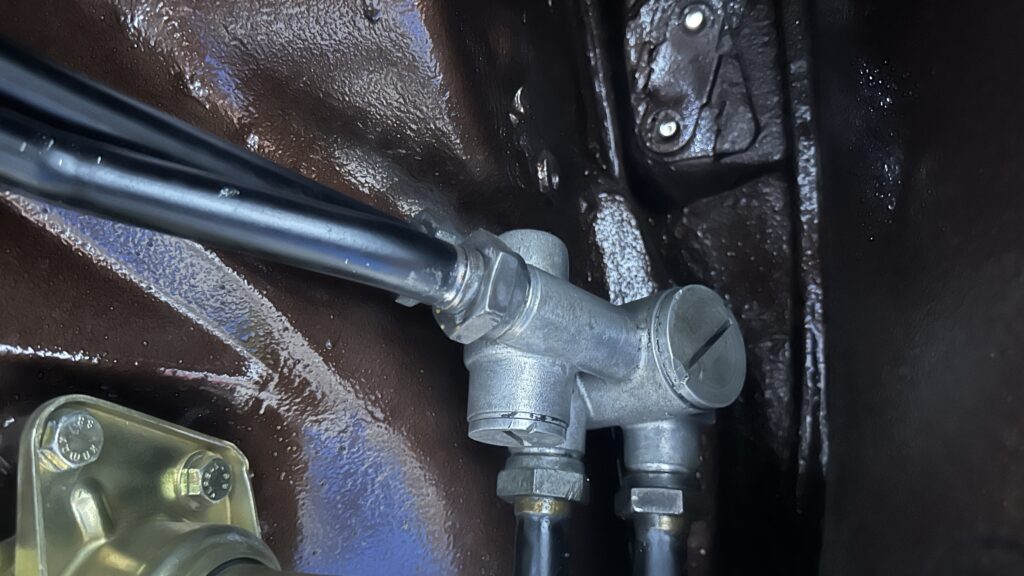
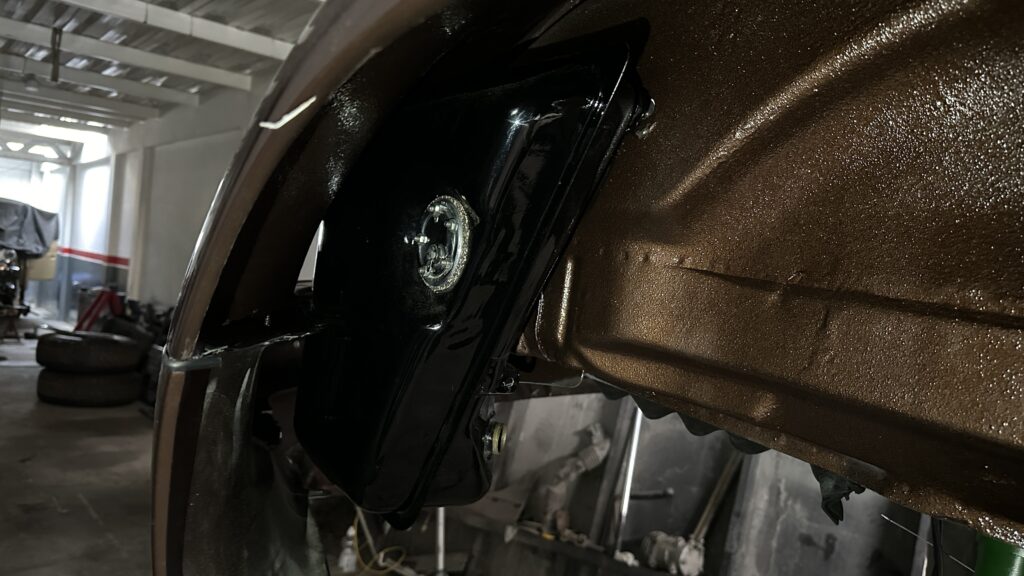
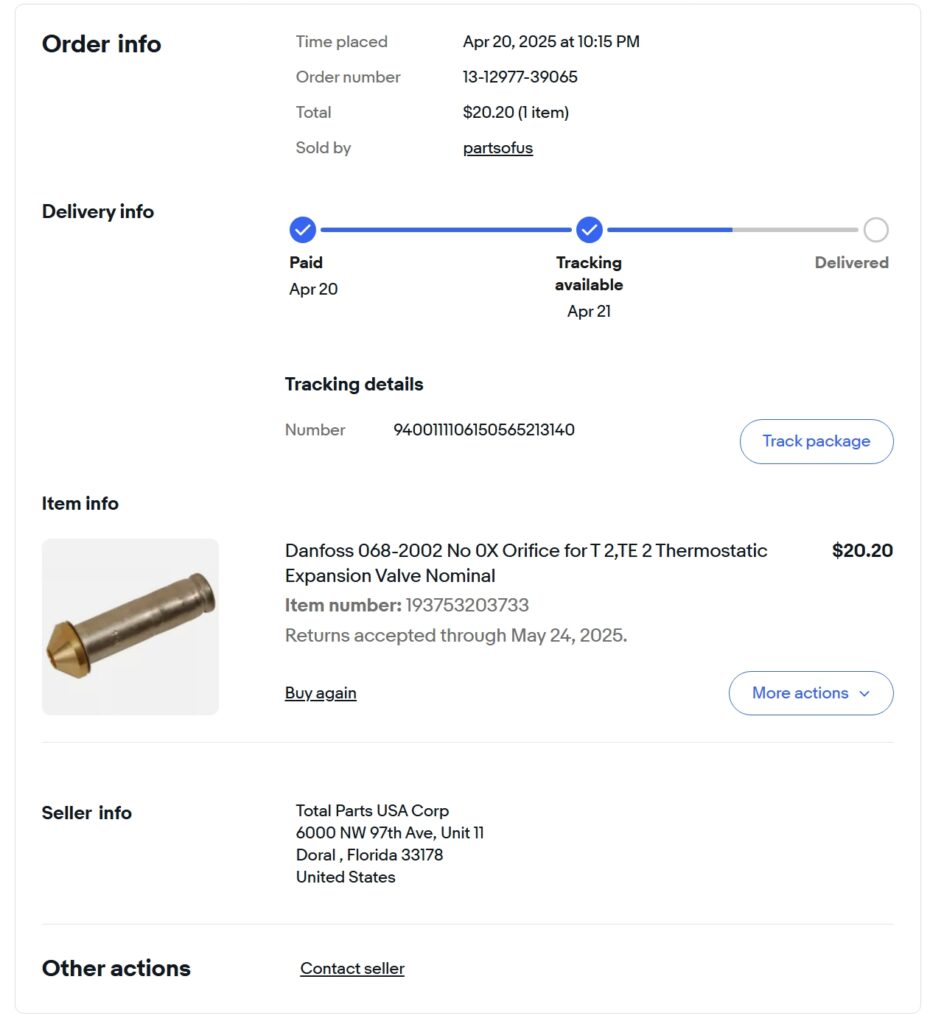
To solve this, we installed an additional 14×14-inch condenser at the rear left fender, assisted by an electrical fan. This significantly improved the refrigerant’s subcooling efficiency. We also added an adjustable expansion valve (TXV) from Danfoss to better control the pressure differential between the low and high sides, where the cooling effect occurs.

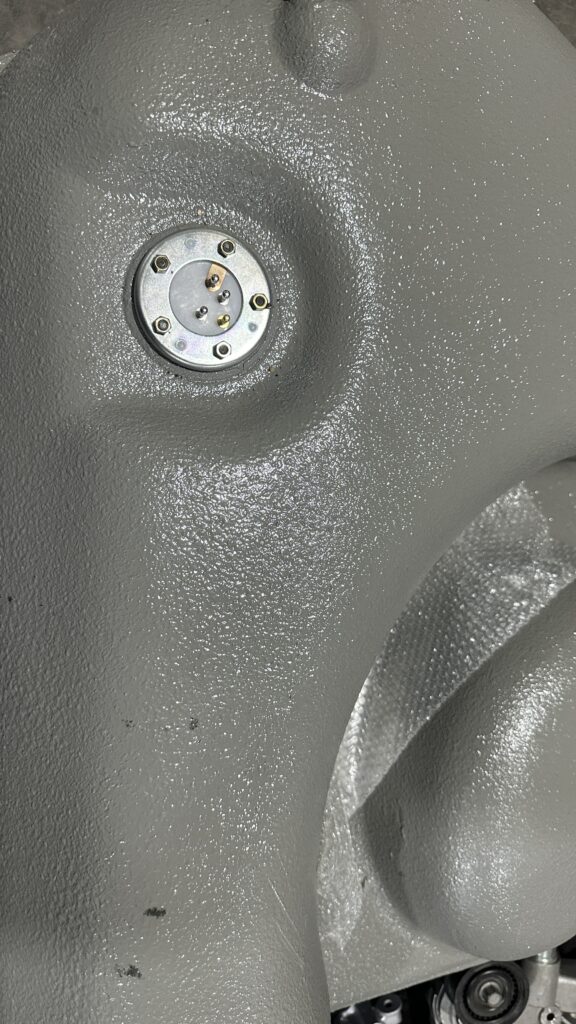
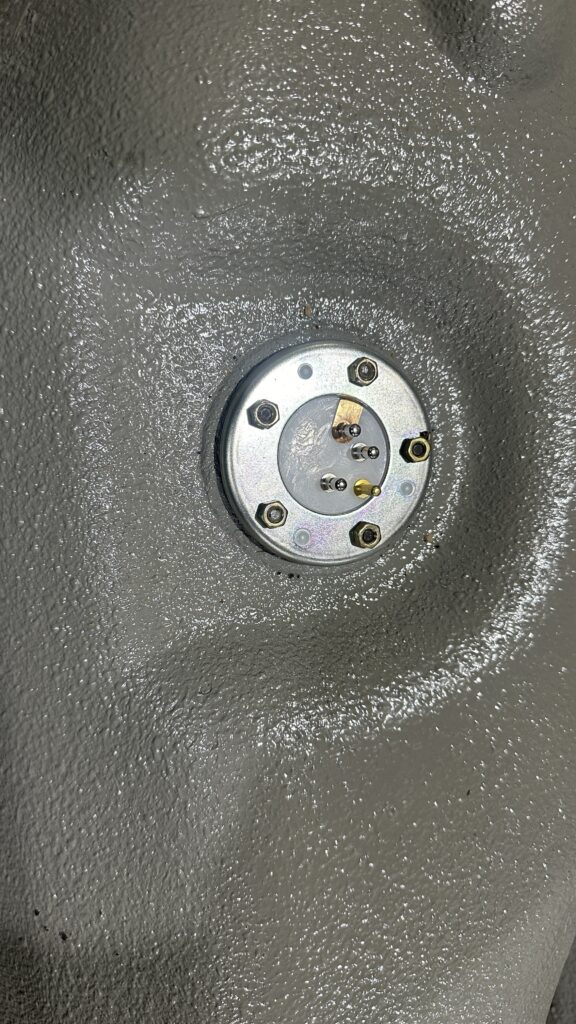
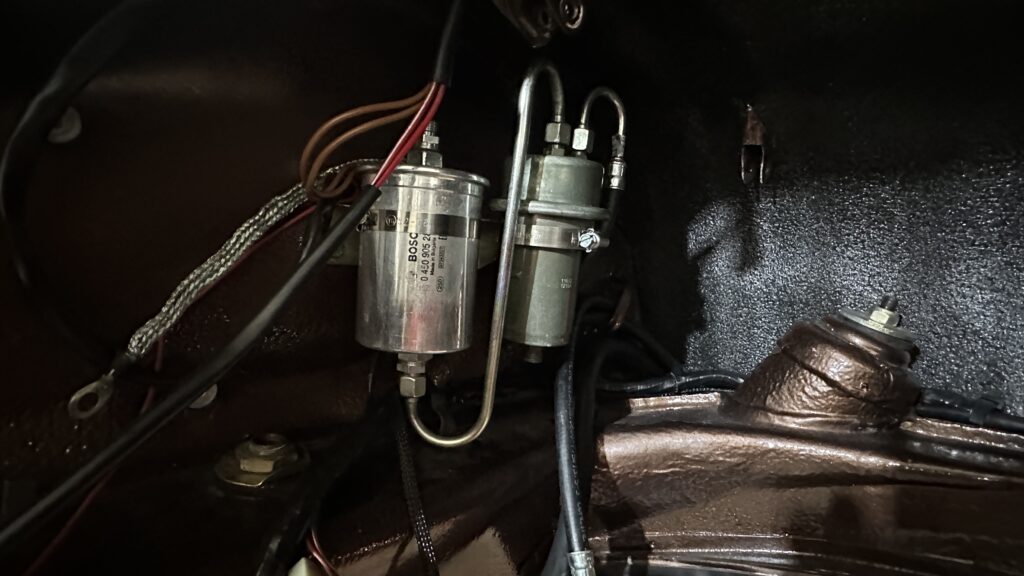
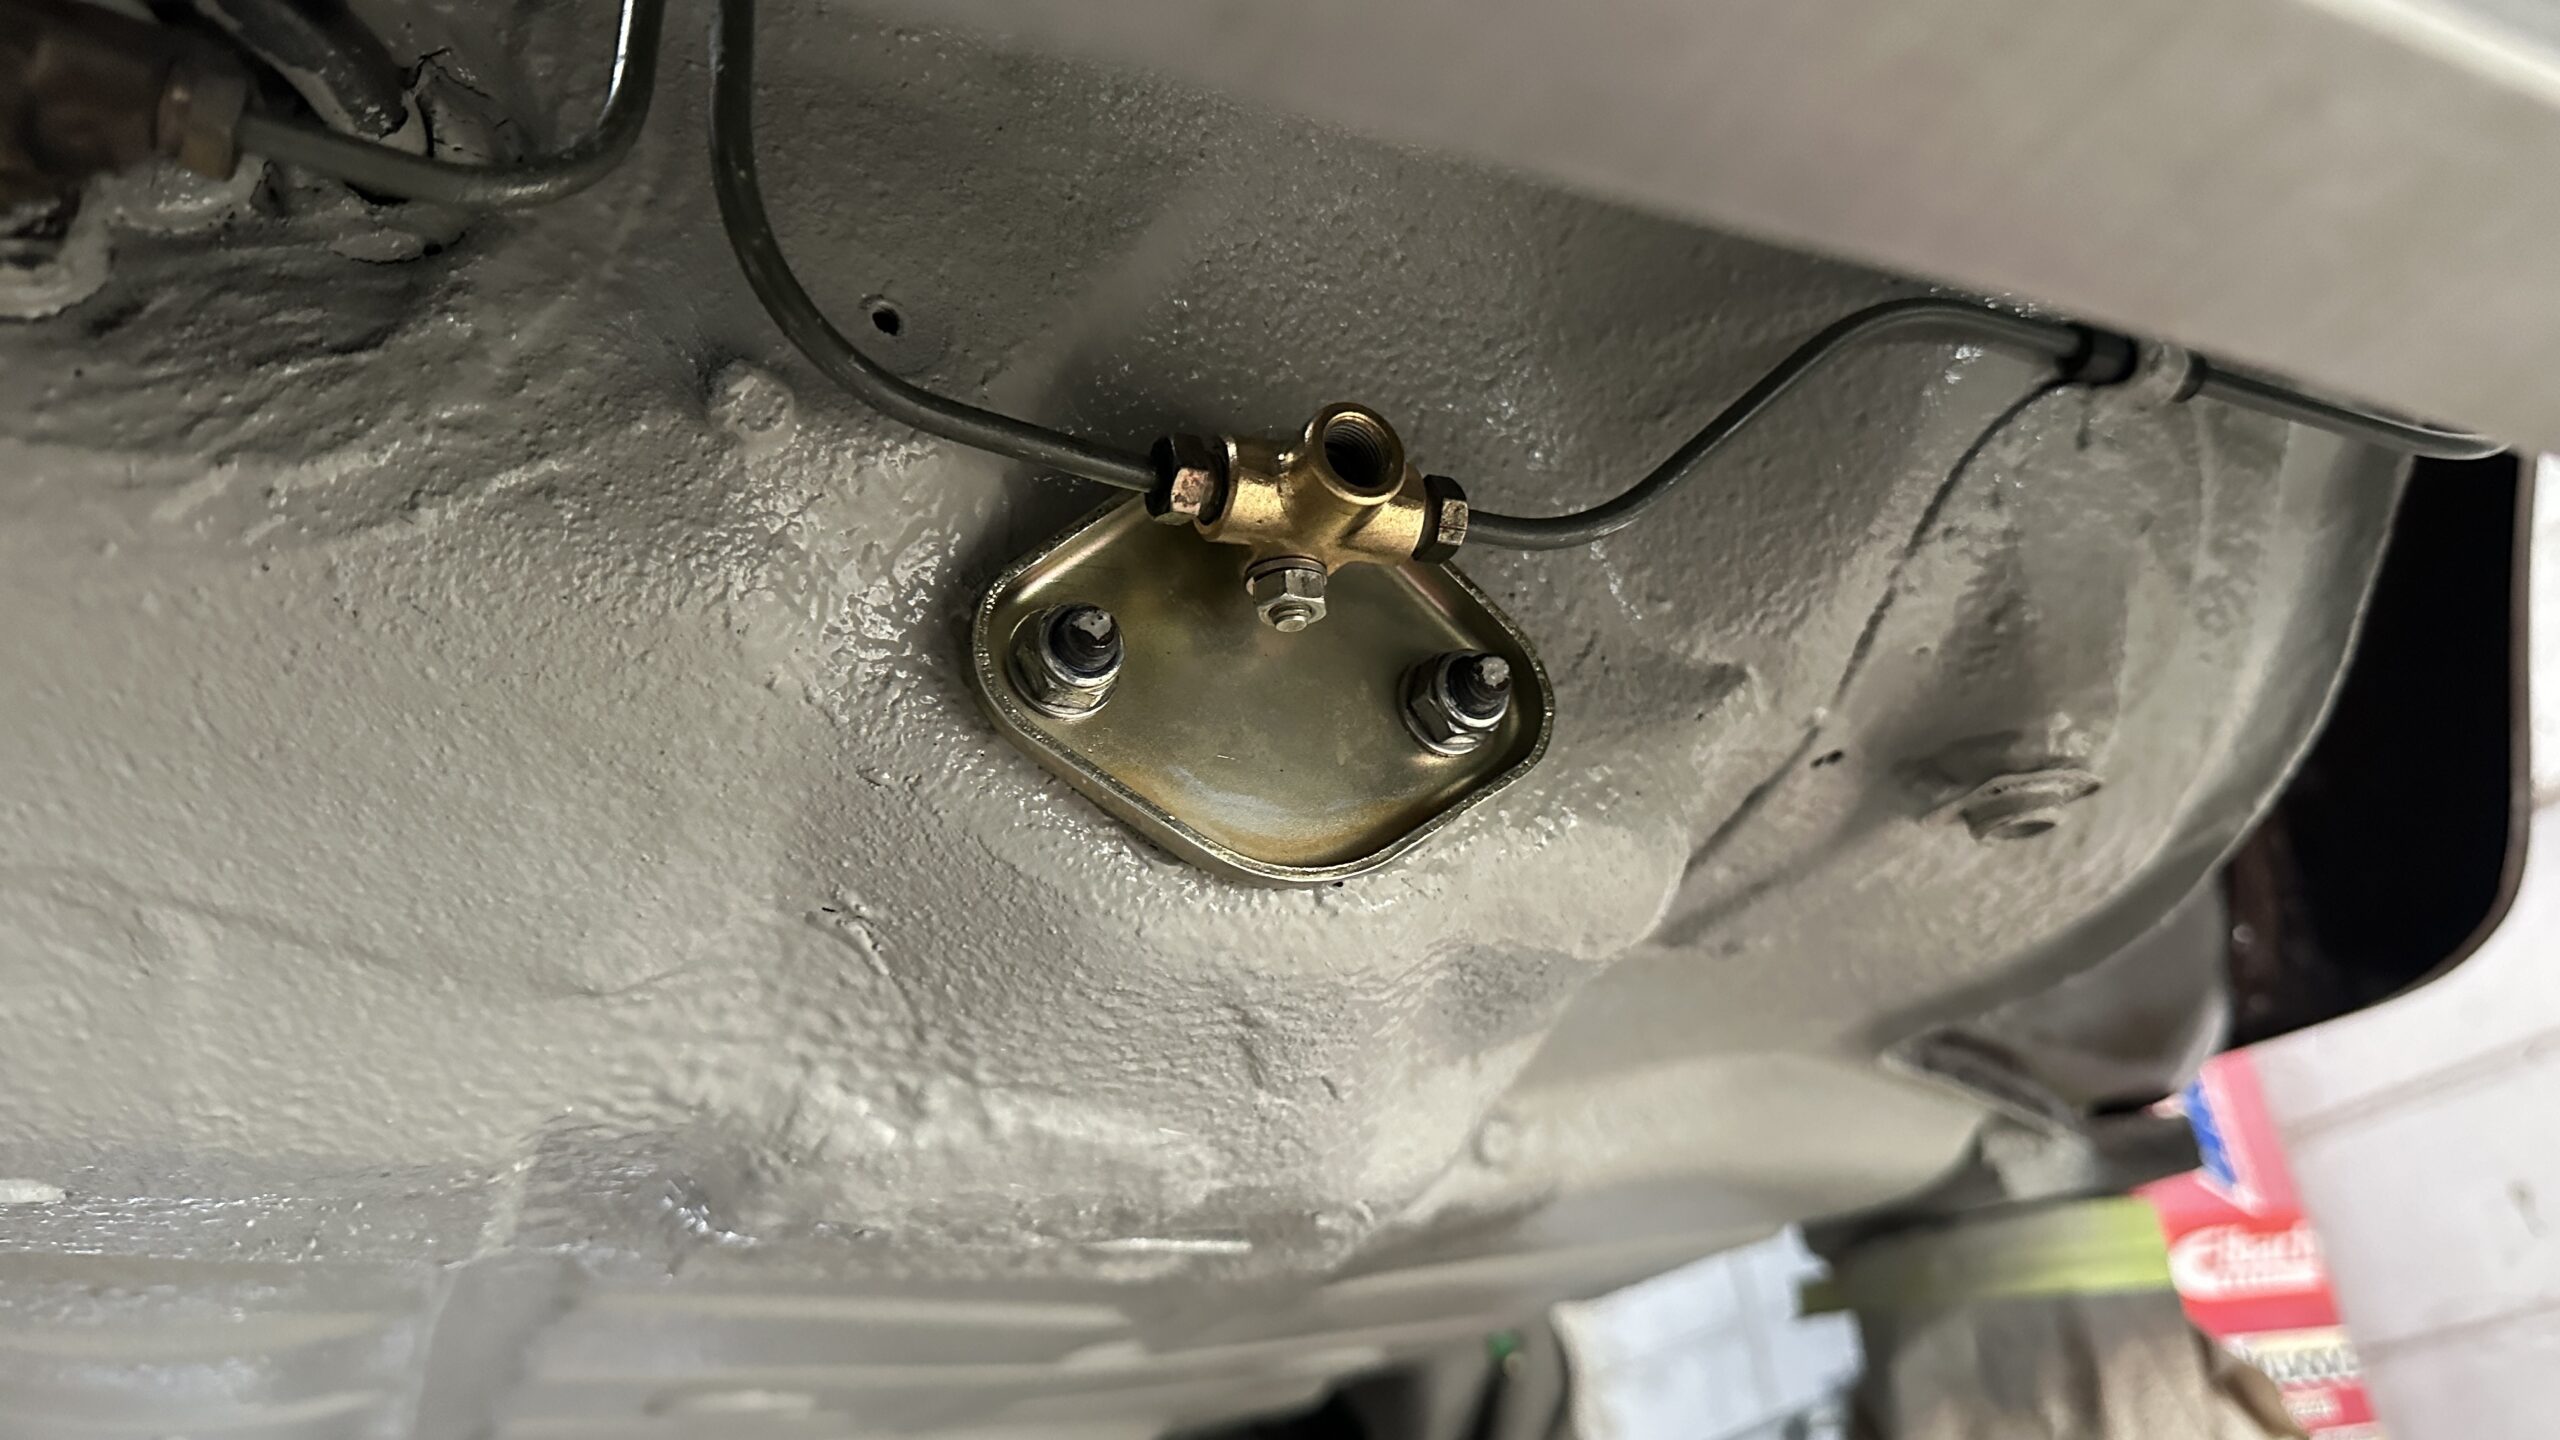
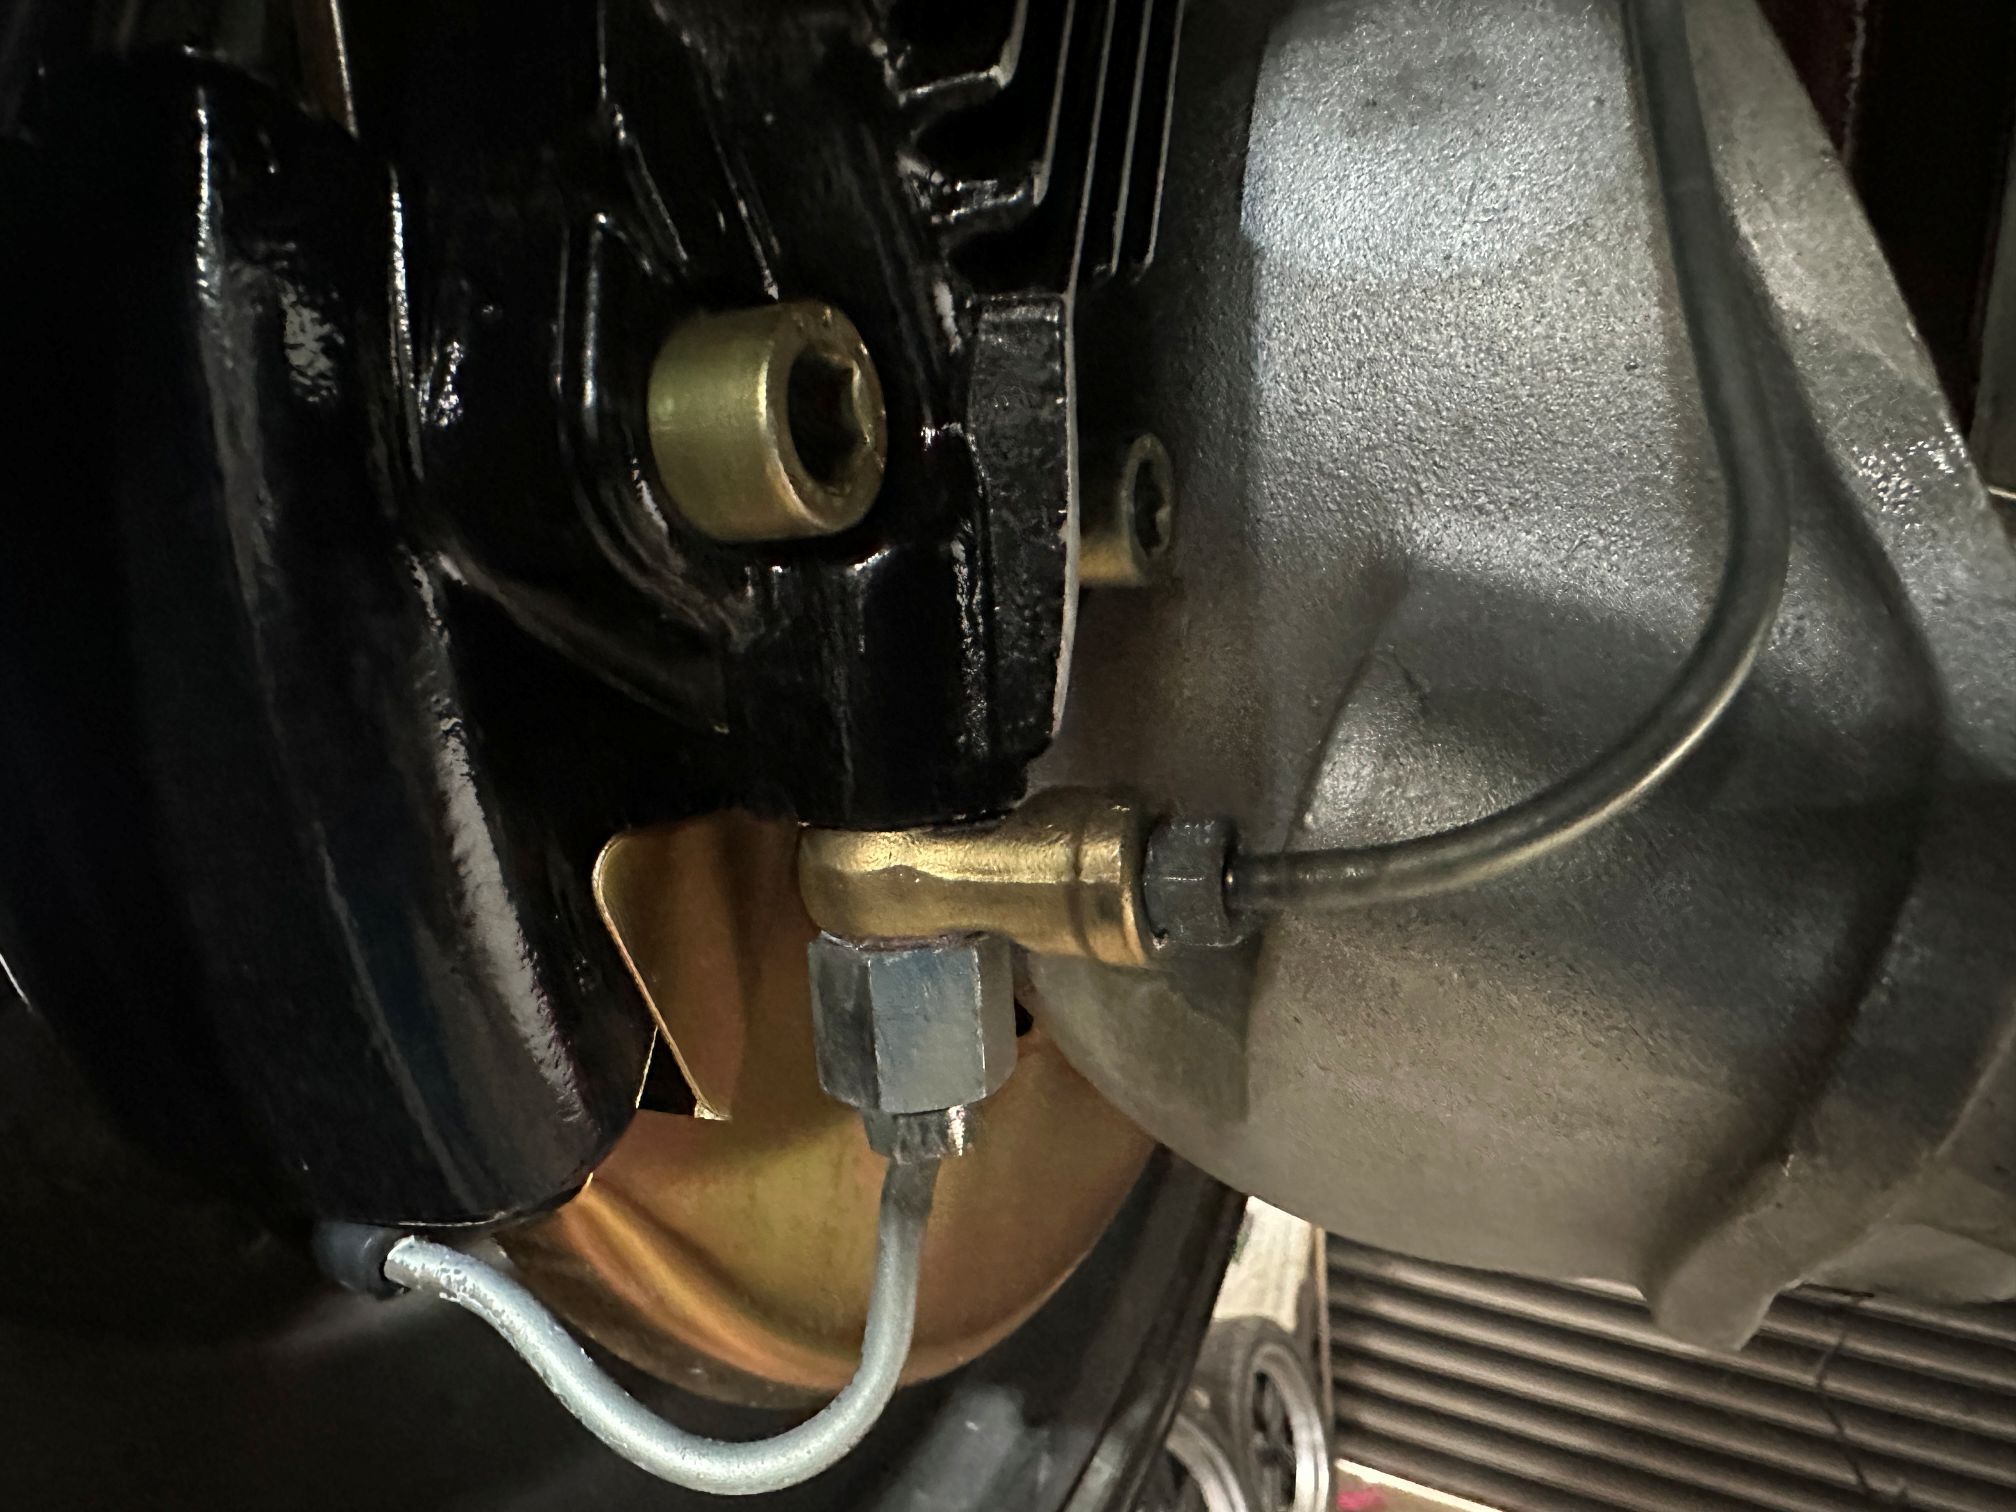
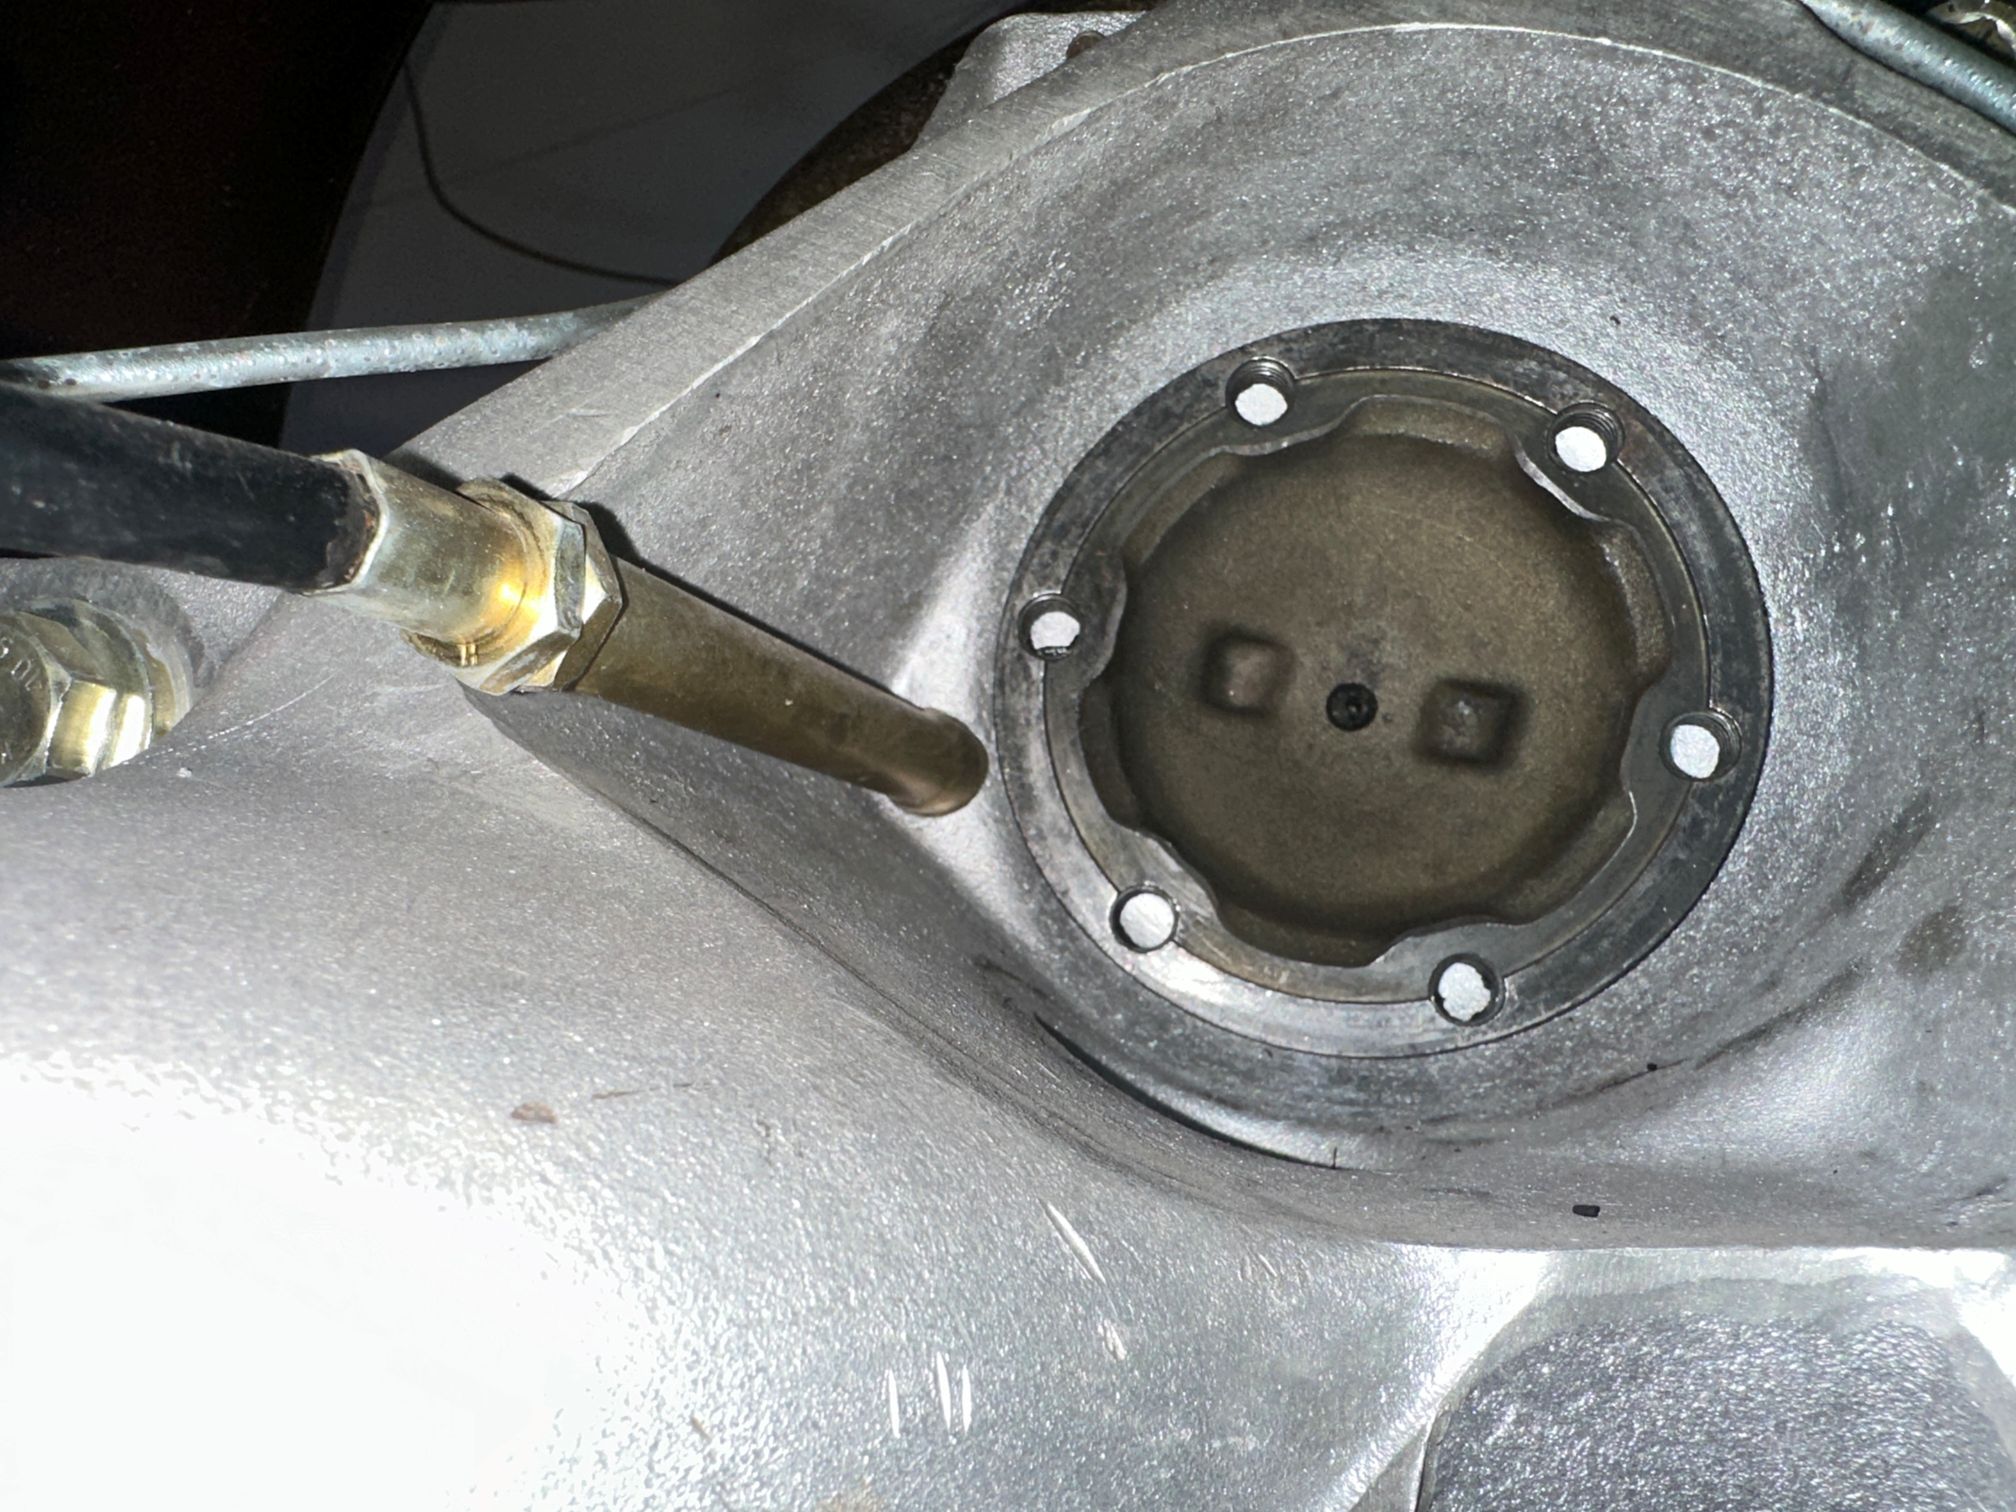
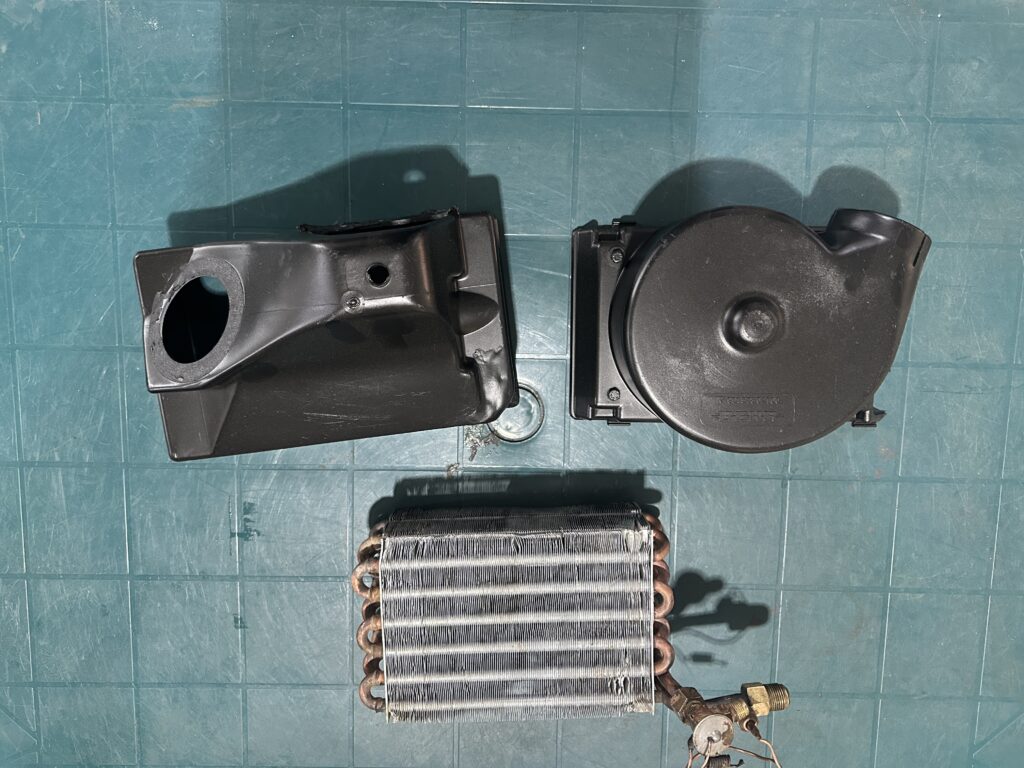
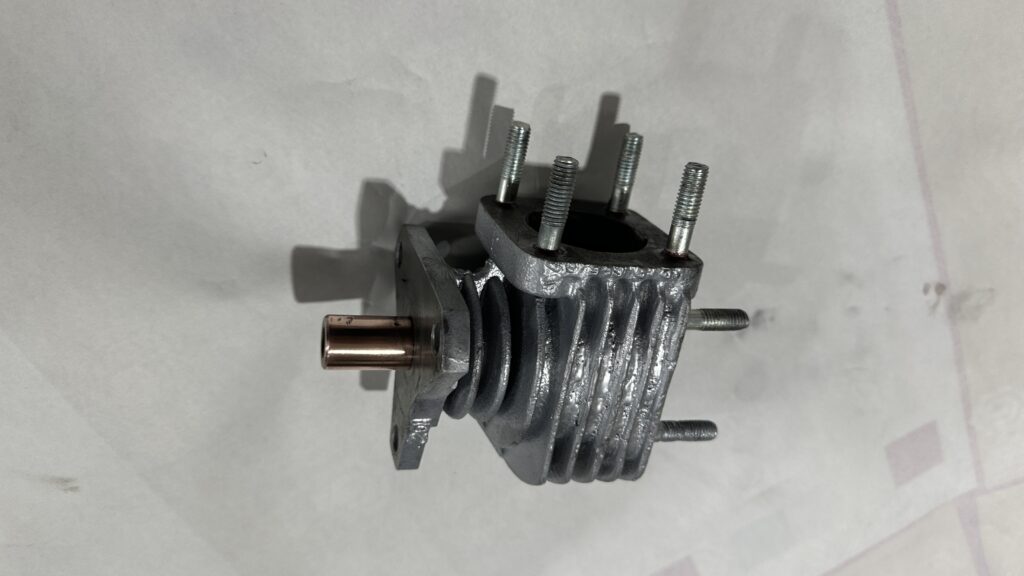
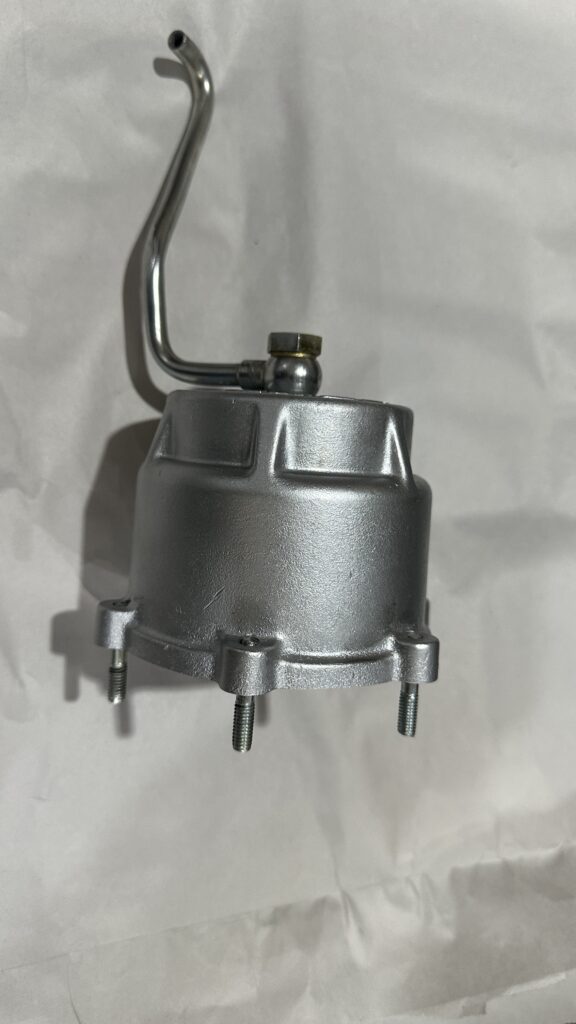
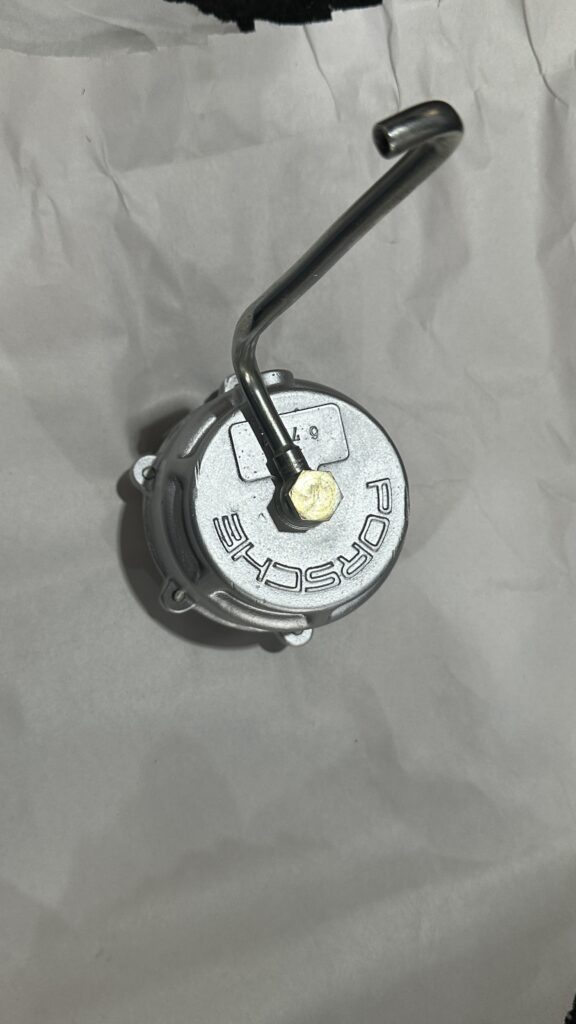
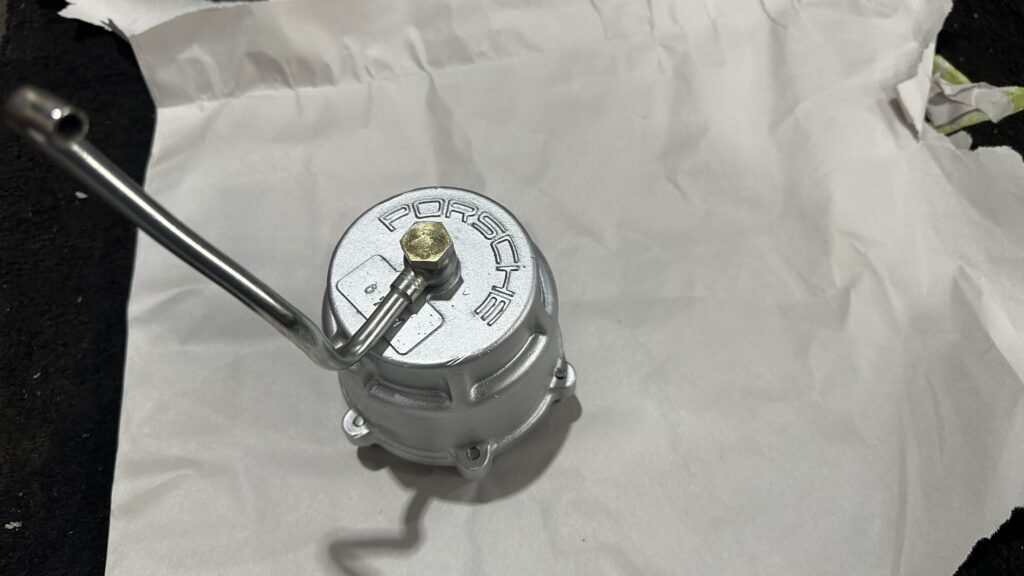
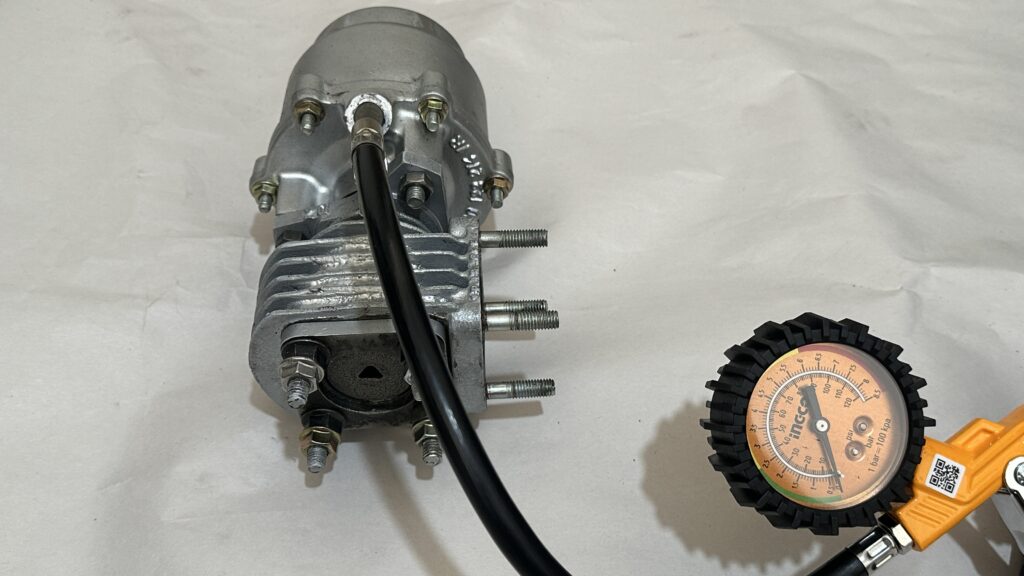
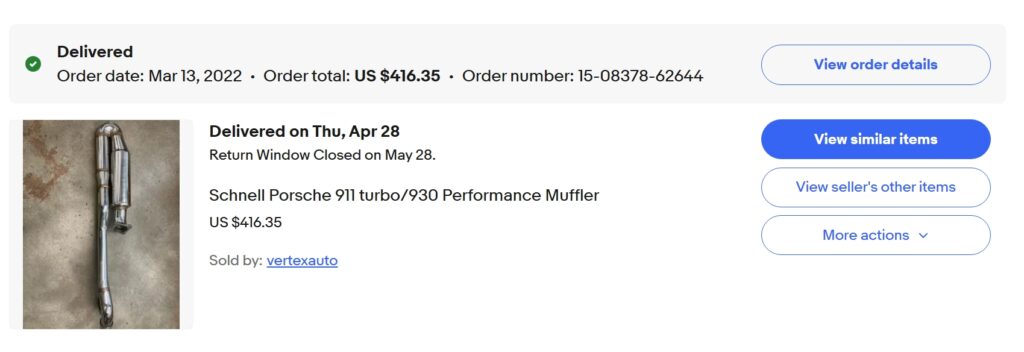
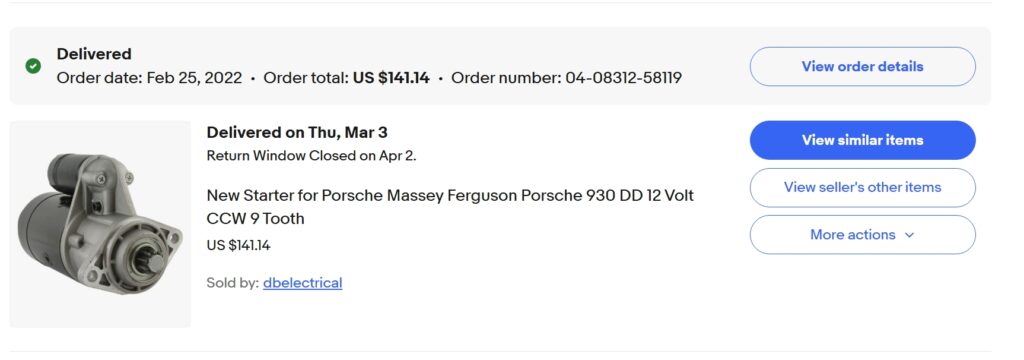
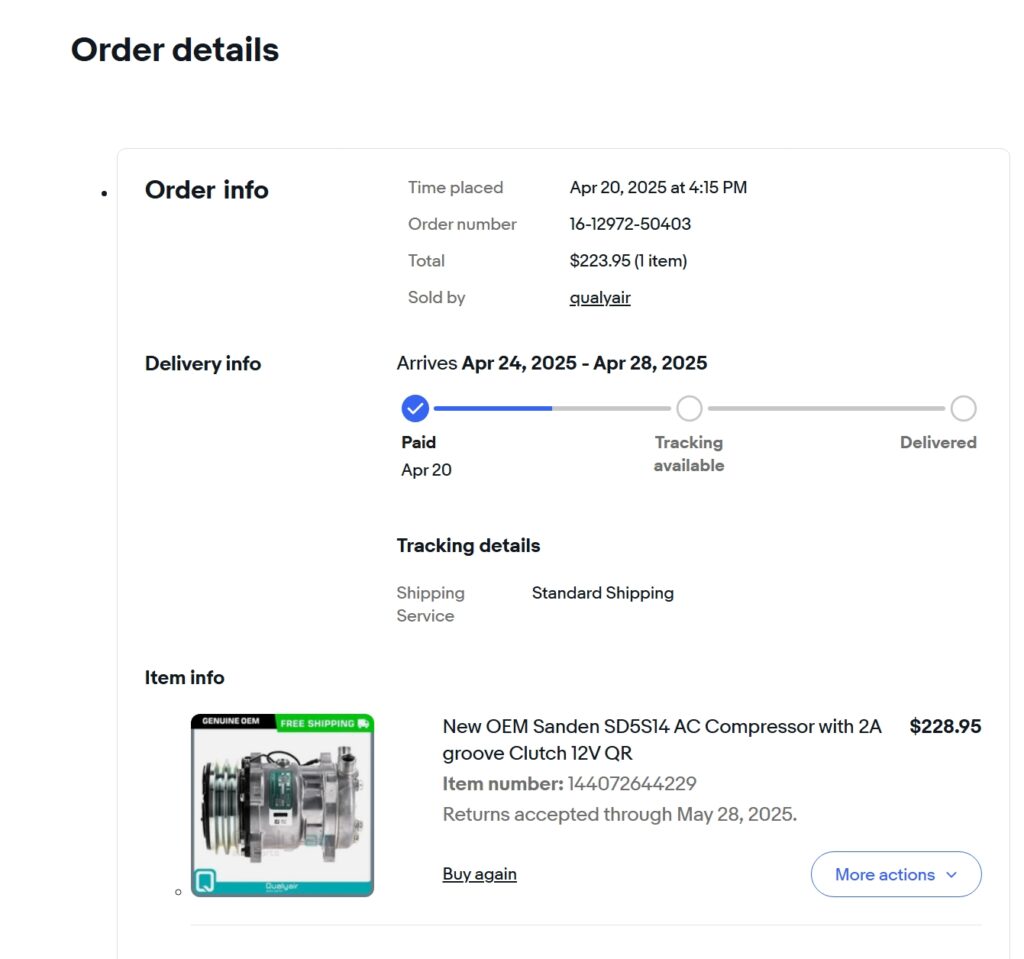
We carried out maintenance and cleaning of the front condenser, added a new rear condenser, and upgraded to a much more efficient 508 compressor, replacing the old York model. All flare-type connections with cooper shims were kept original, ensuring that if the new owner prefers to revert to the old system, it can easily be done. Although I doubt they will, given the great cooling performance now, but it’s up to each owner.

I’ve also kept the old York compressor and R12 valve for those who might want to return to the original system. Keep in mind that R134a is now used, and I recommend continuing with it if reverting back to the older system, as R12 is no longer available and is banned. The TXV has been updated for R134a compatibility.

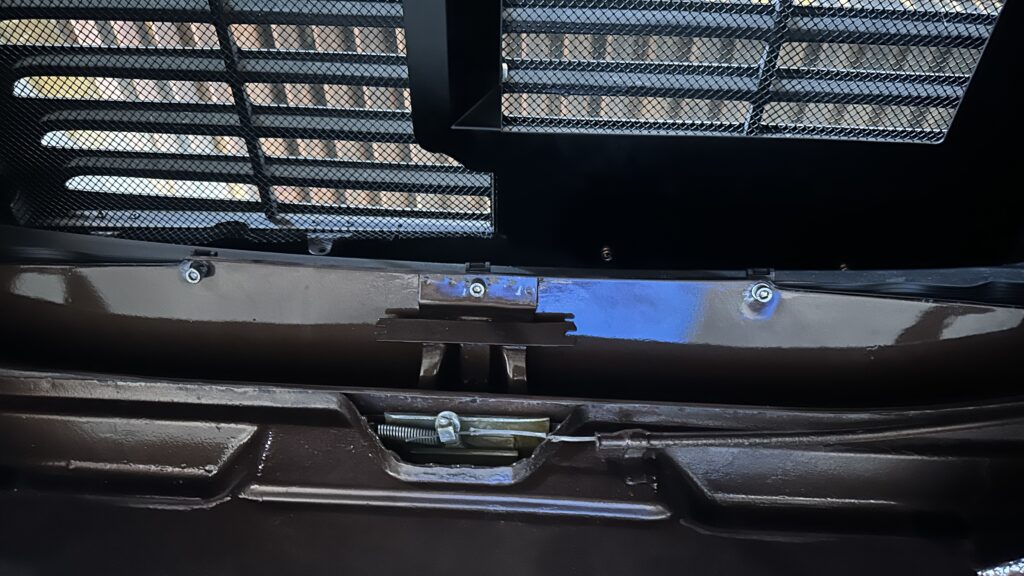
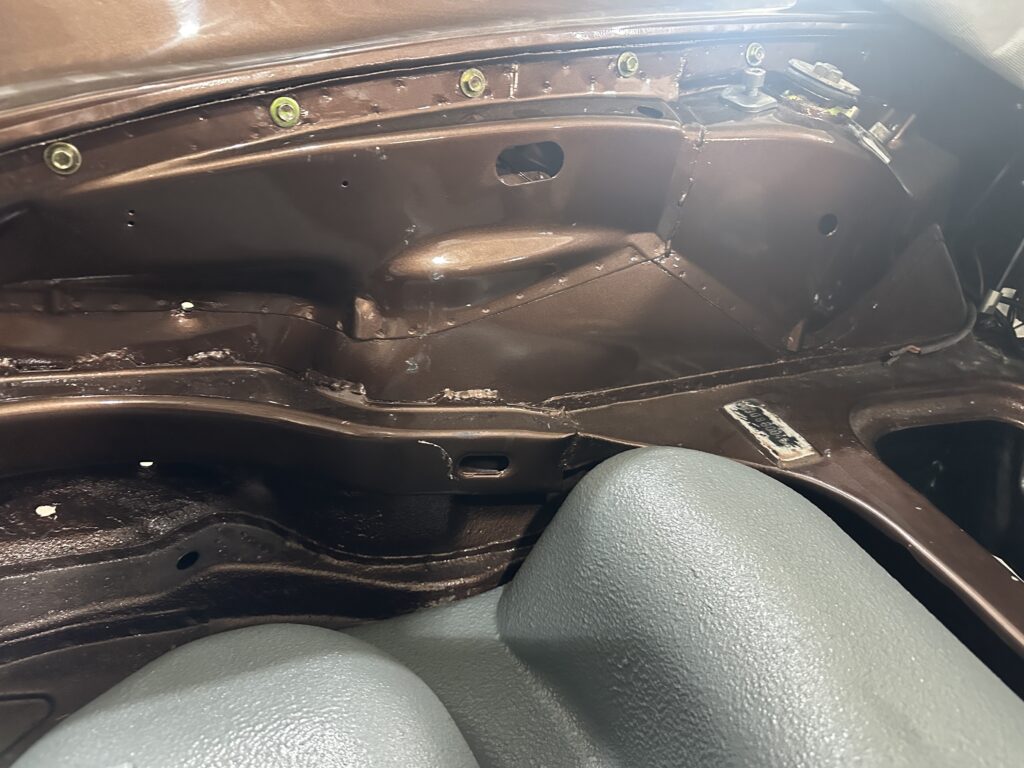
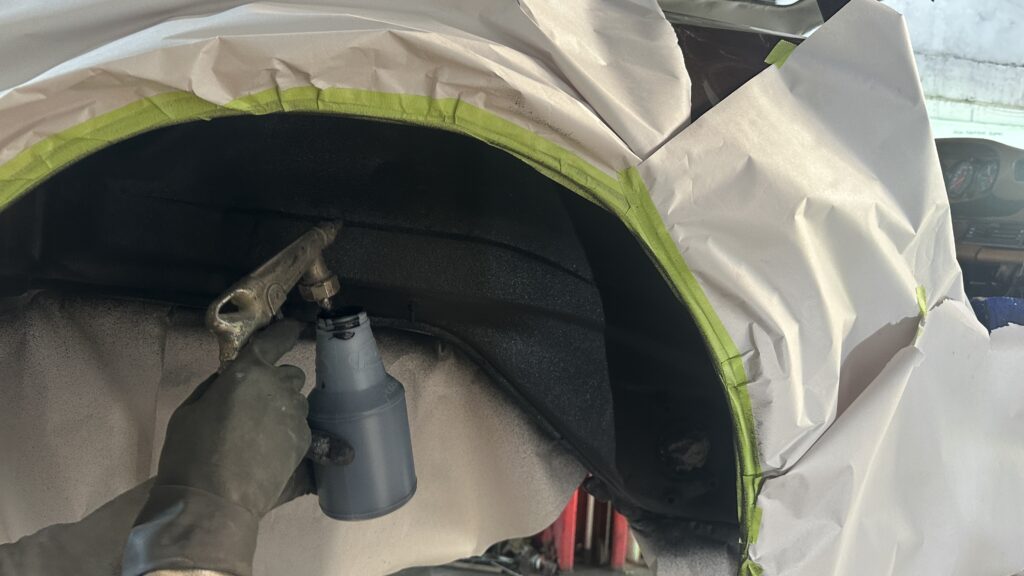
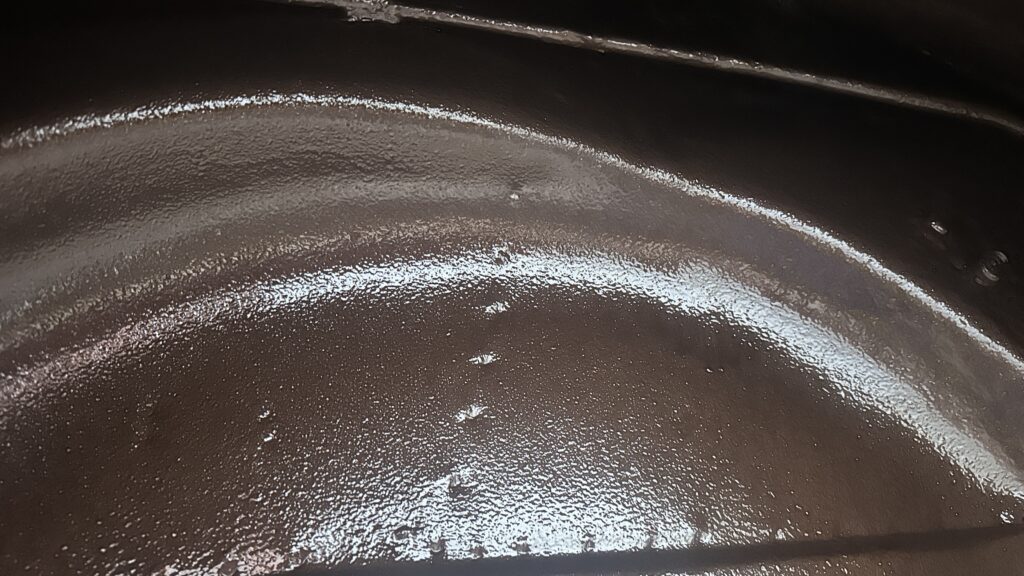
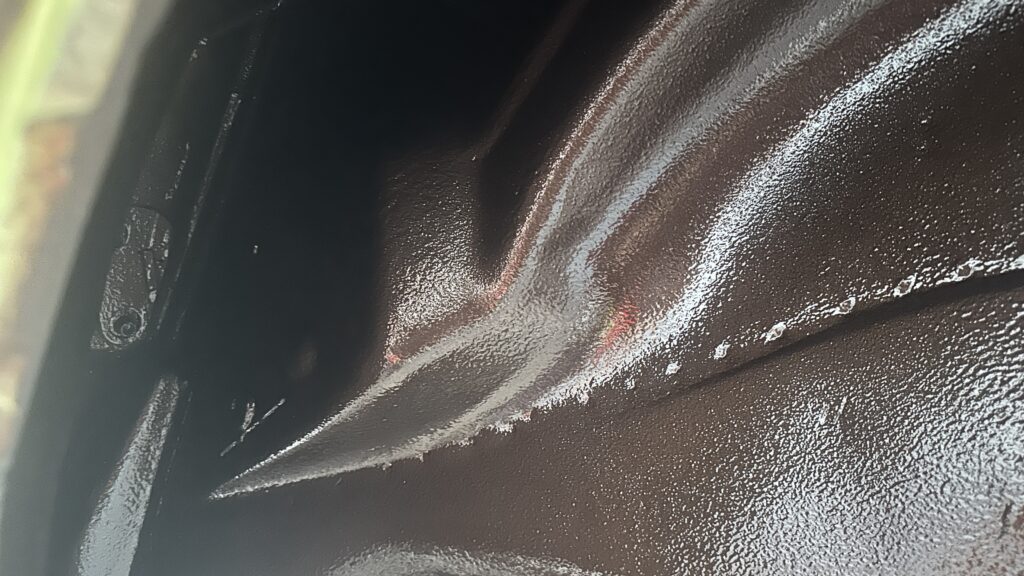
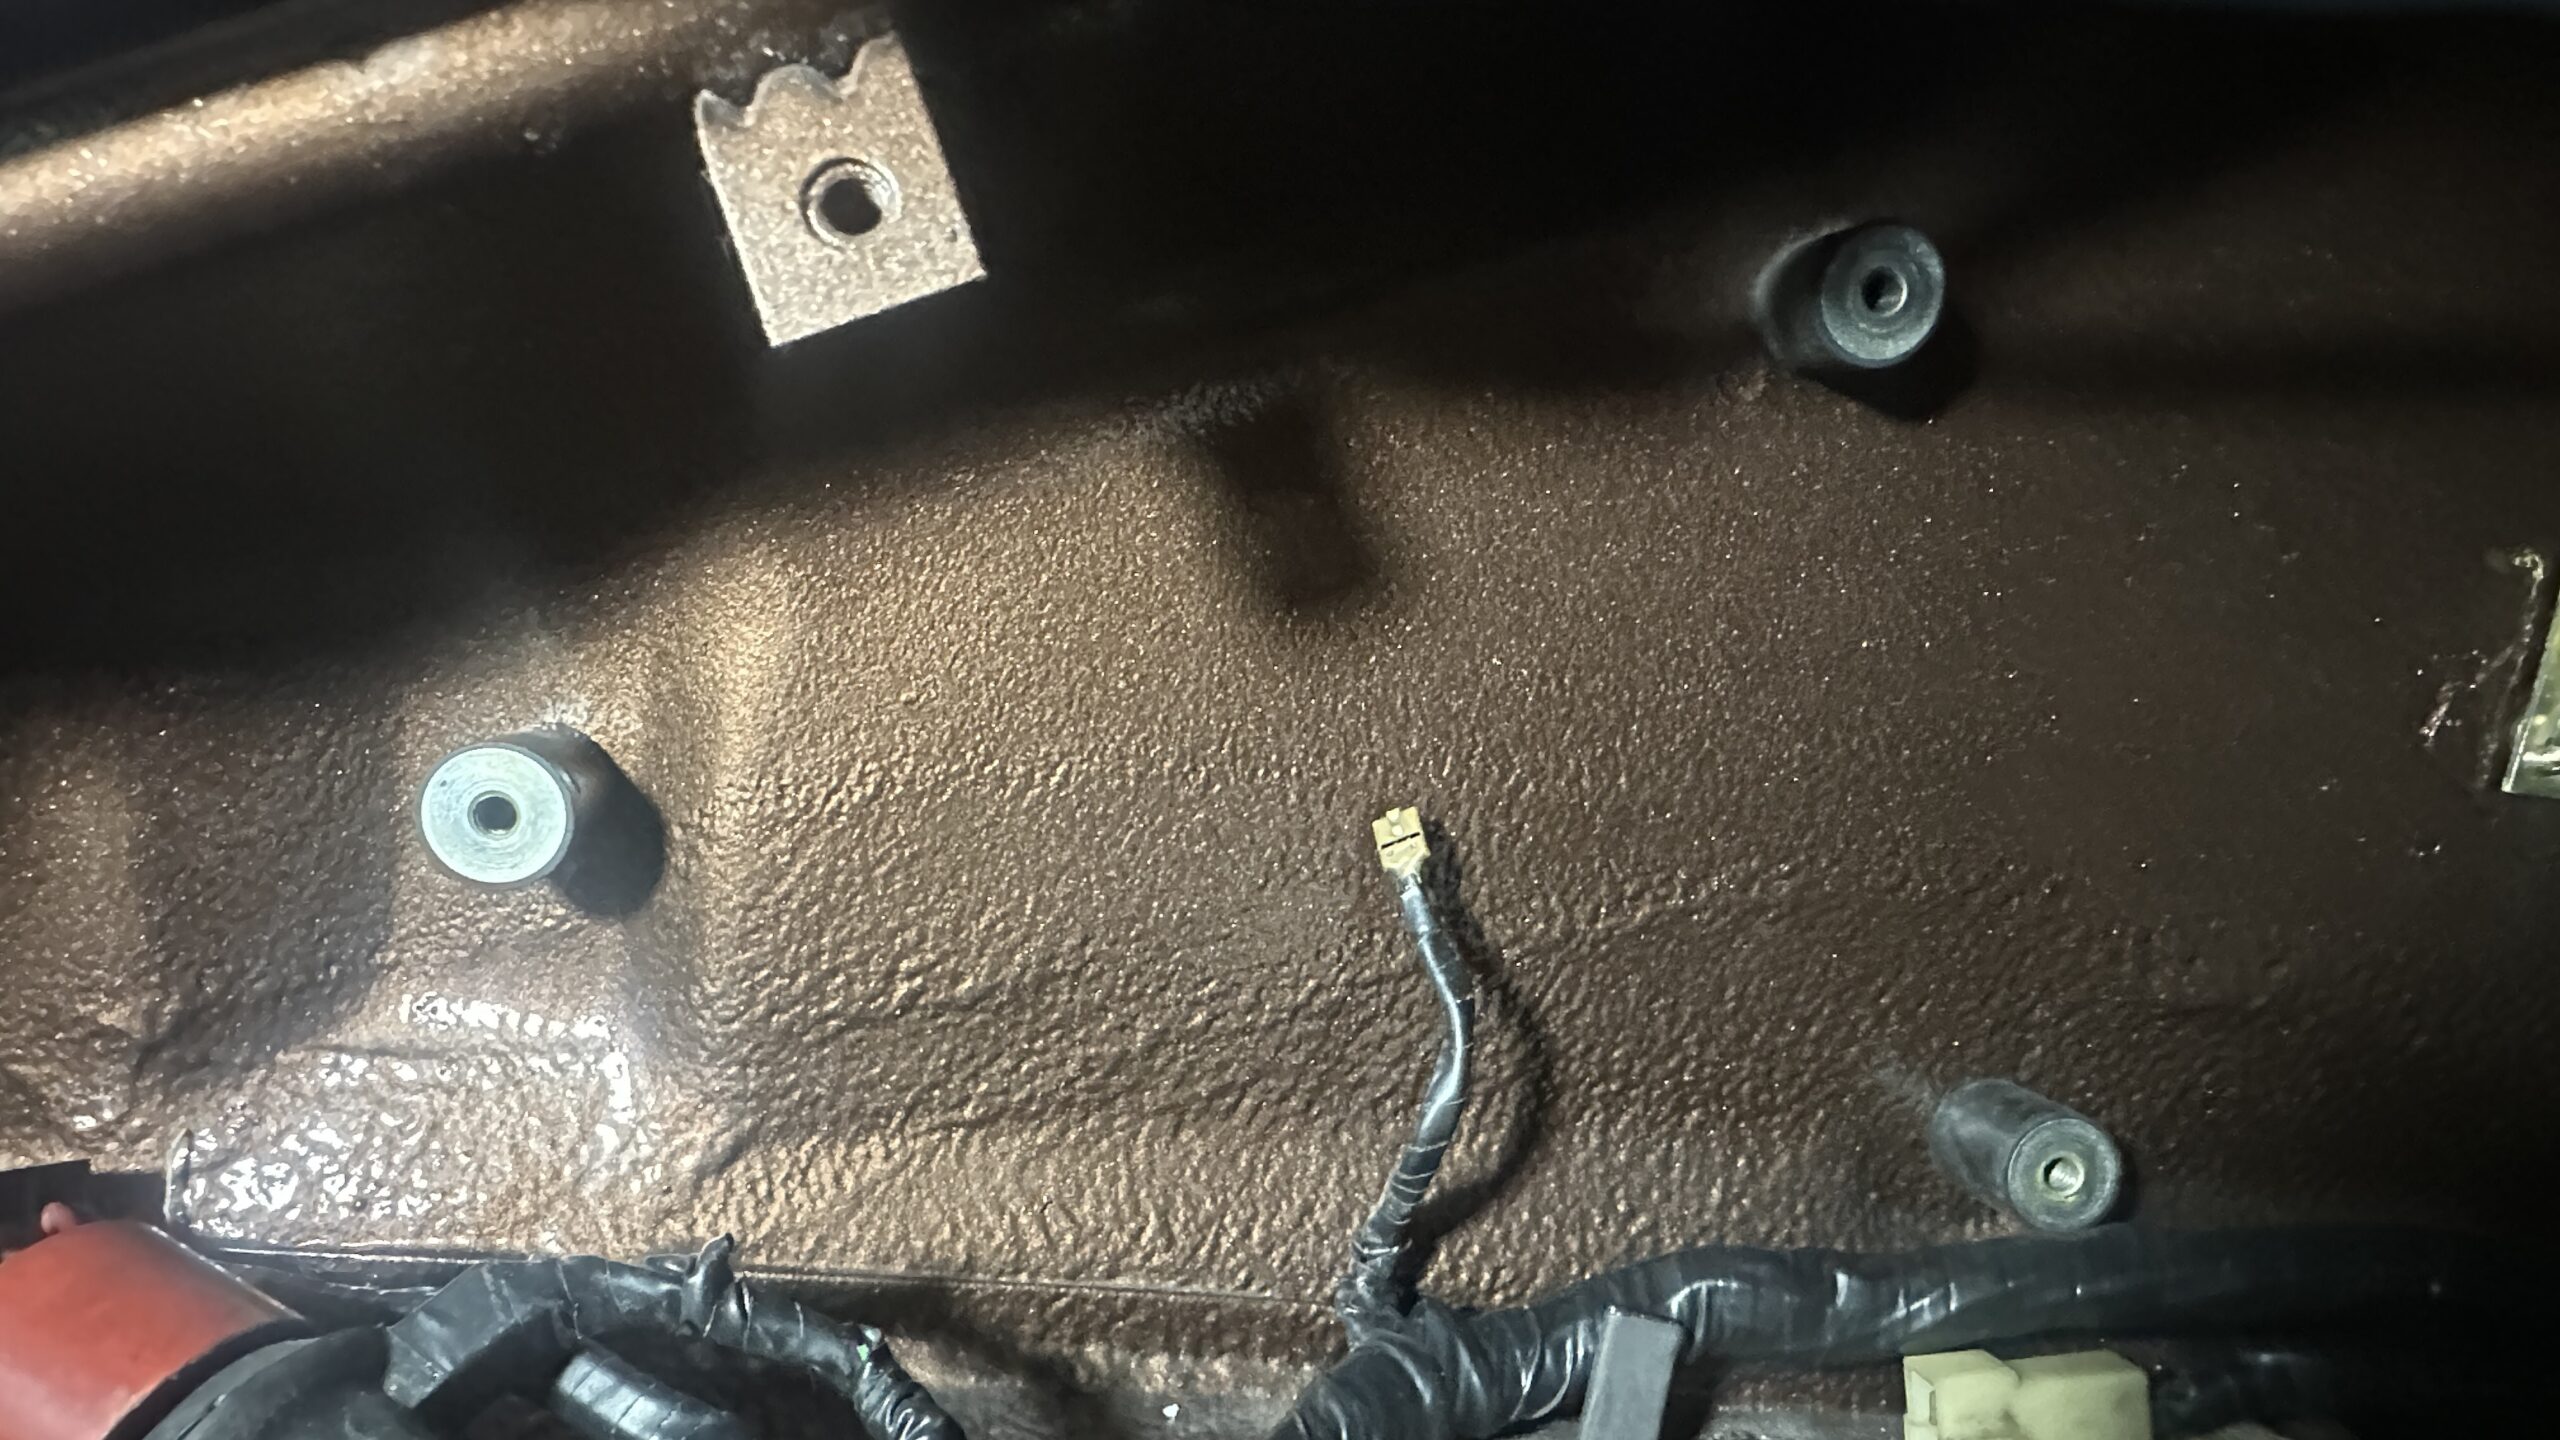
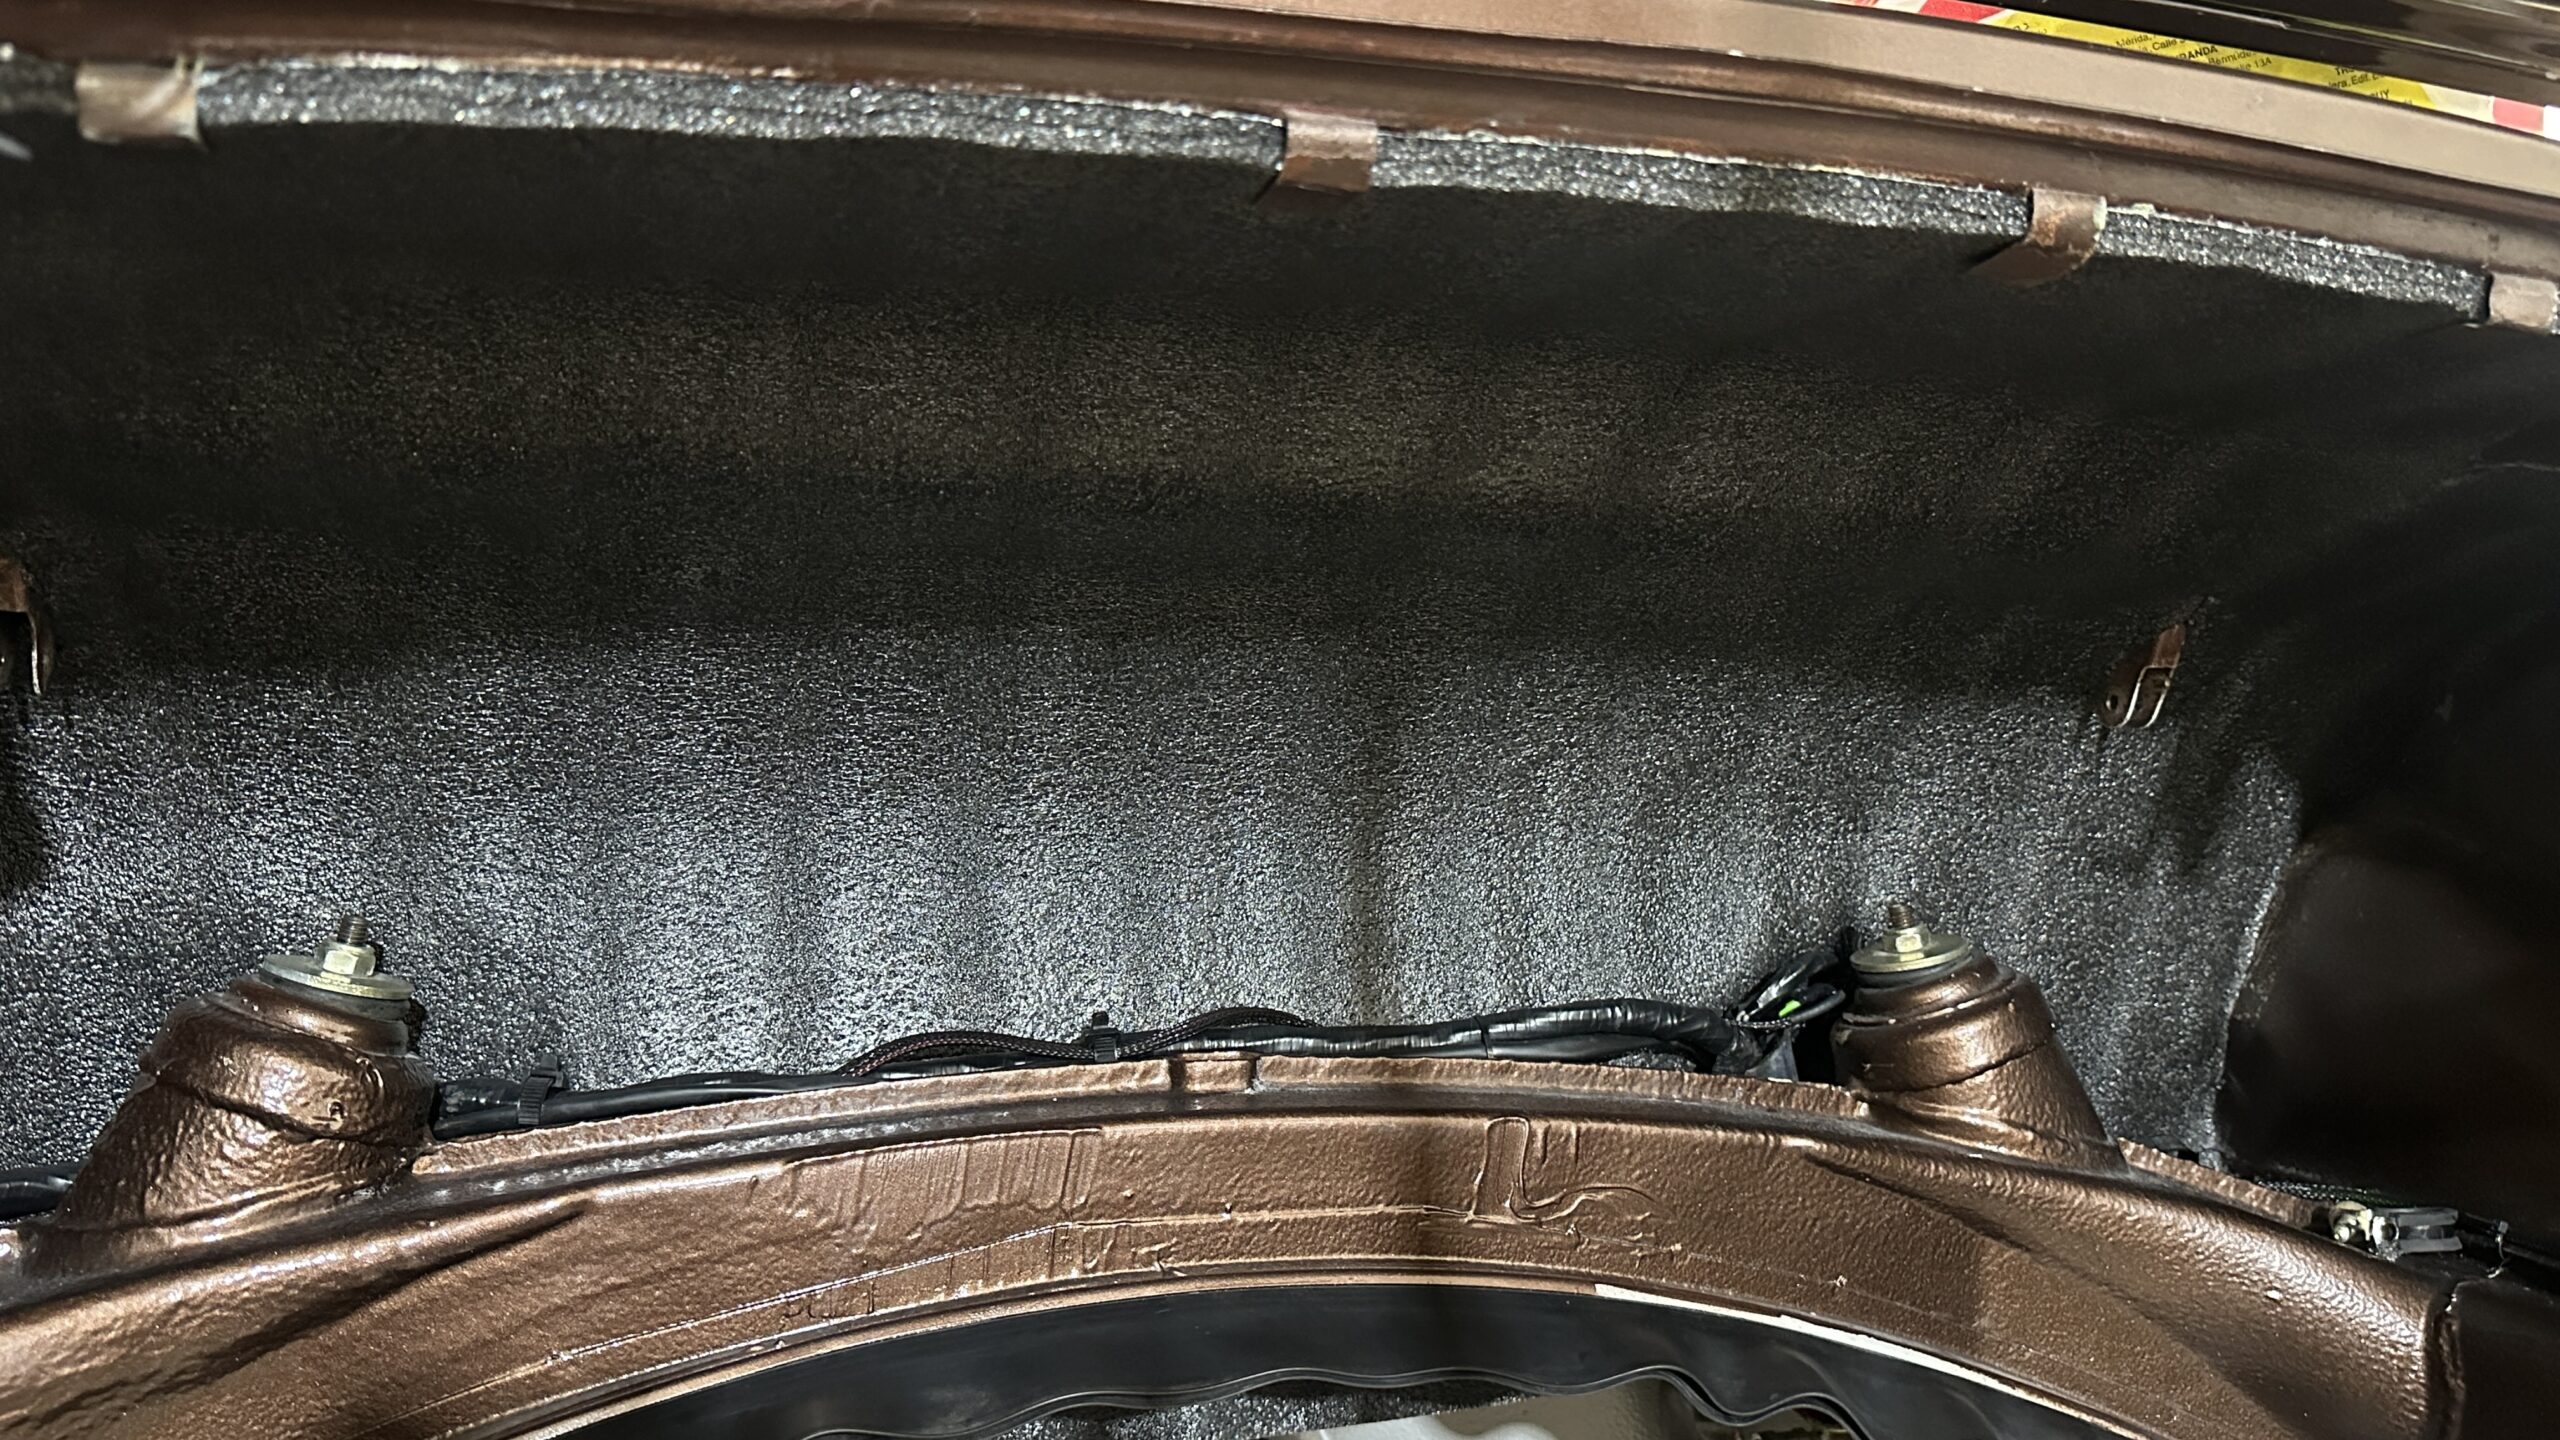
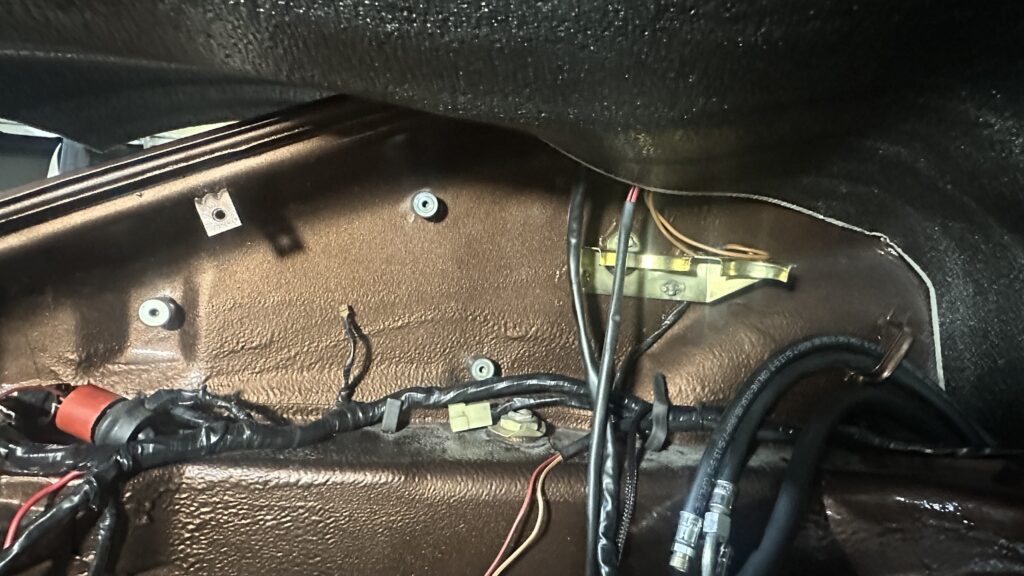
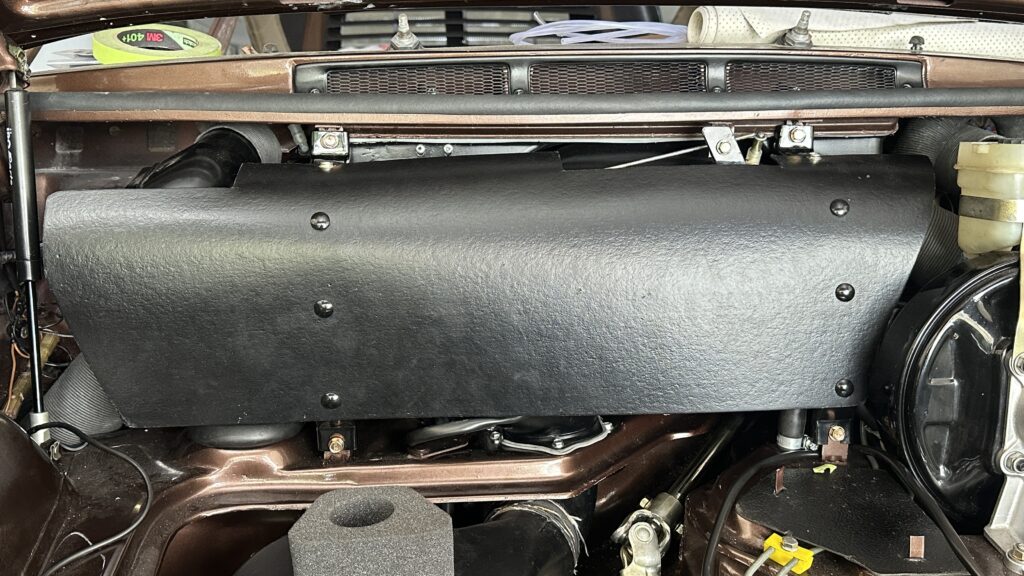
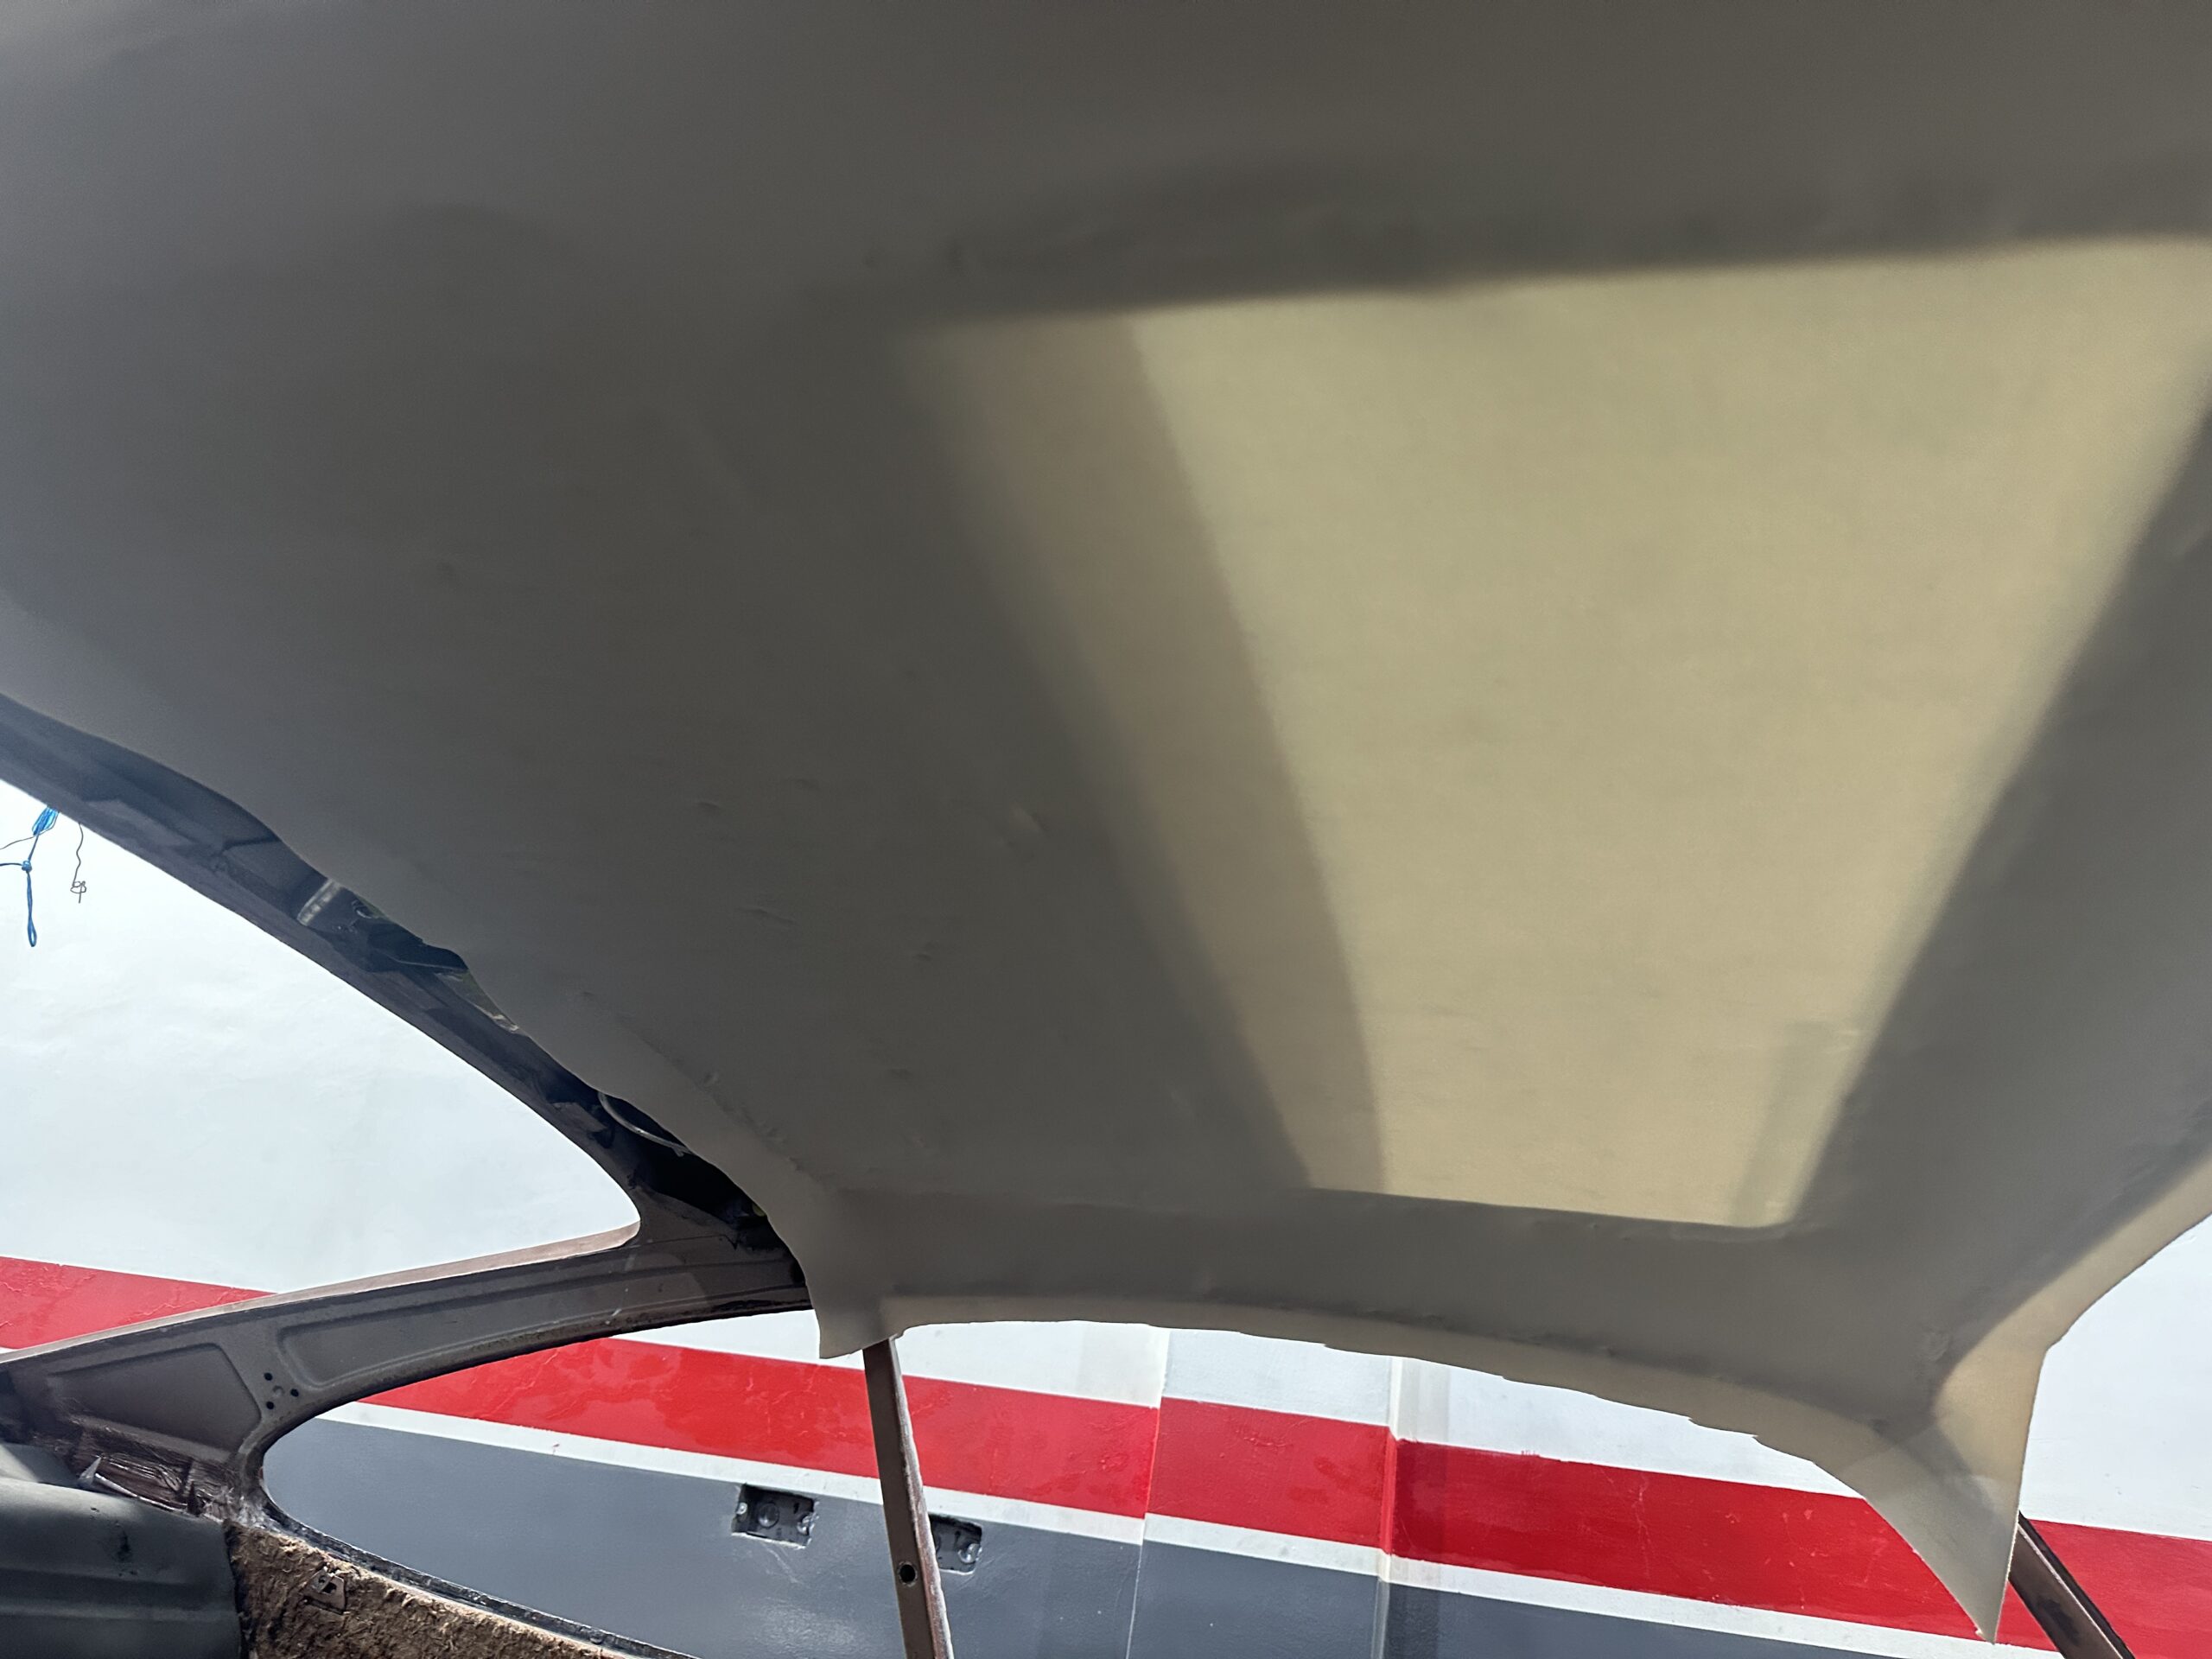
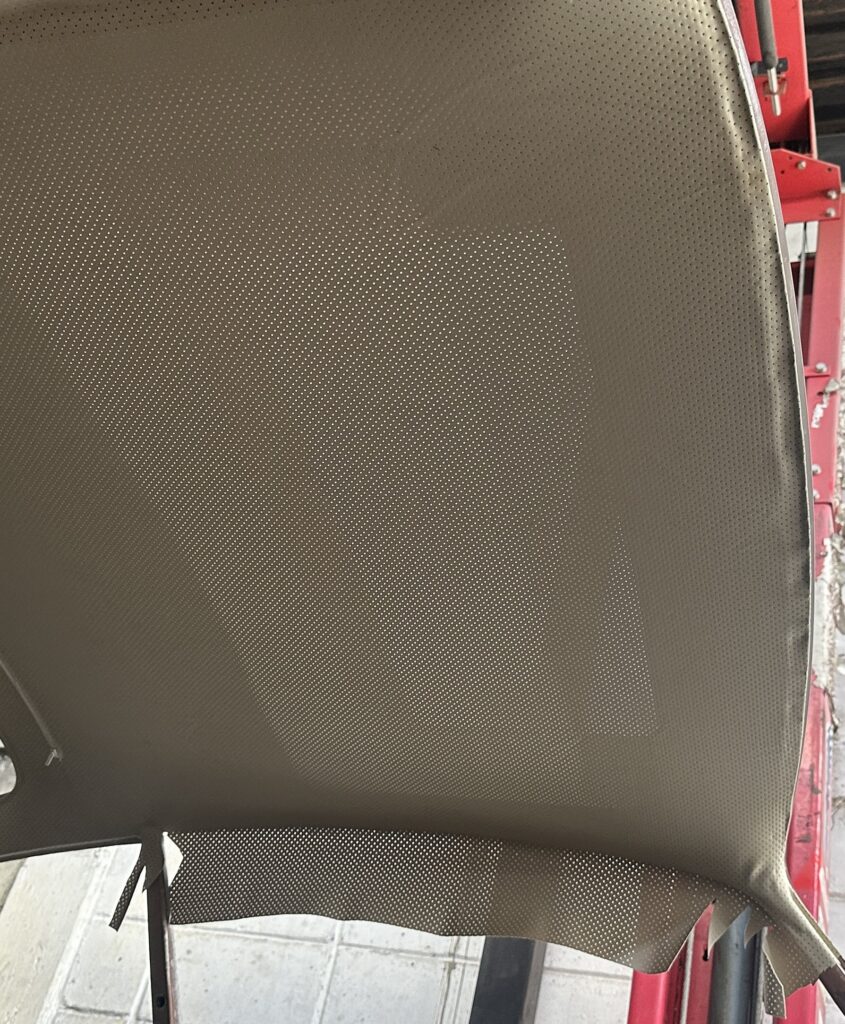
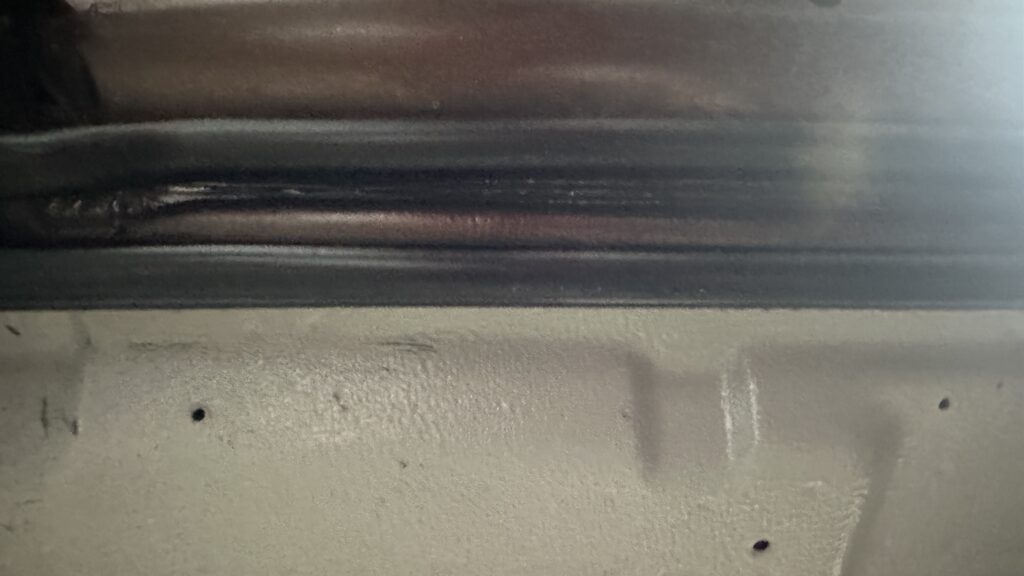
Additionally, a central vent grille was added to improve air circulation, though it can be reverted to its original state with just two screws. We also performed thermal insulation in the ceiling and floor of the car. I decided not to add it to the doors, as it could change the sound quality (especially for anyone testing the car by tapping to check for body filler). The insulation was done as efficiently as possible, ensuring optimal performance.

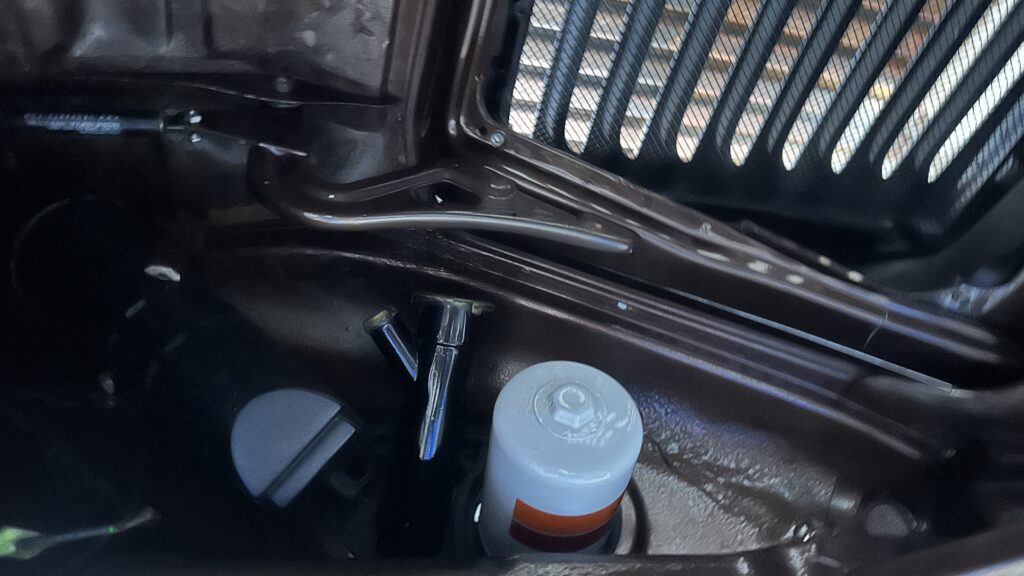
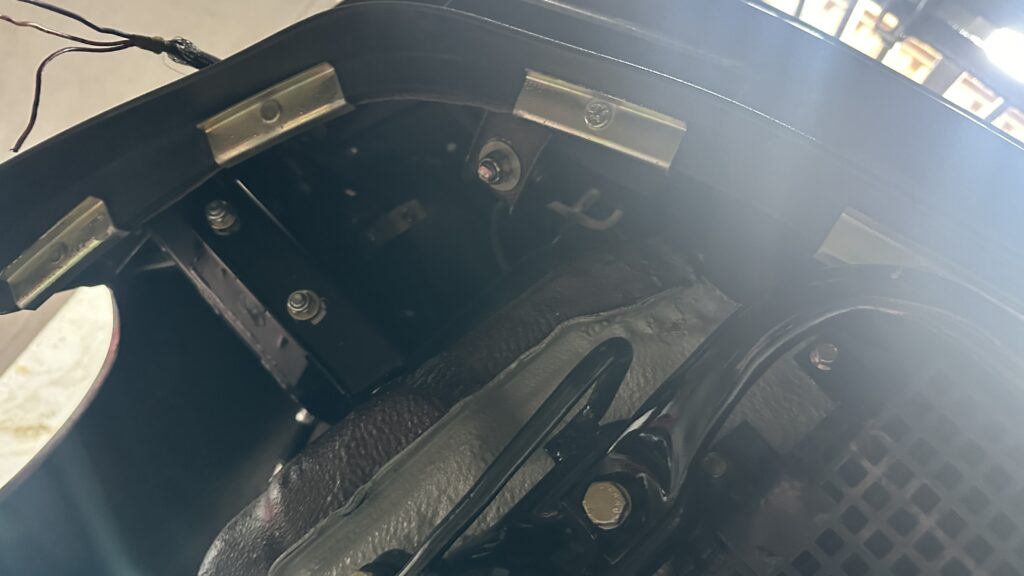
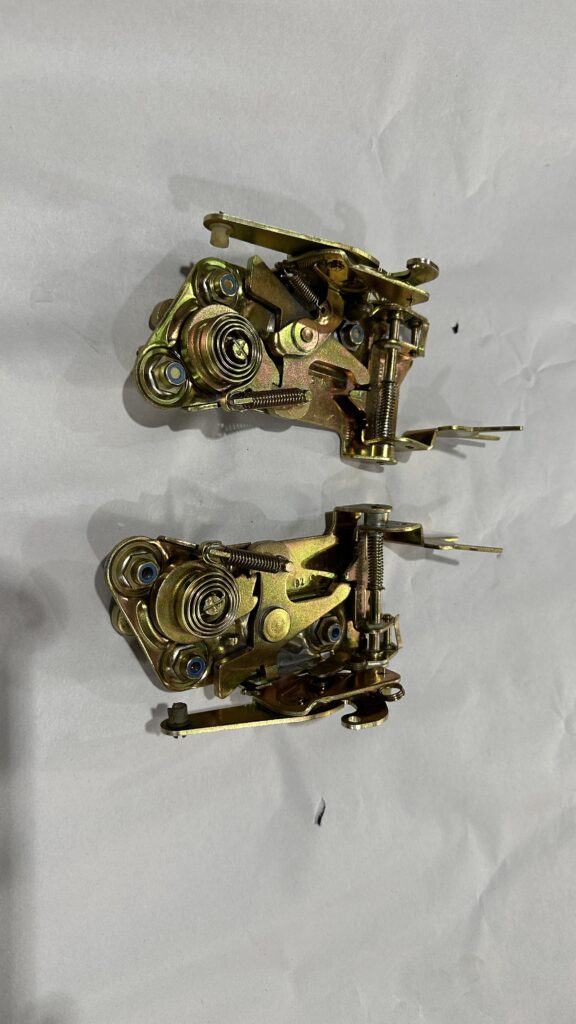
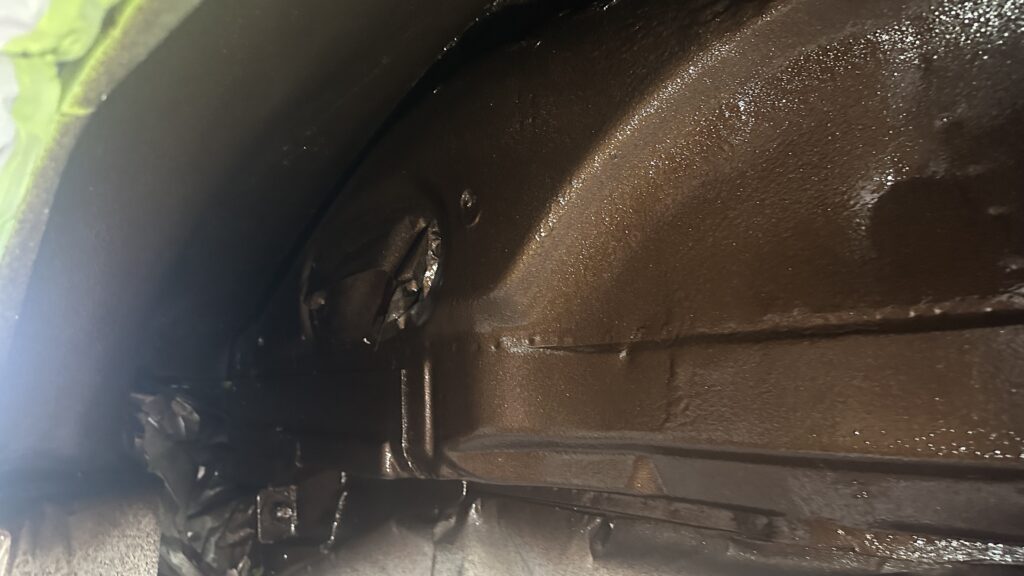
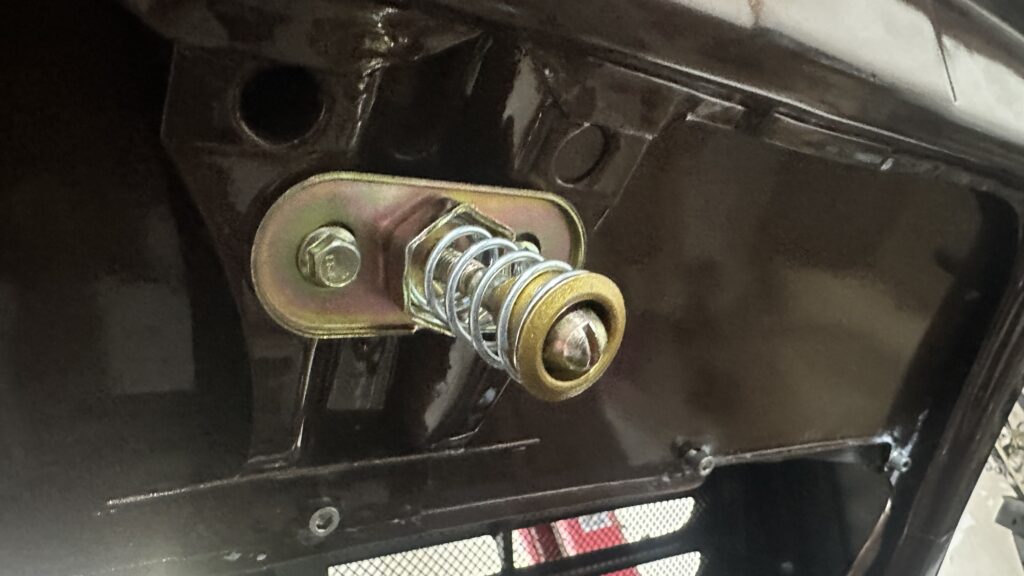
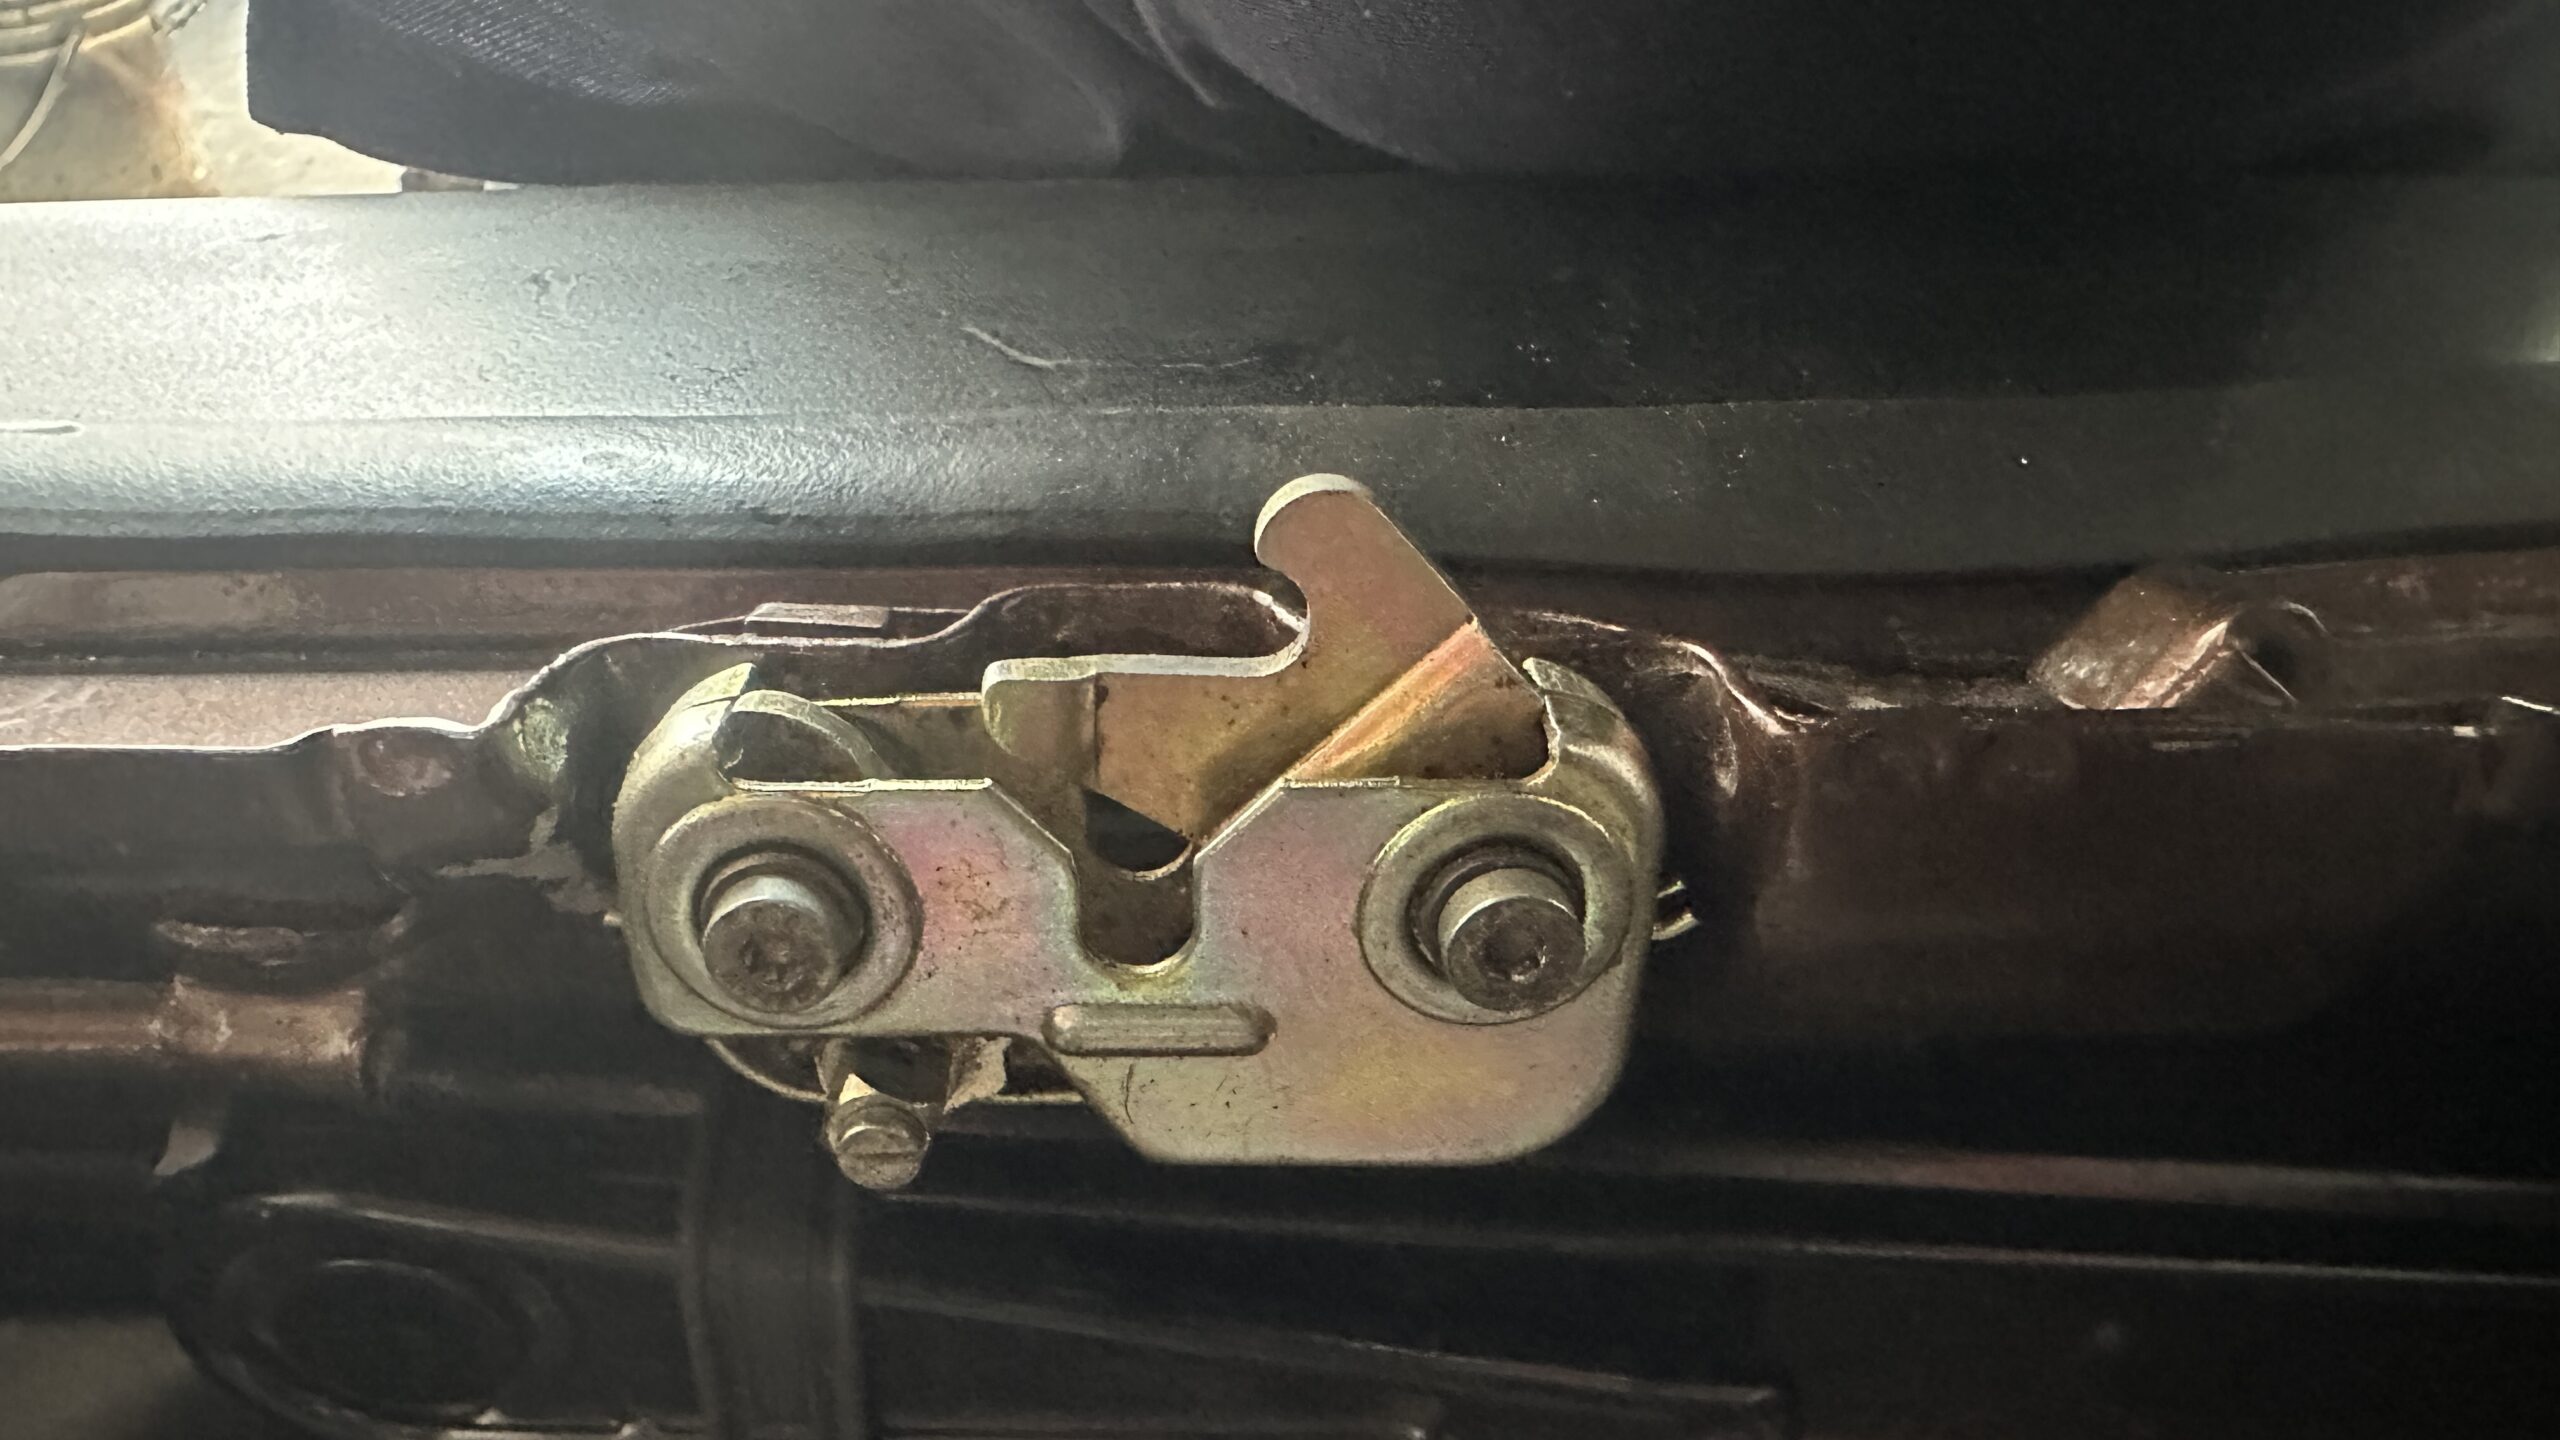
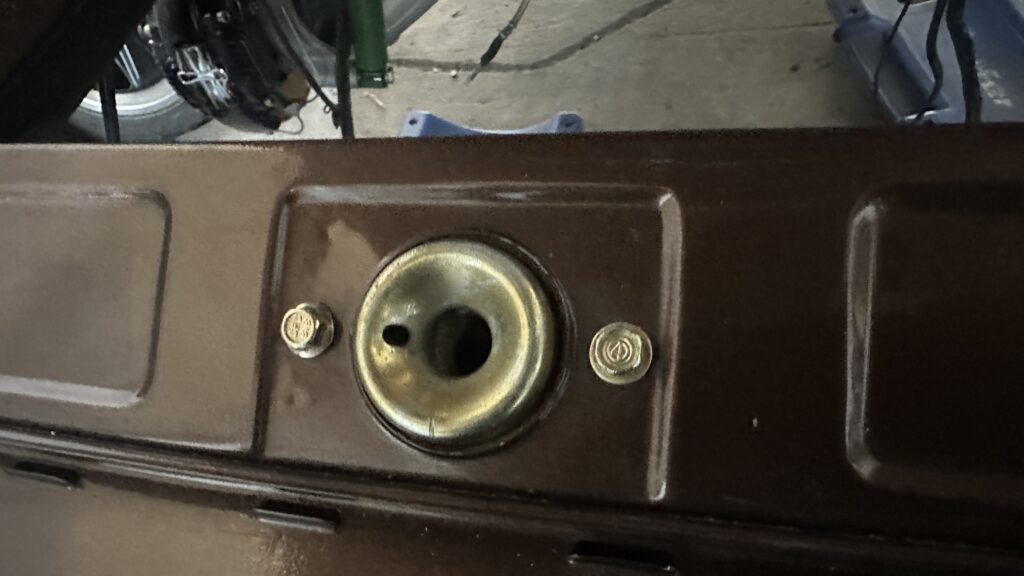
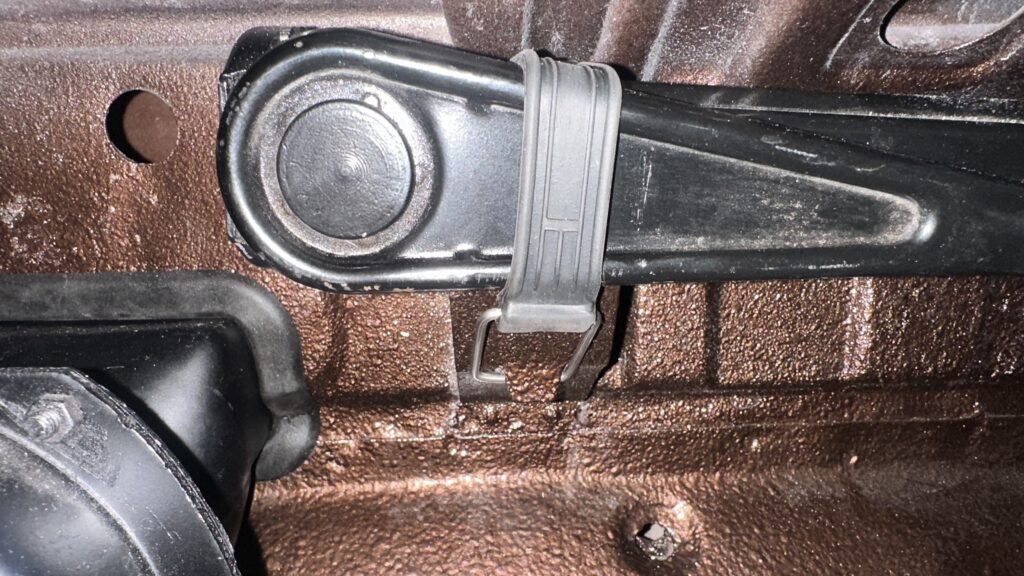
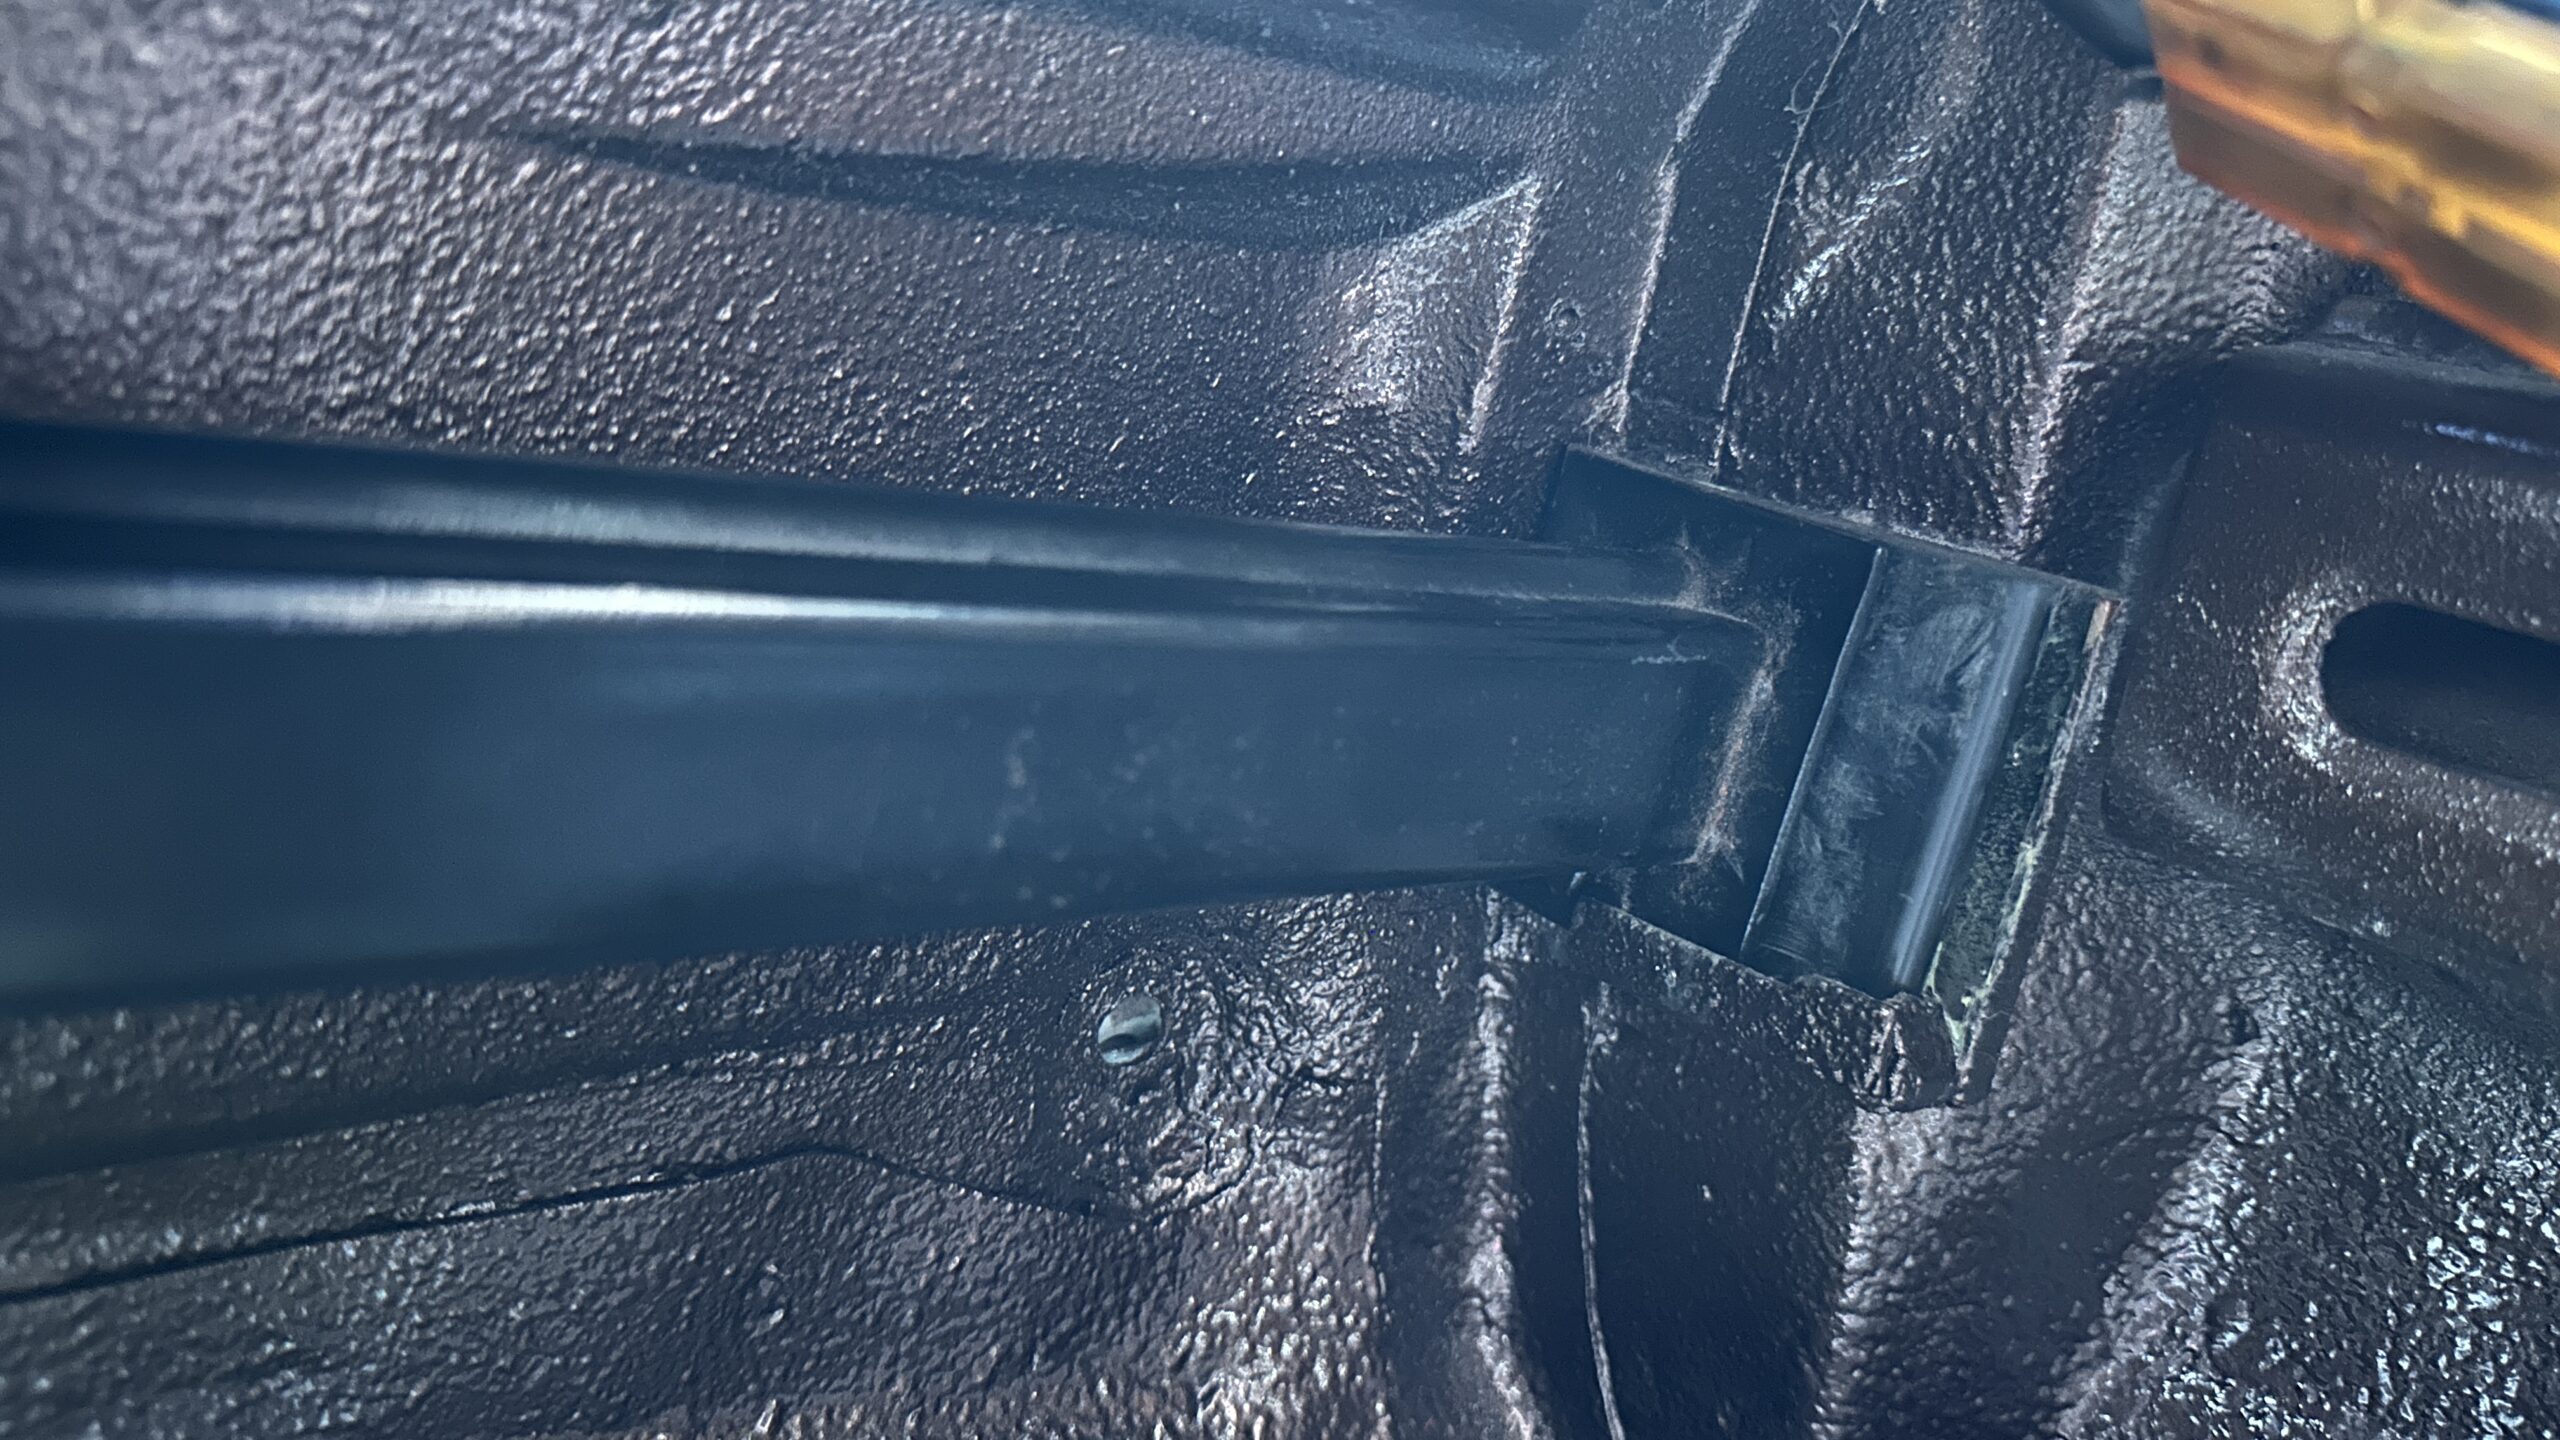
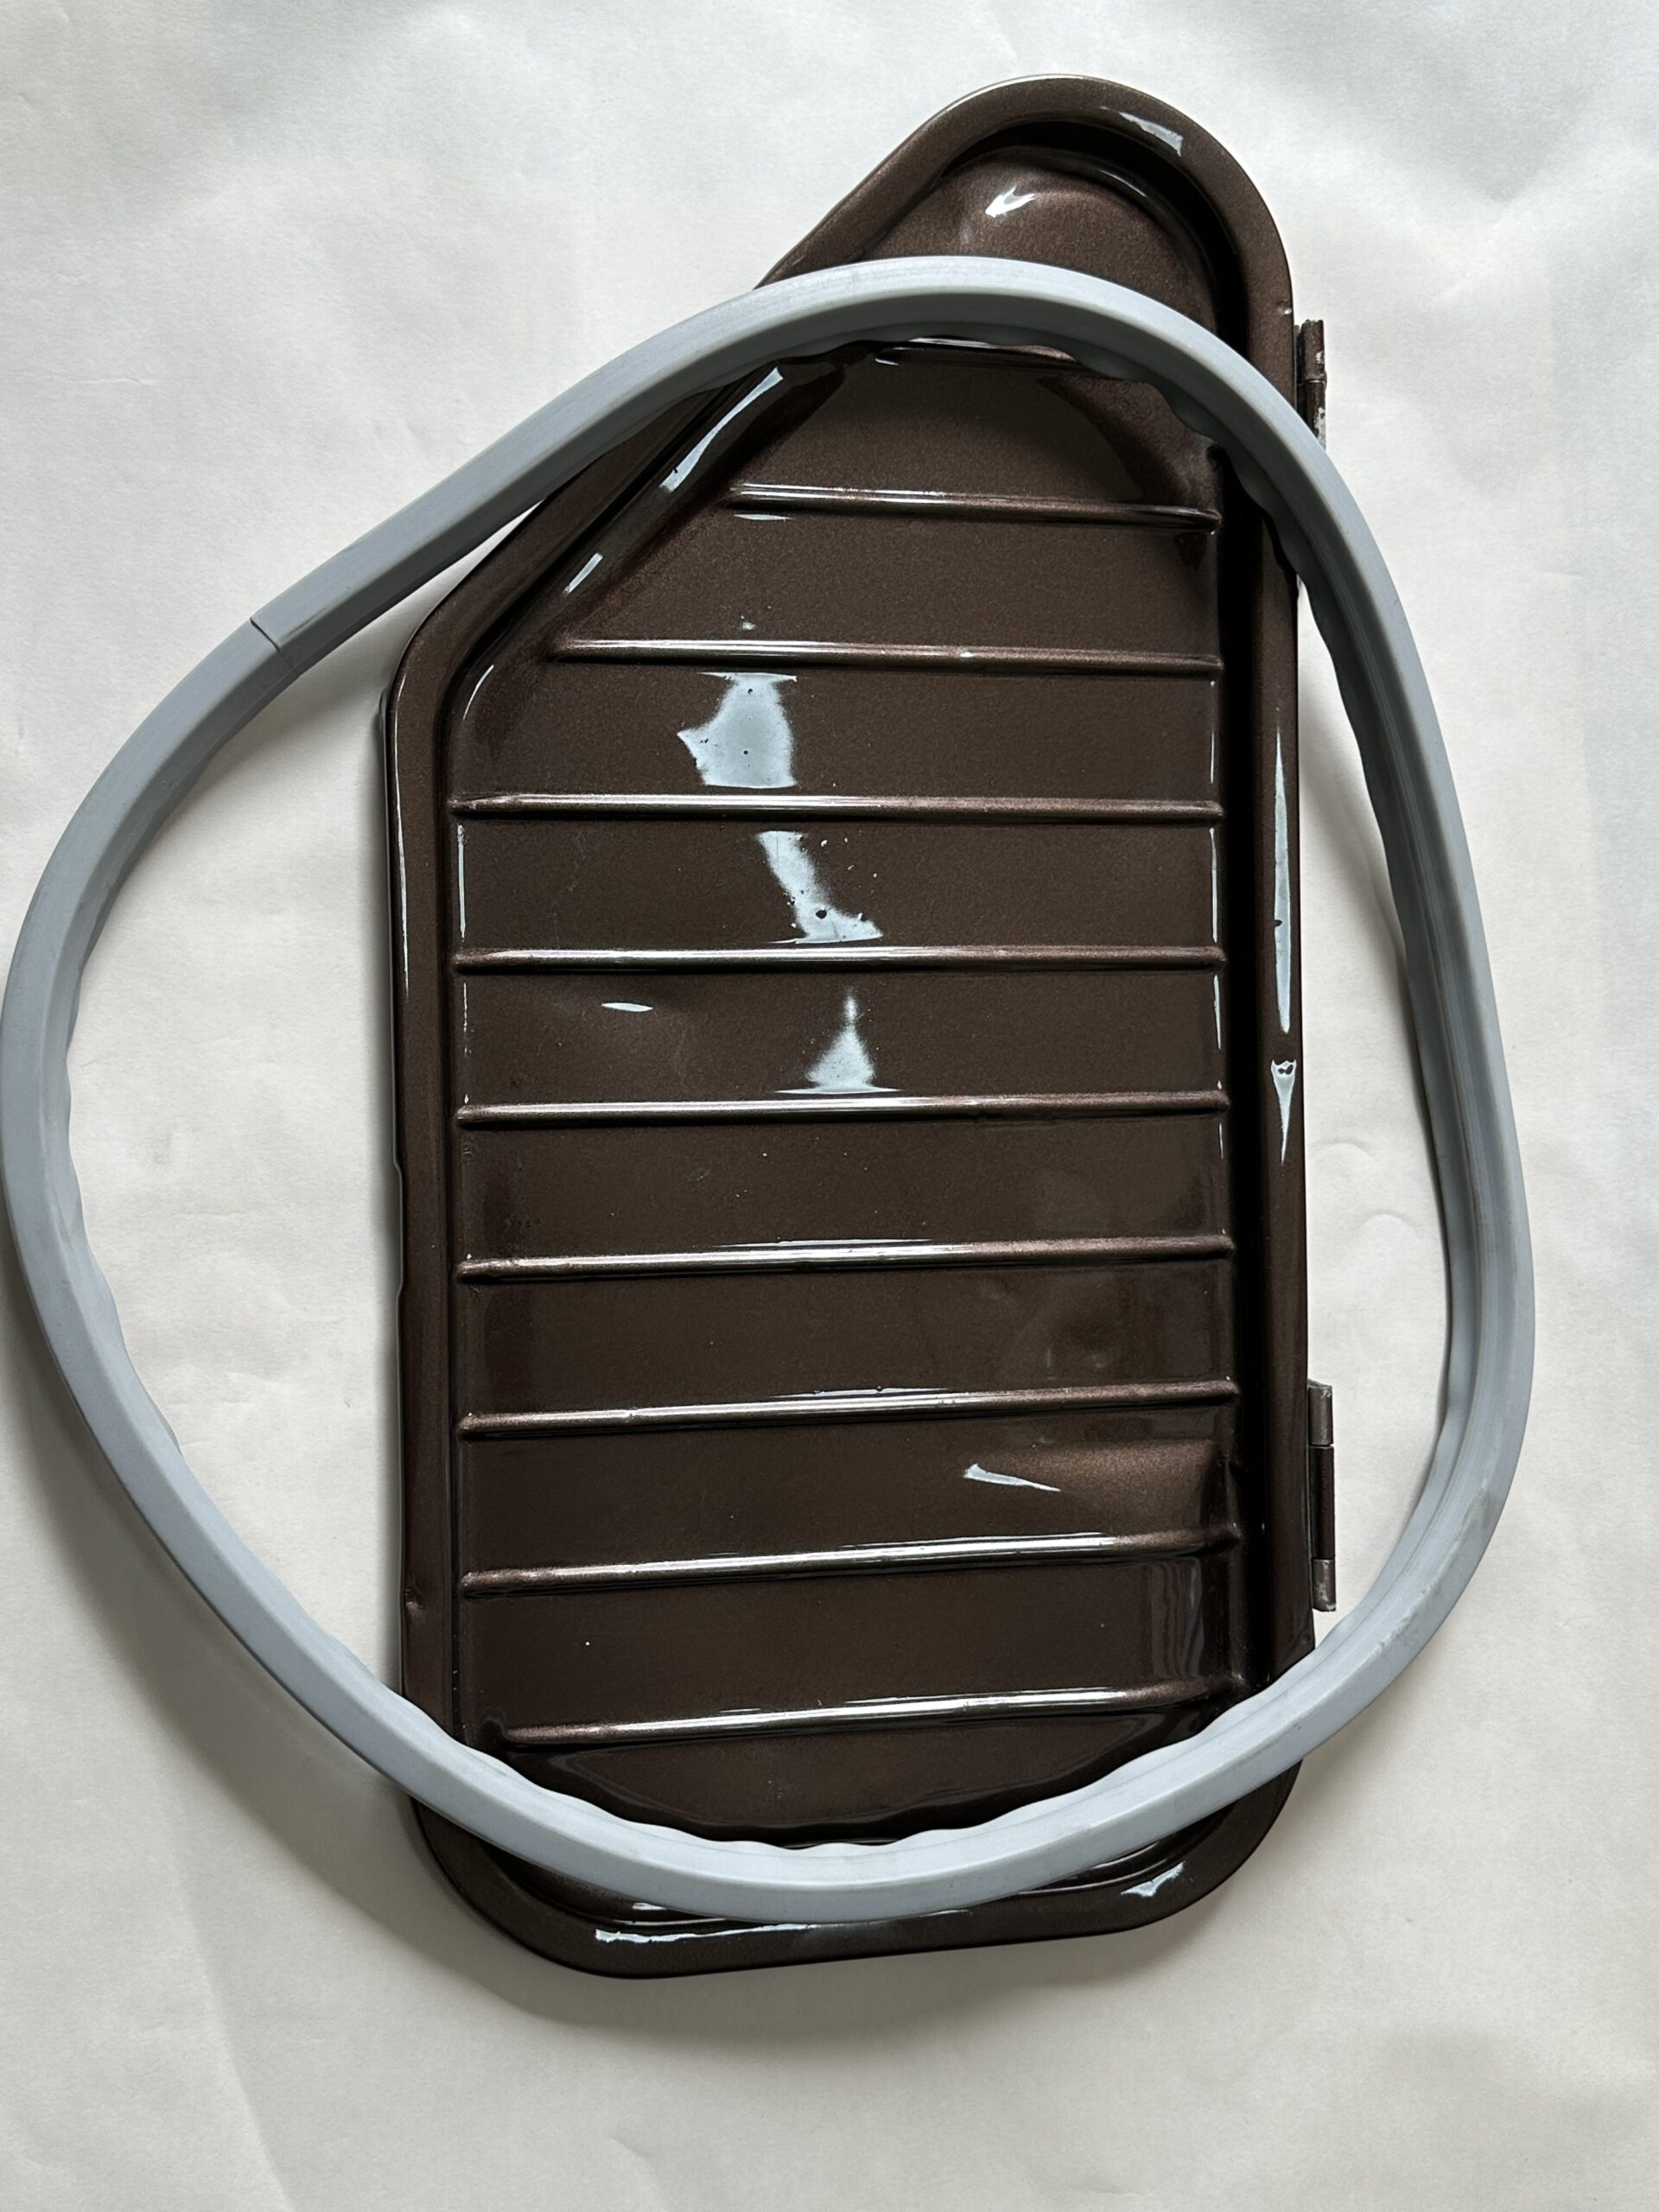
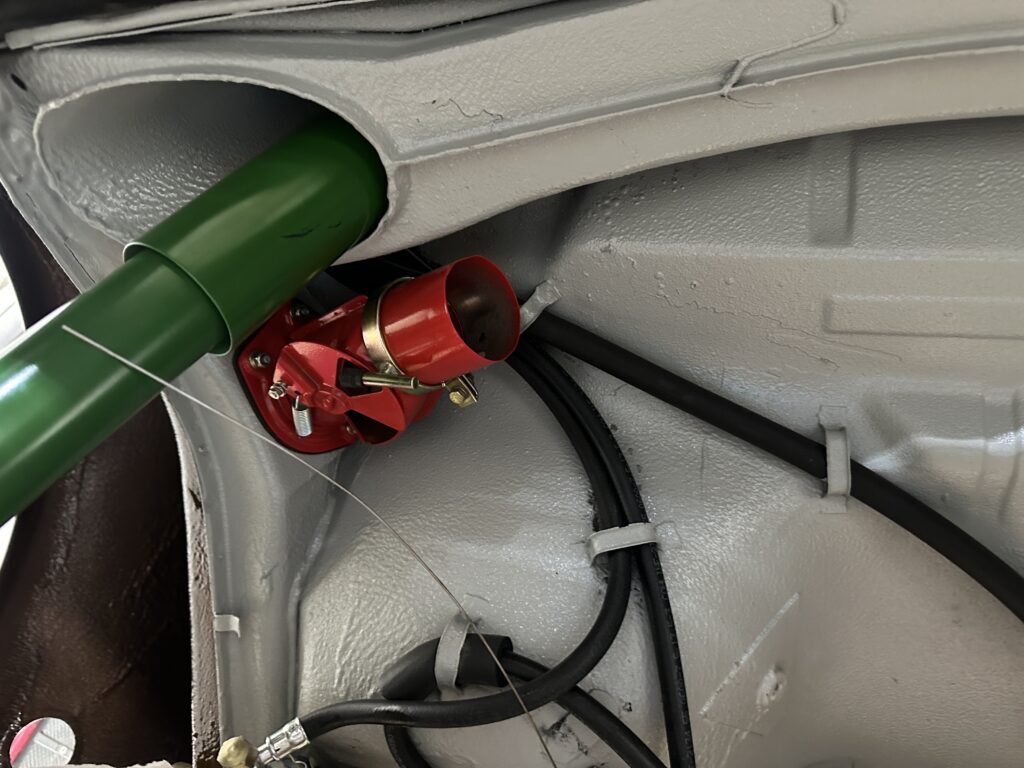
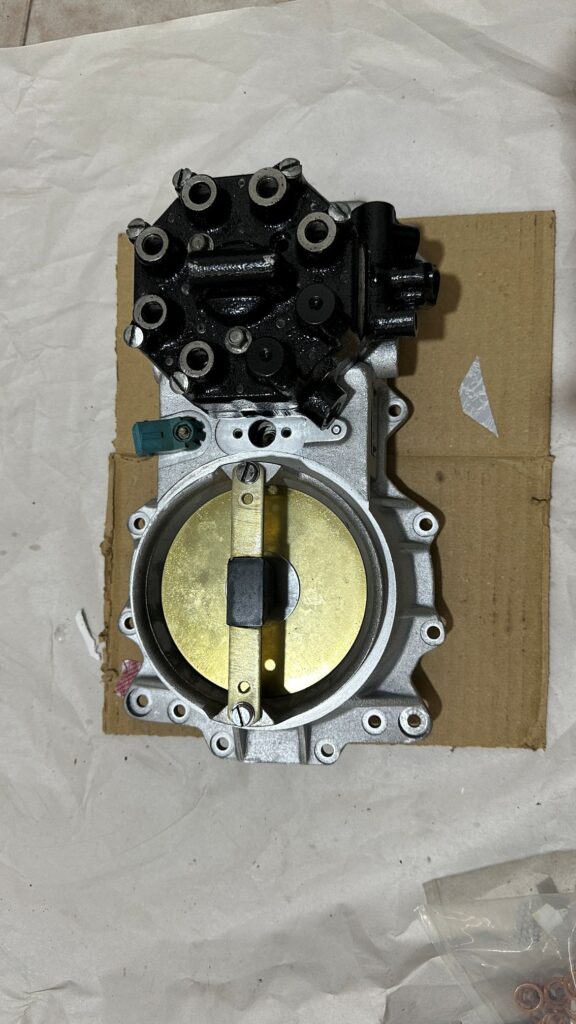
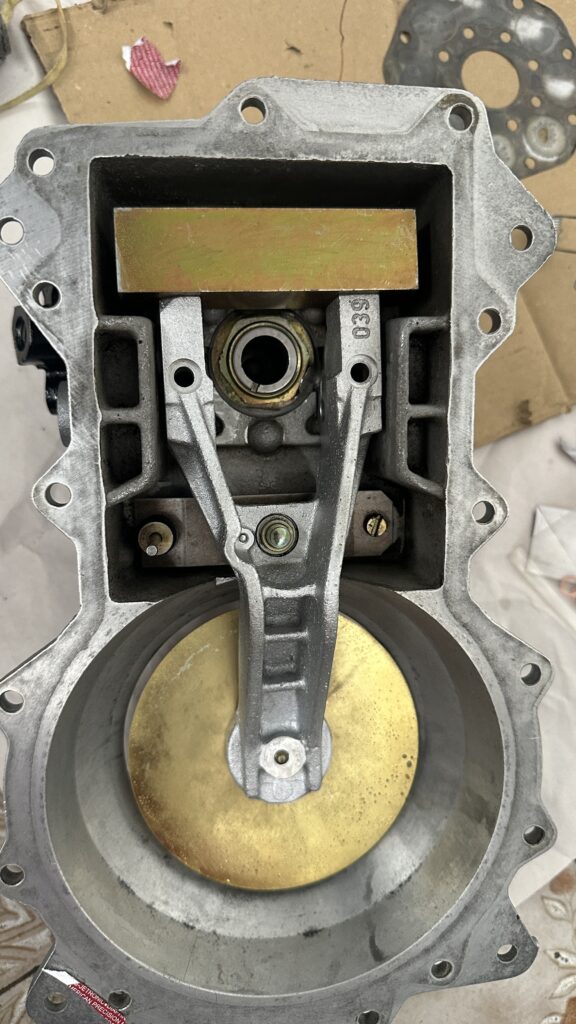
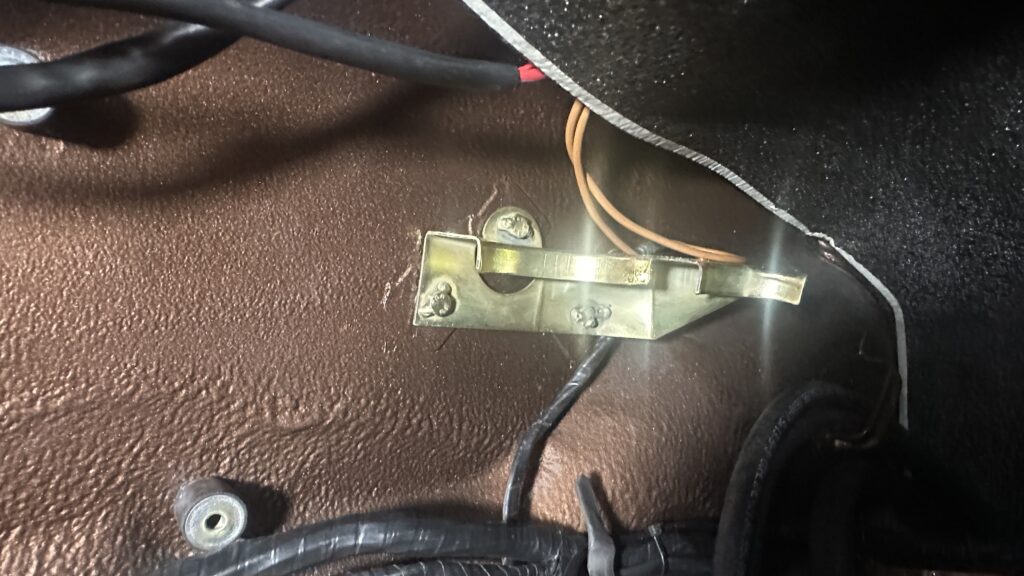
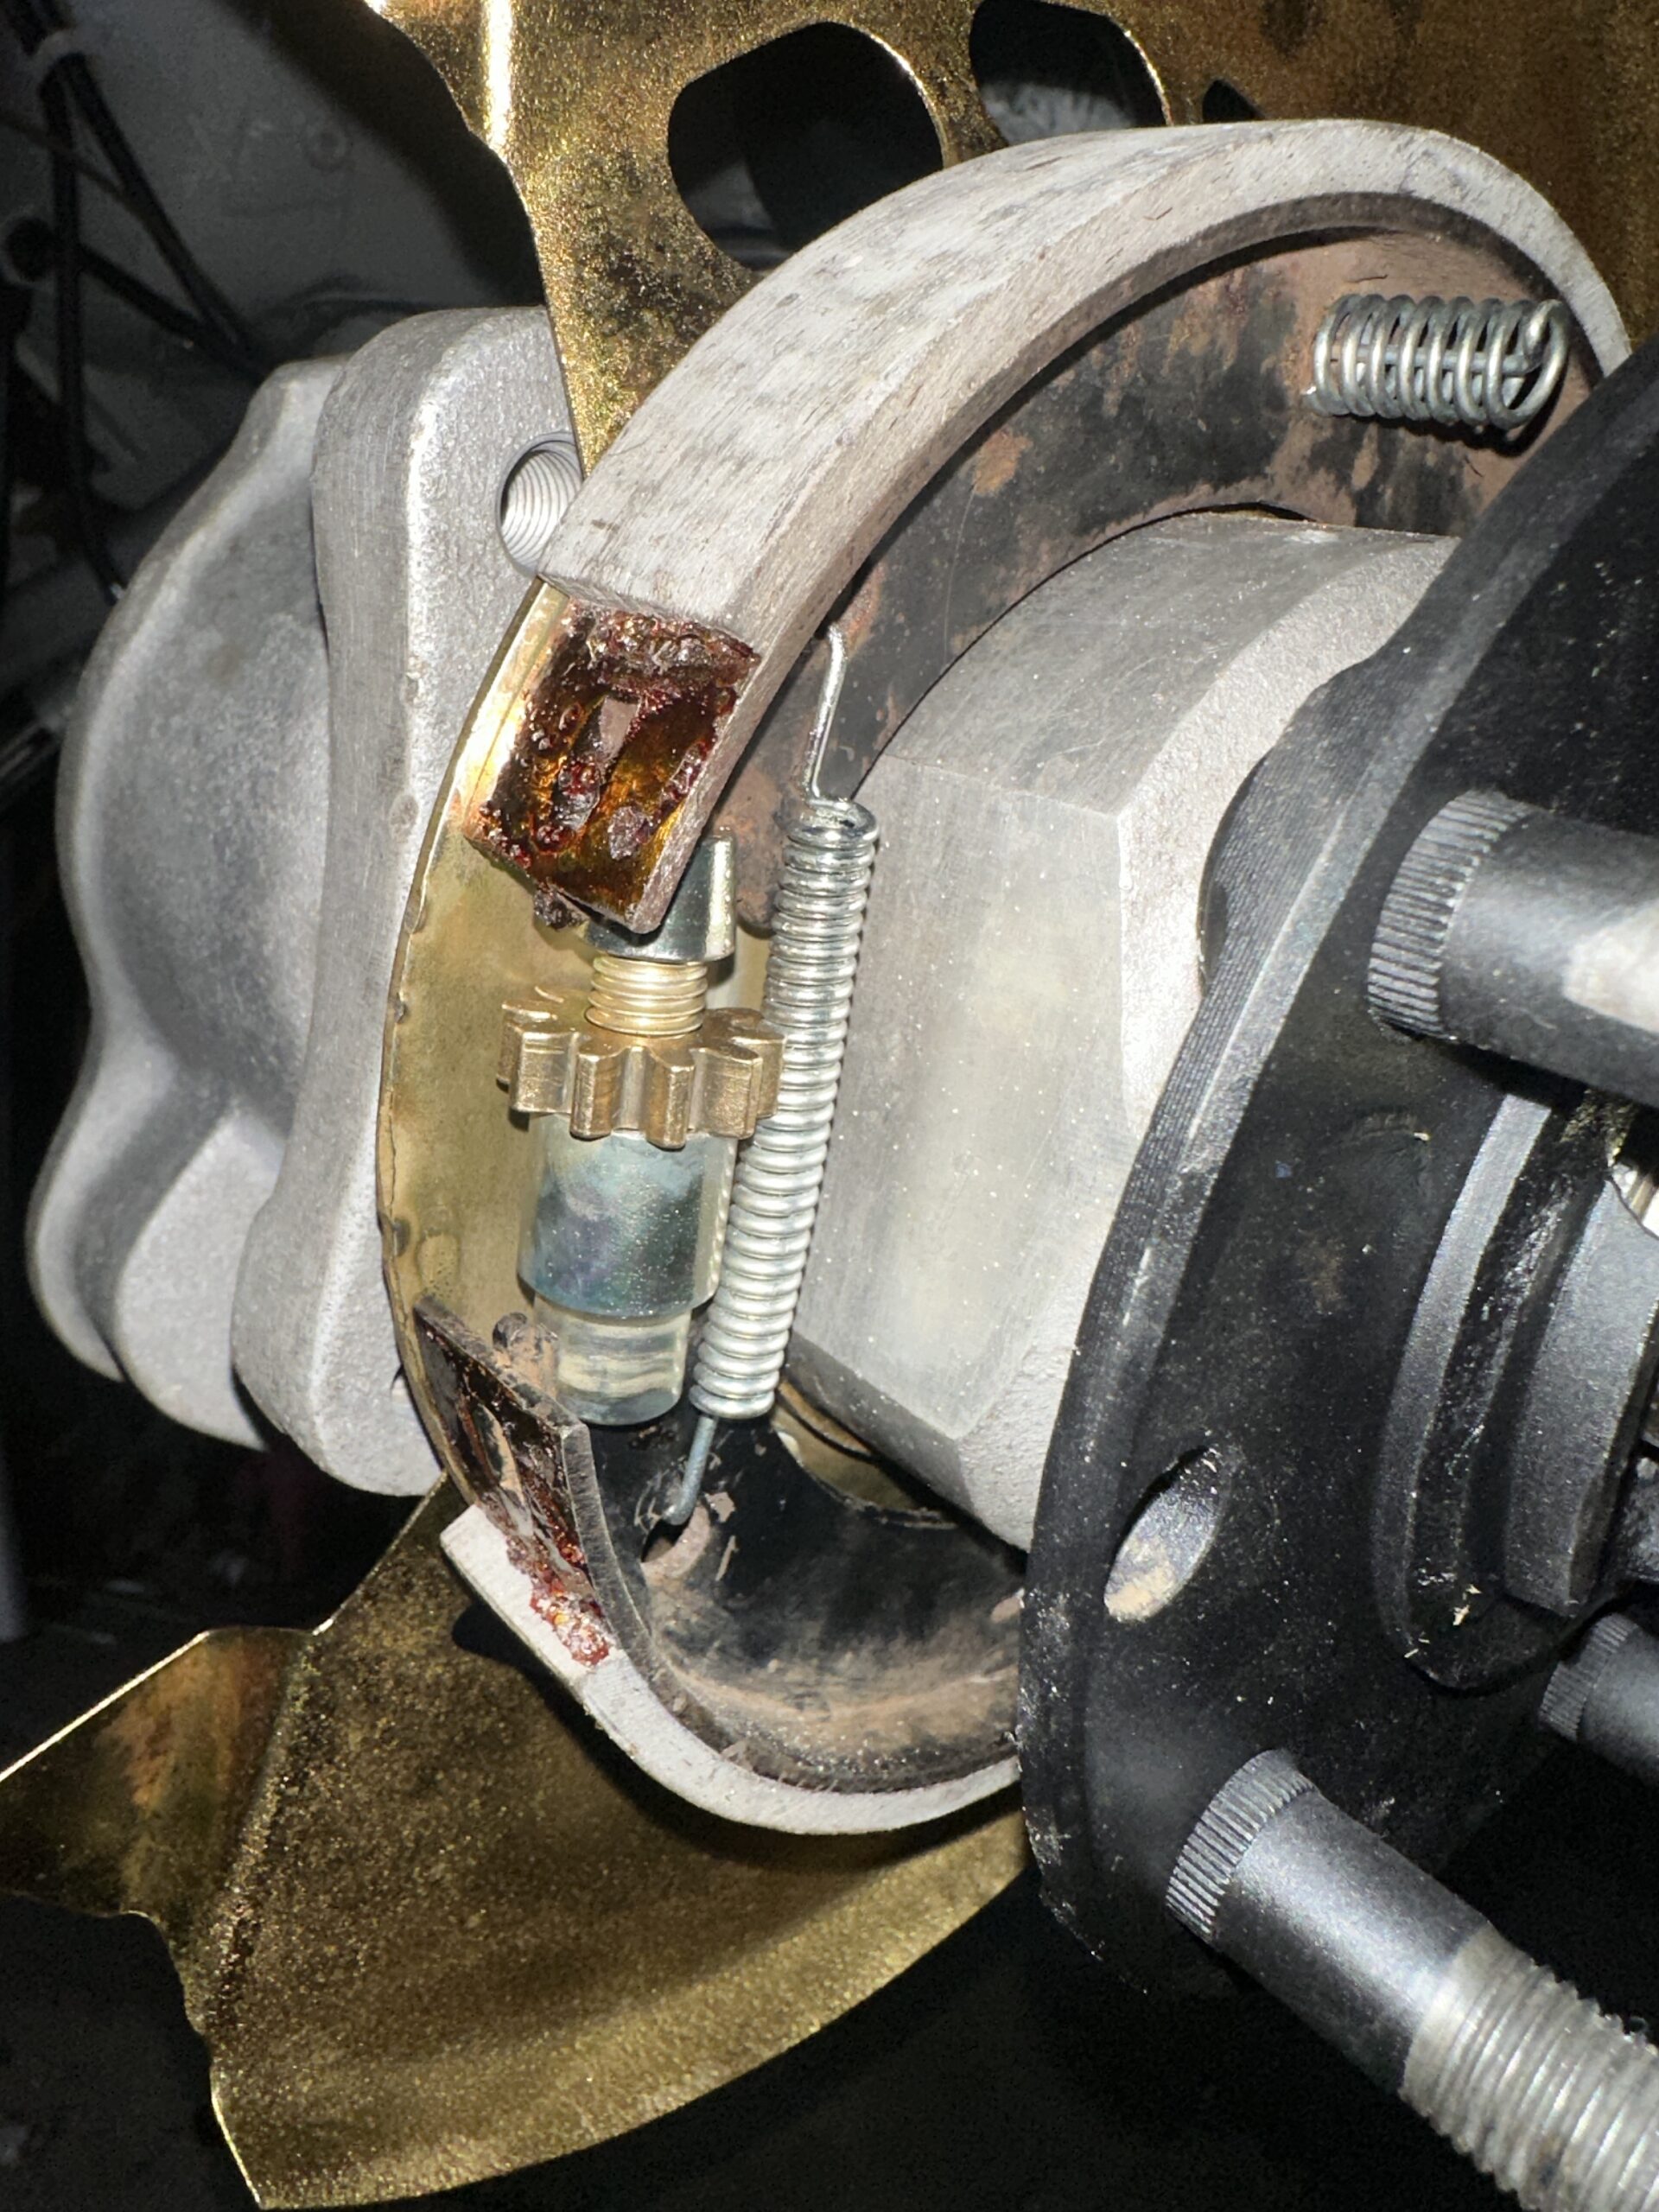
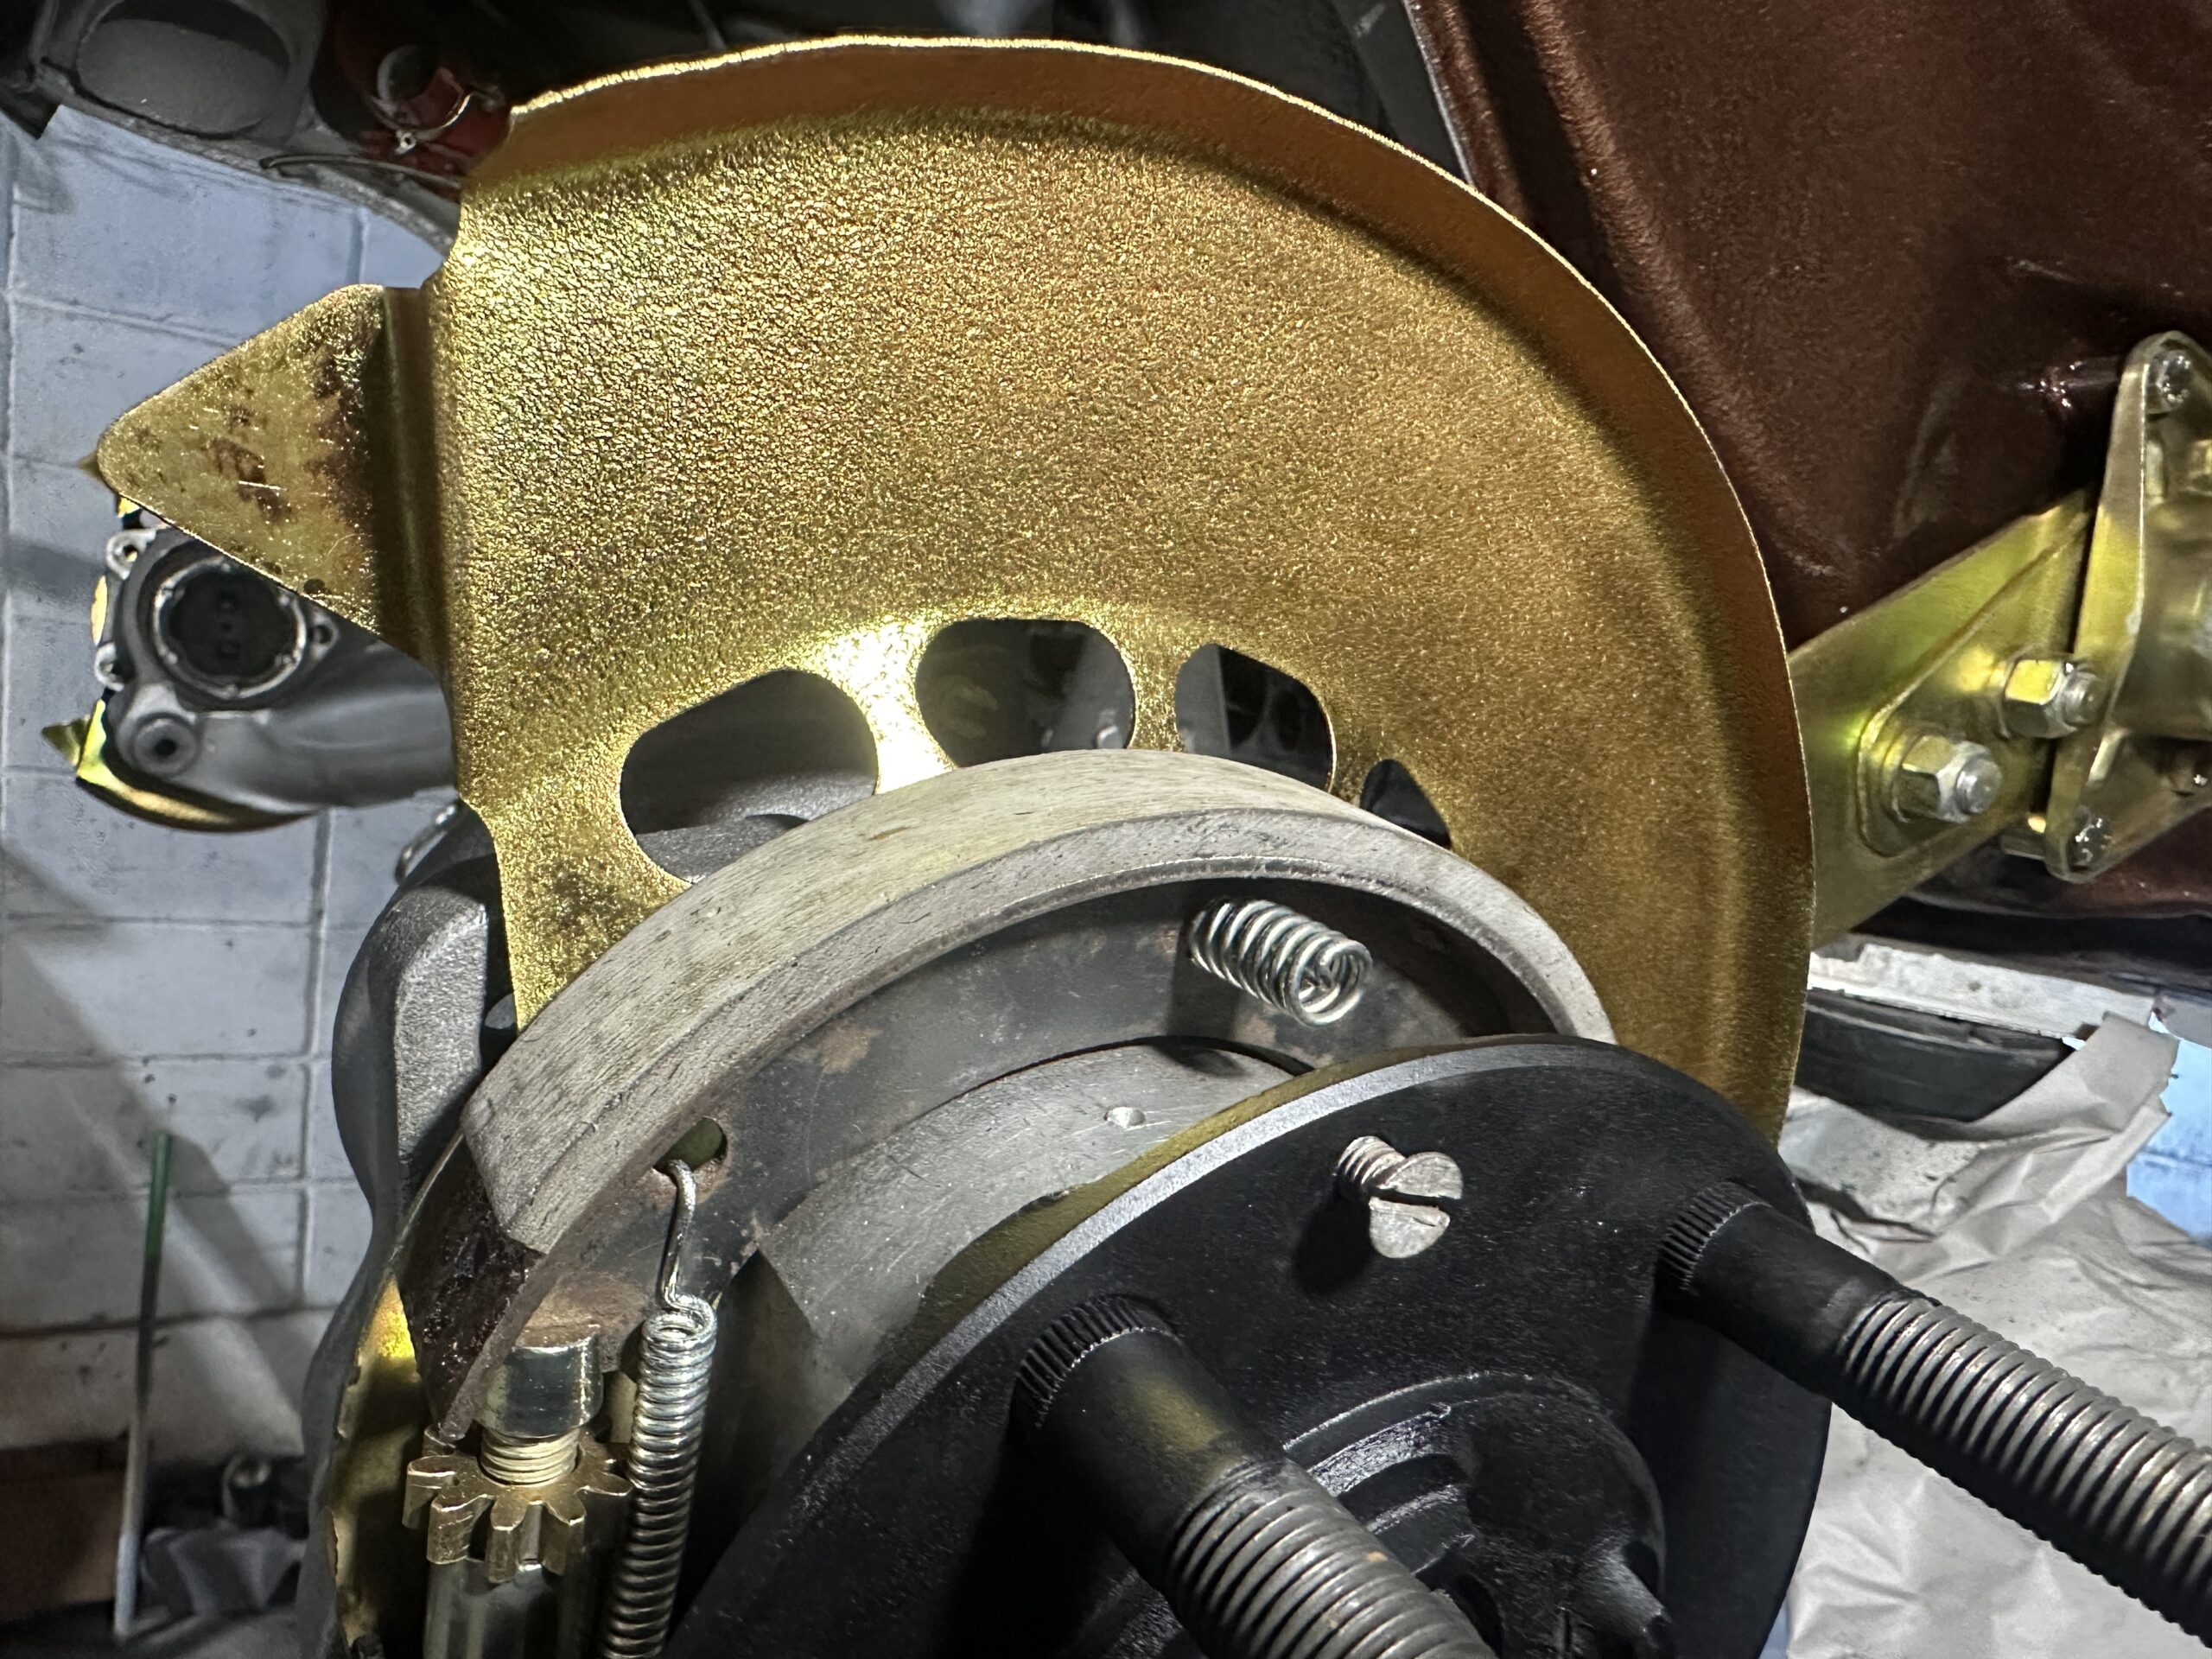
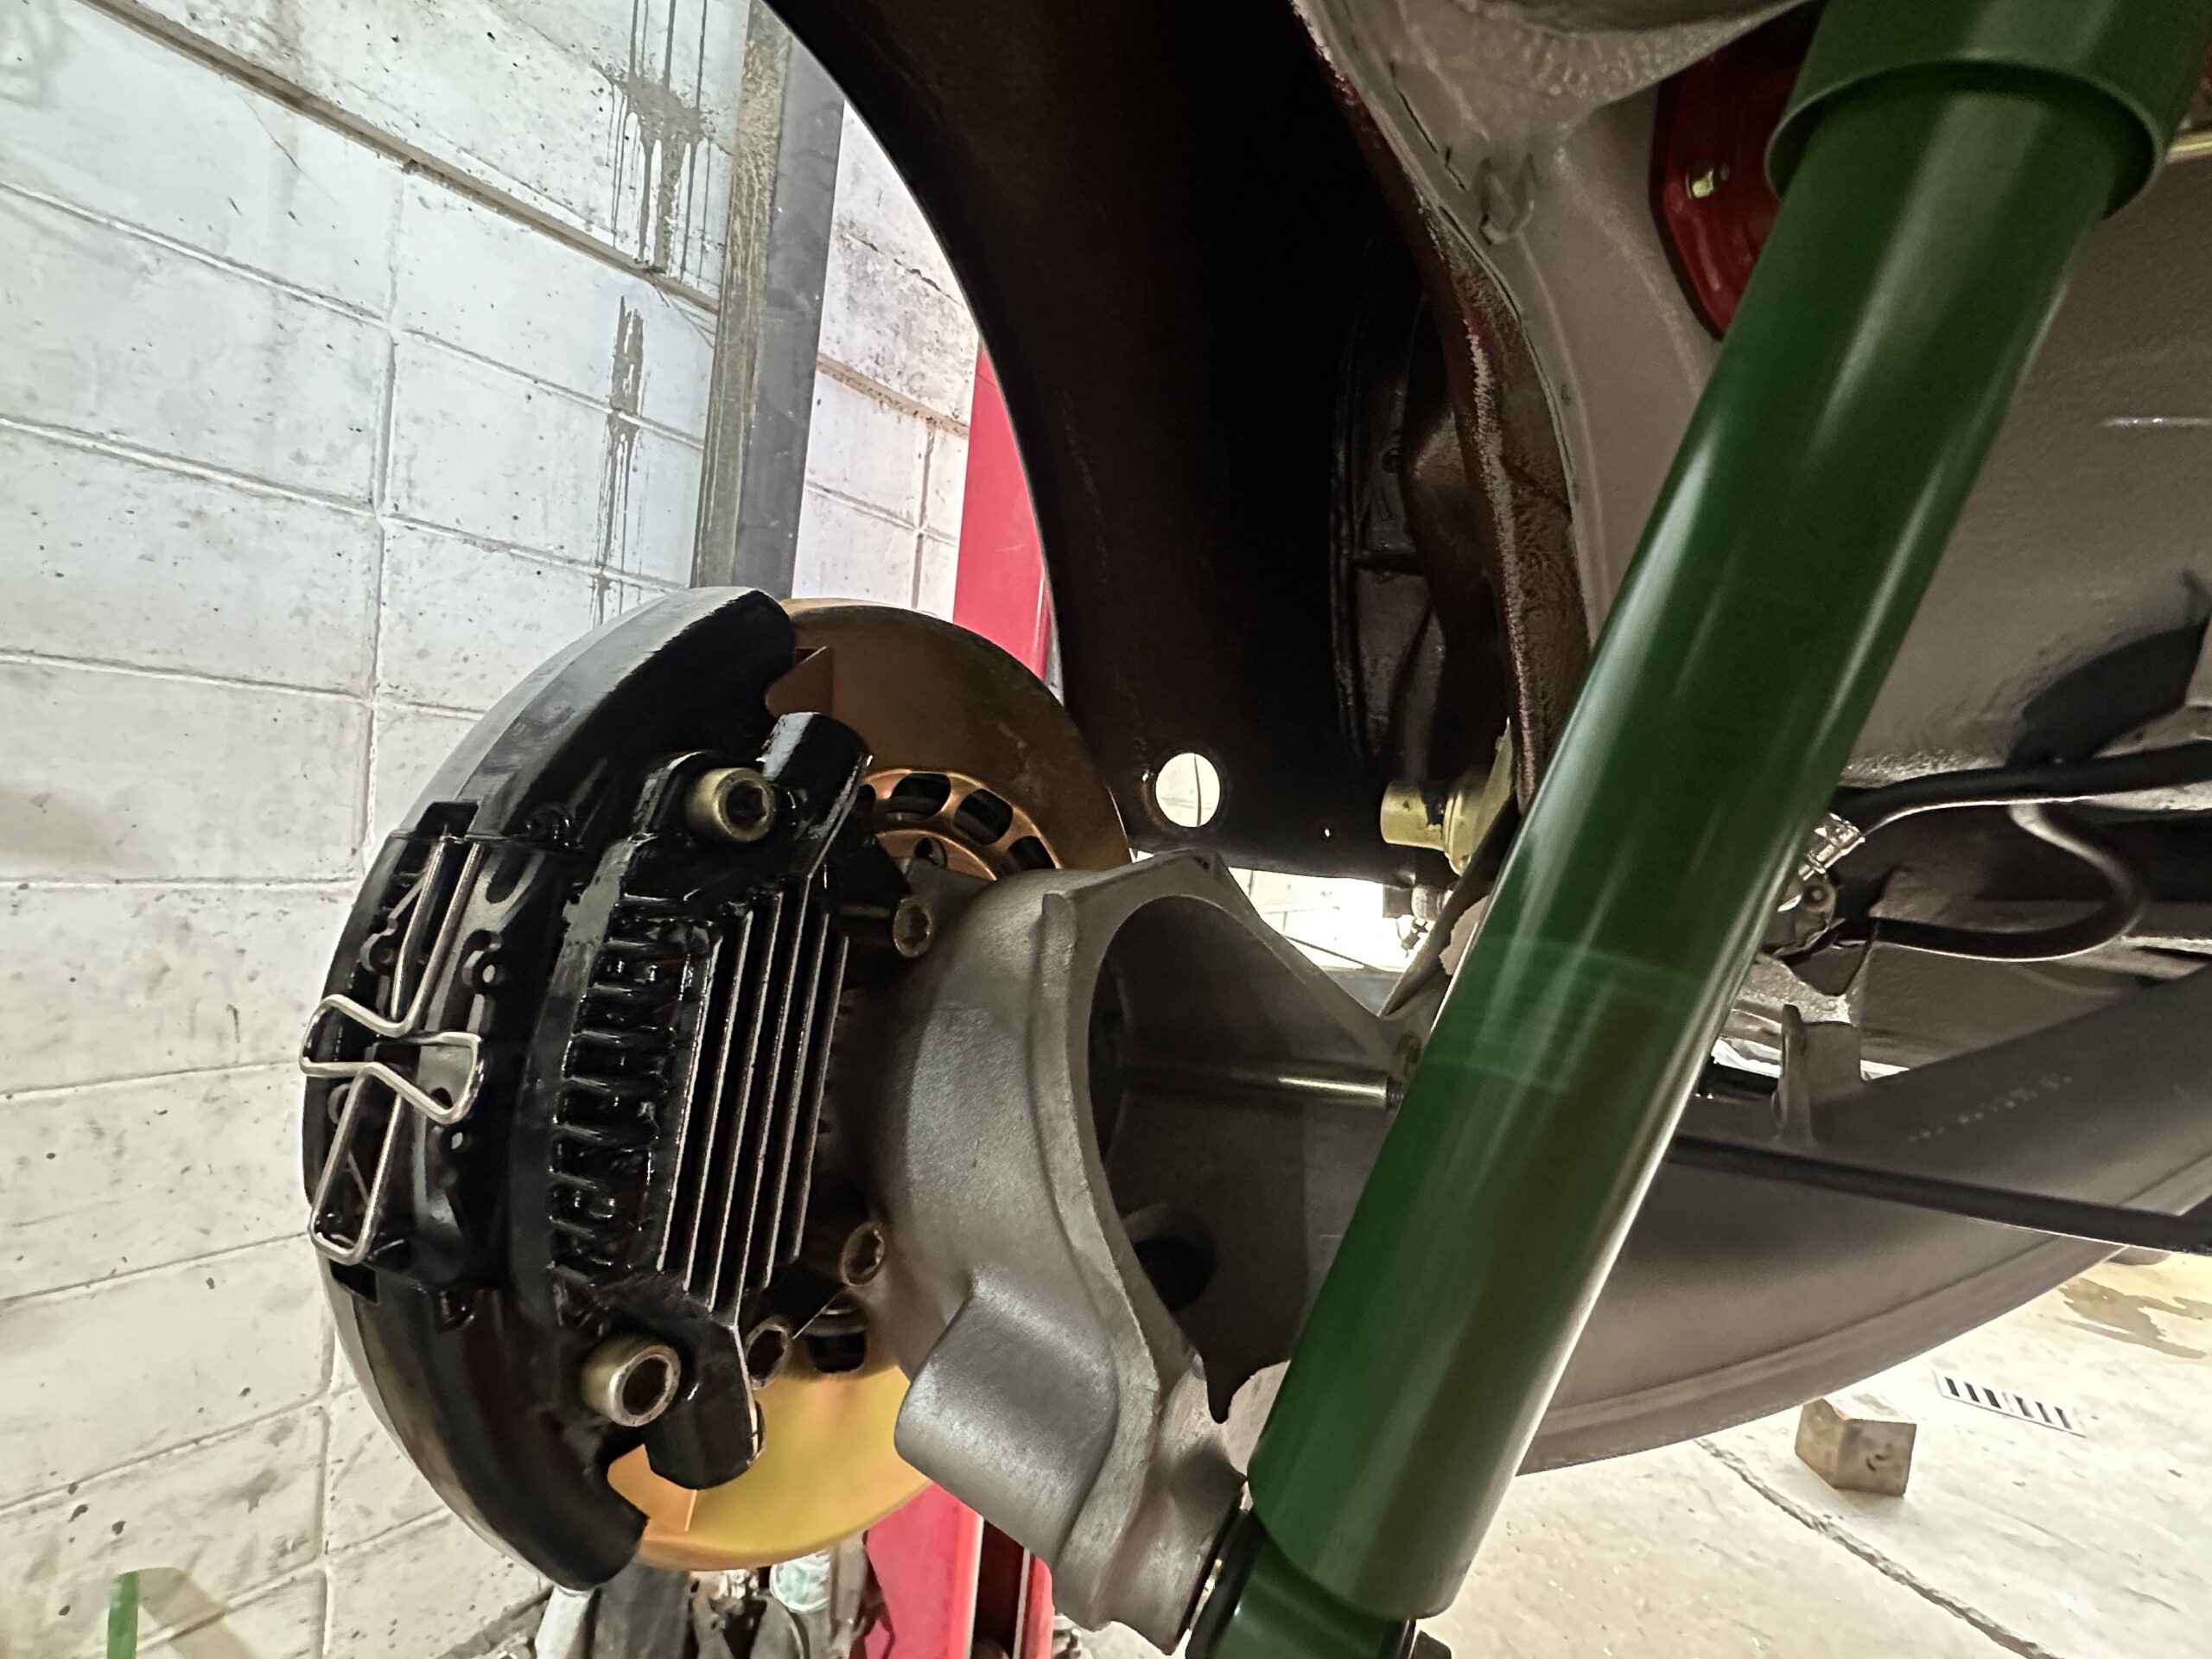
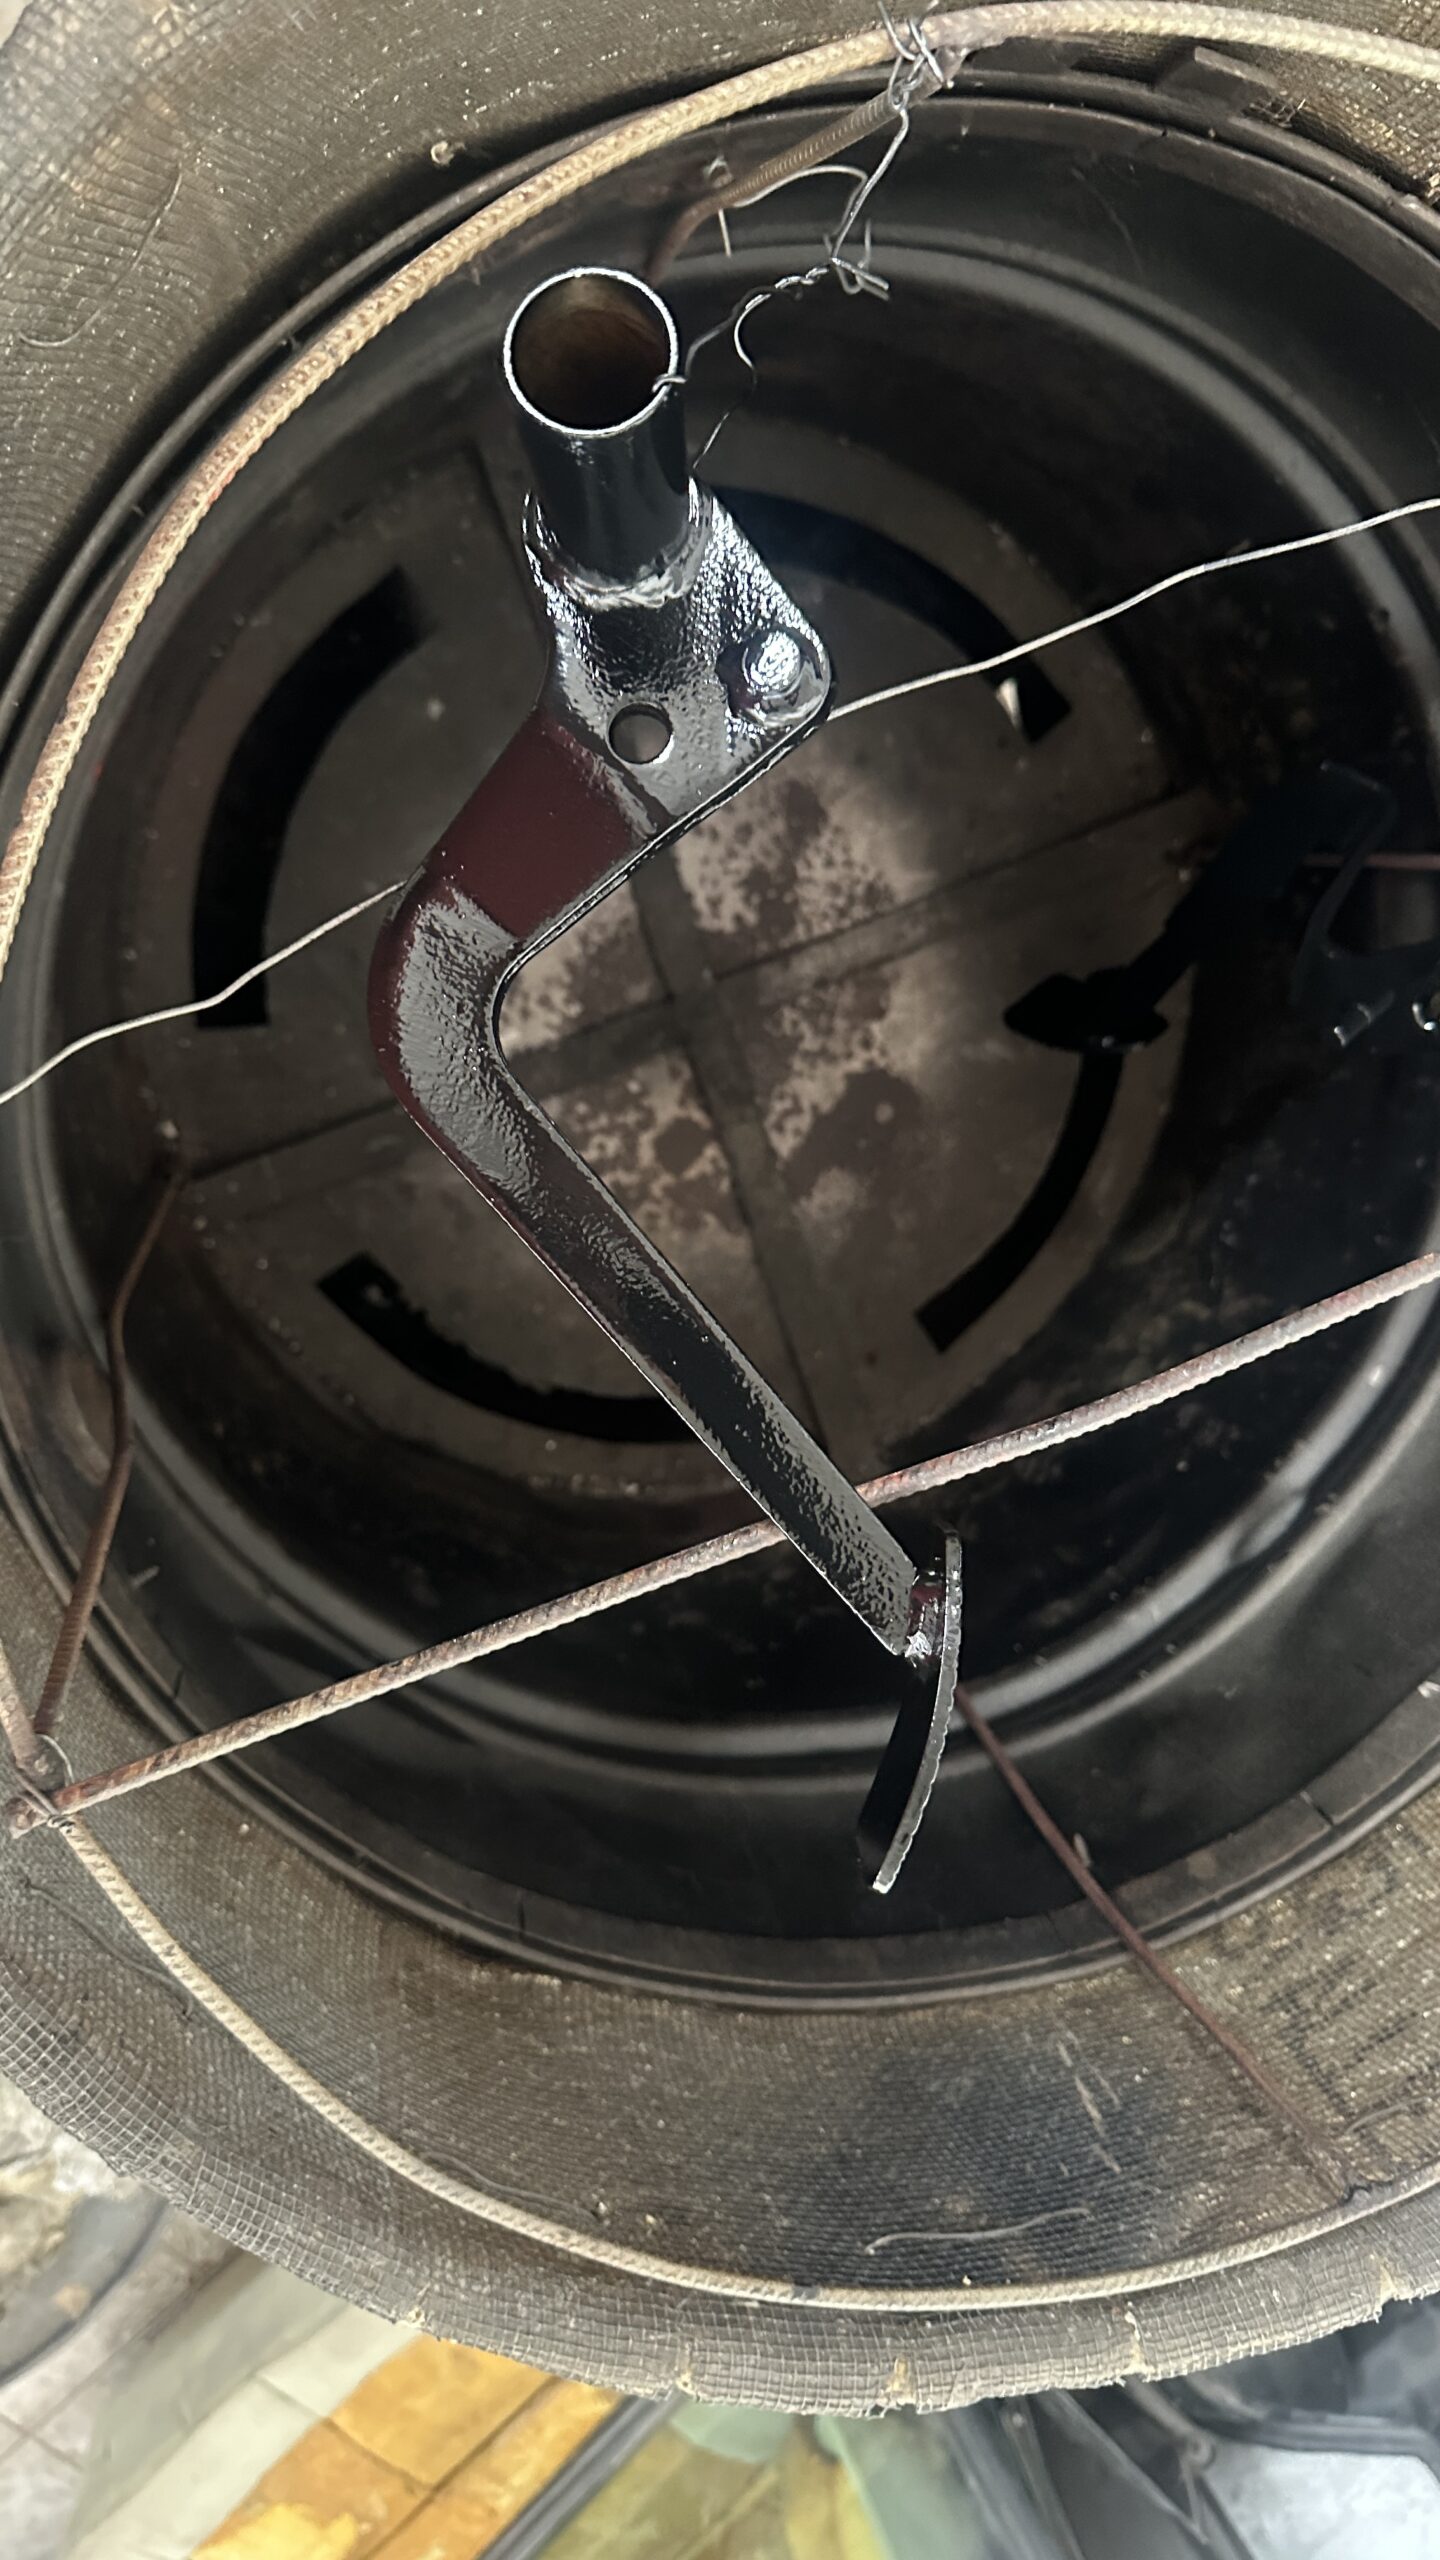
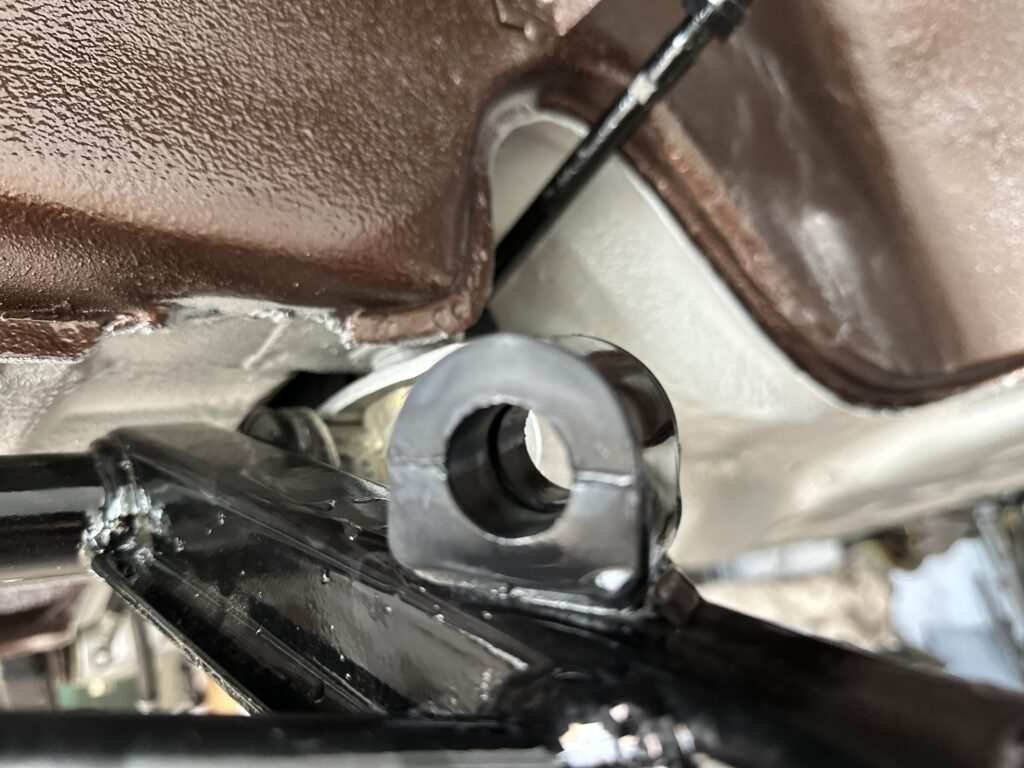
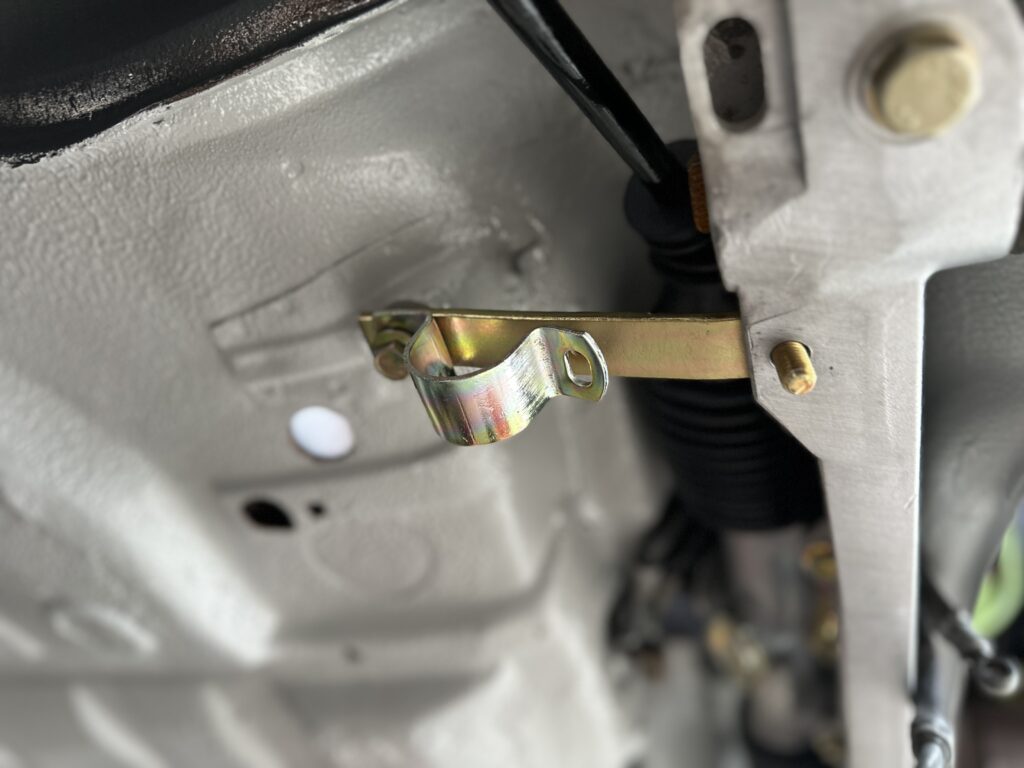
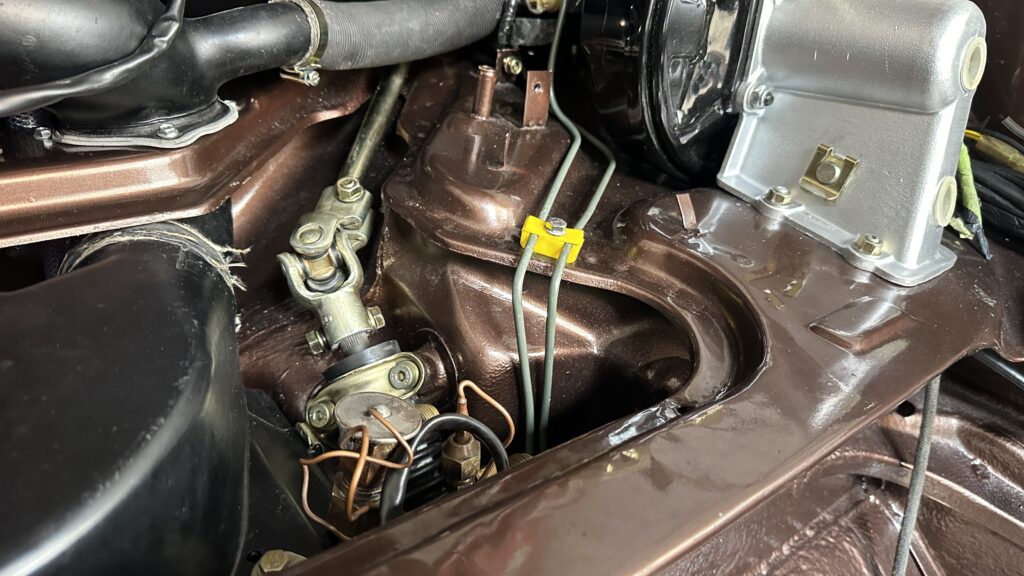
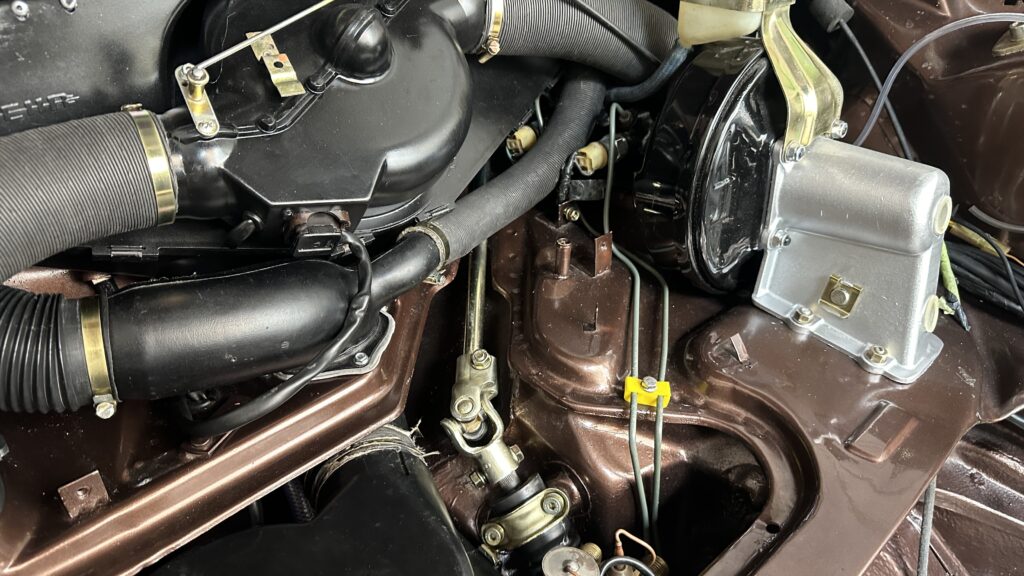
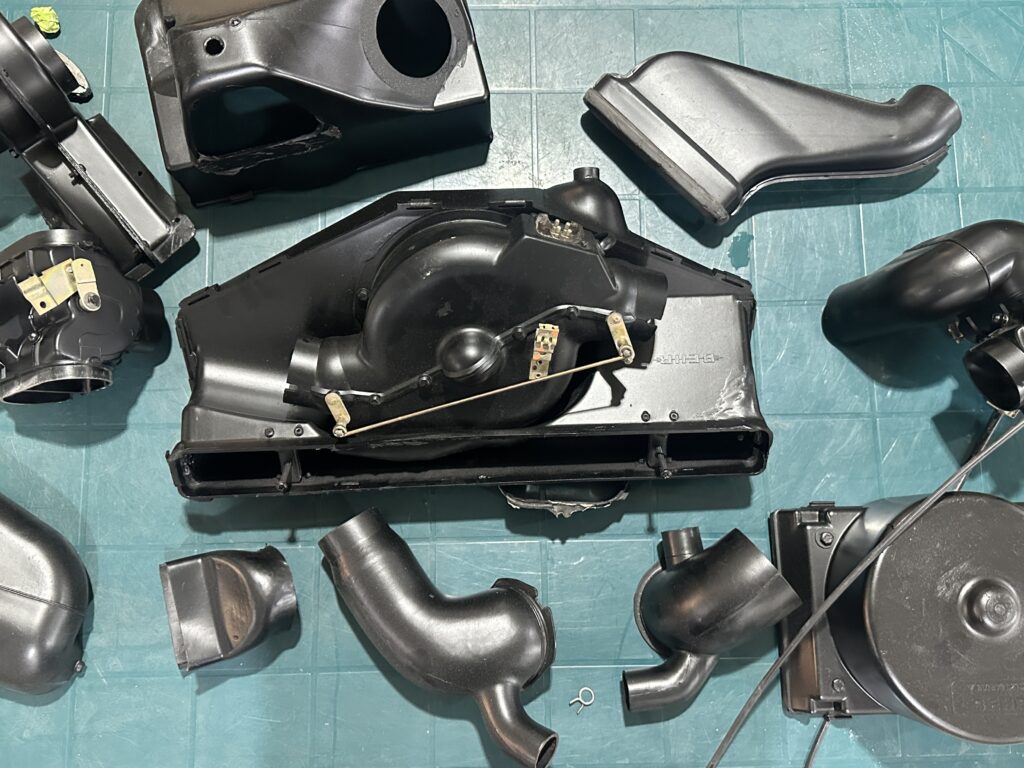
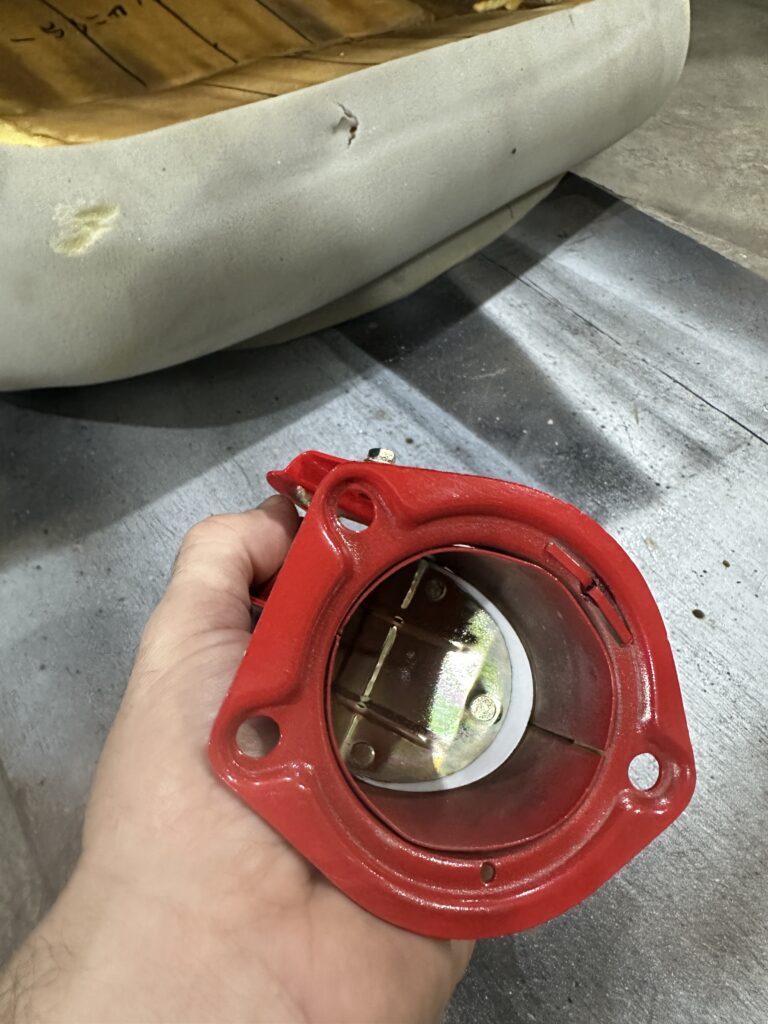
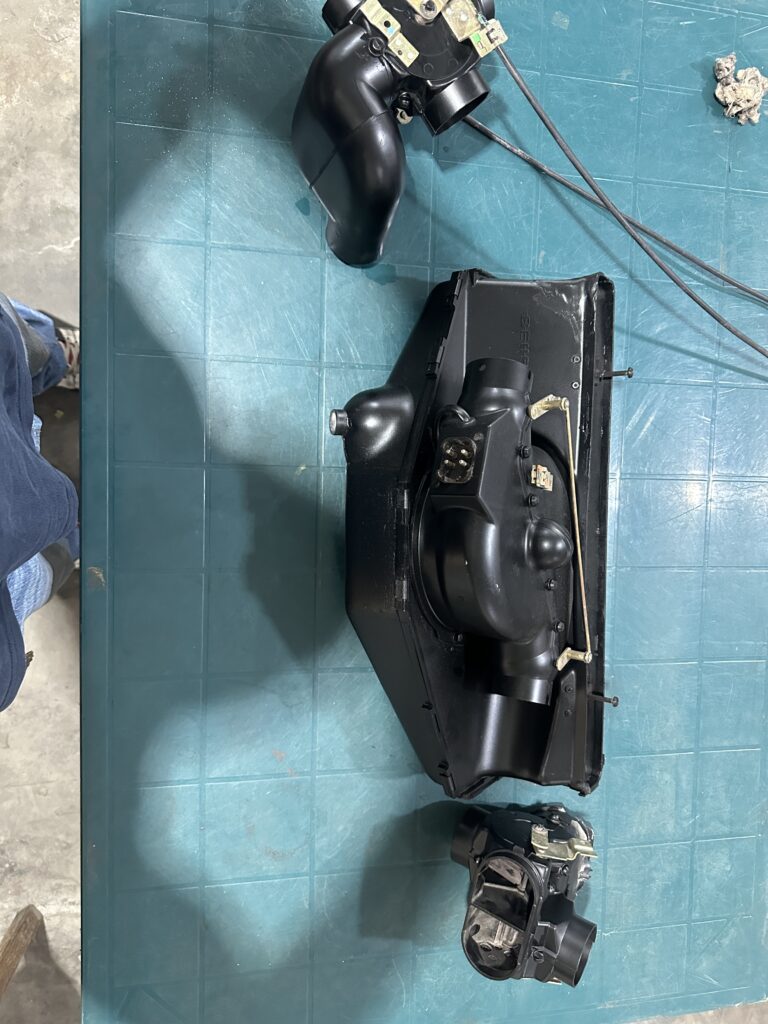
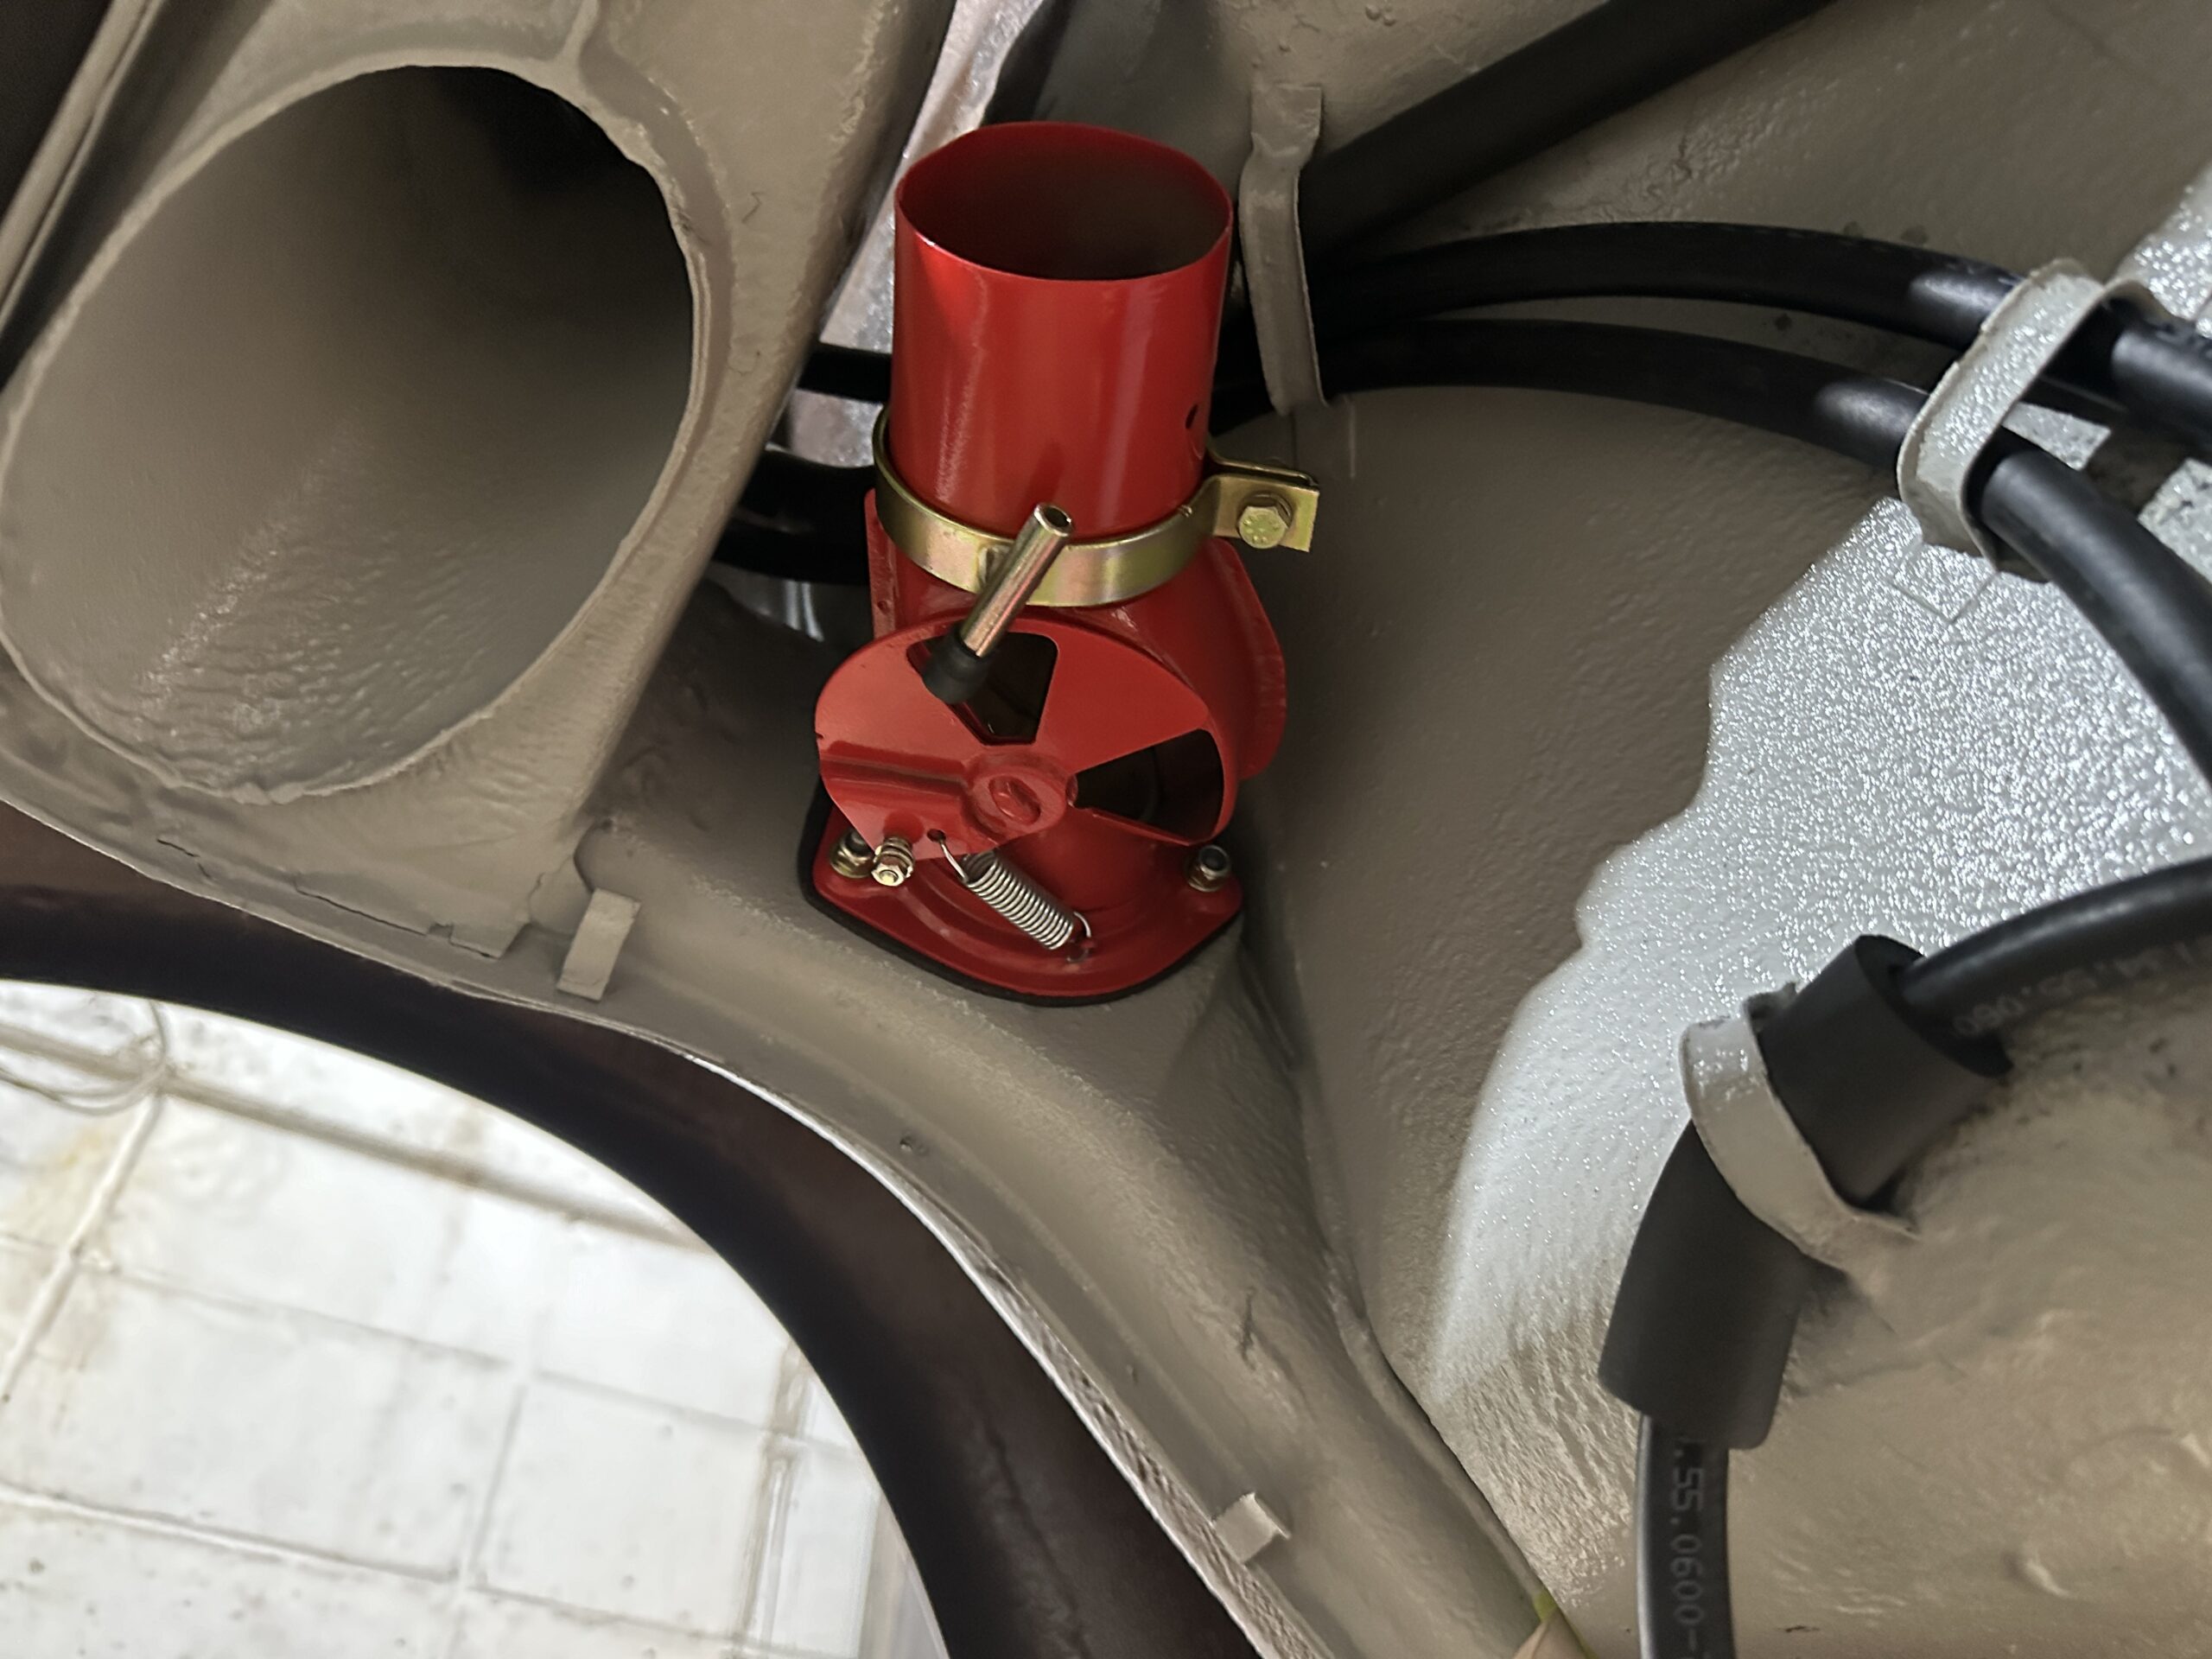
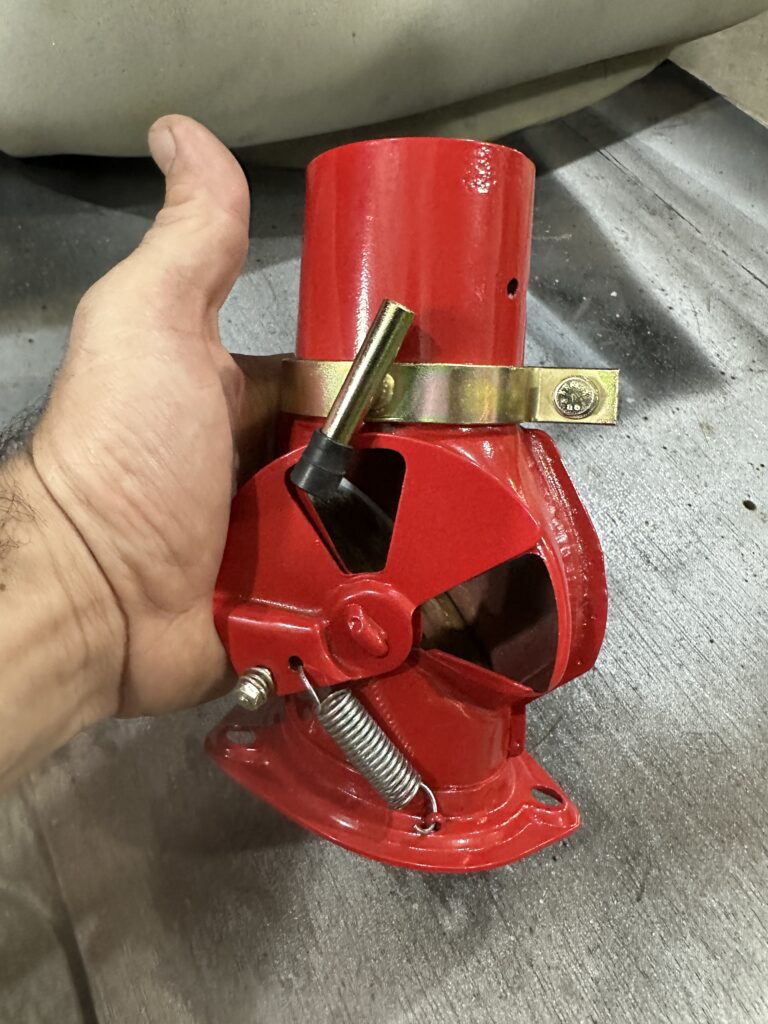
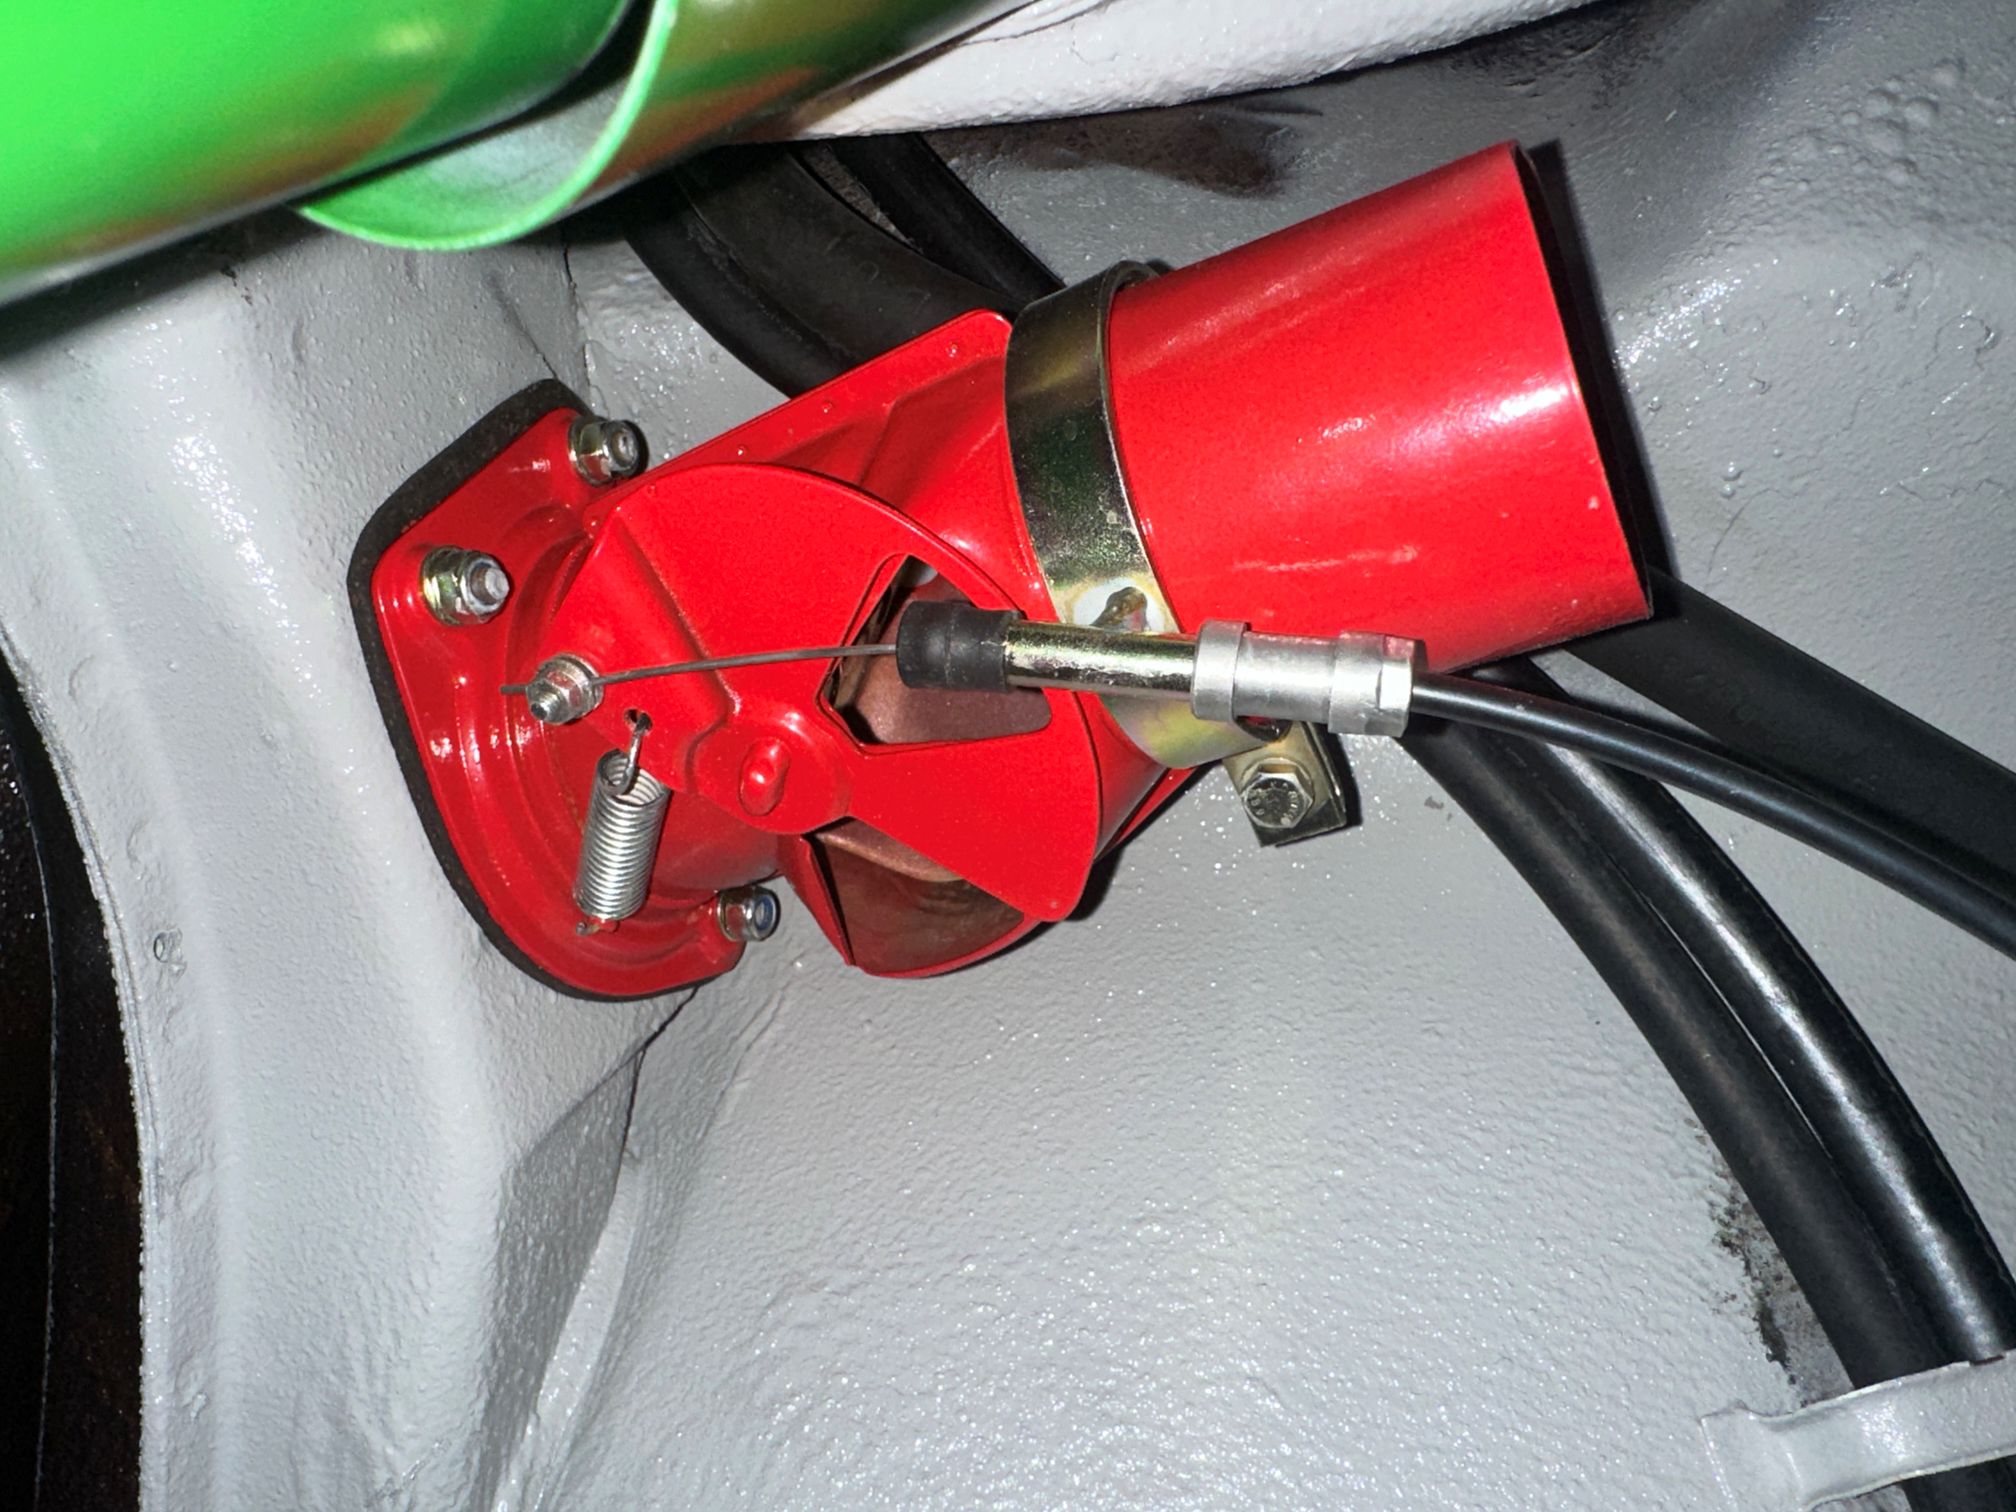
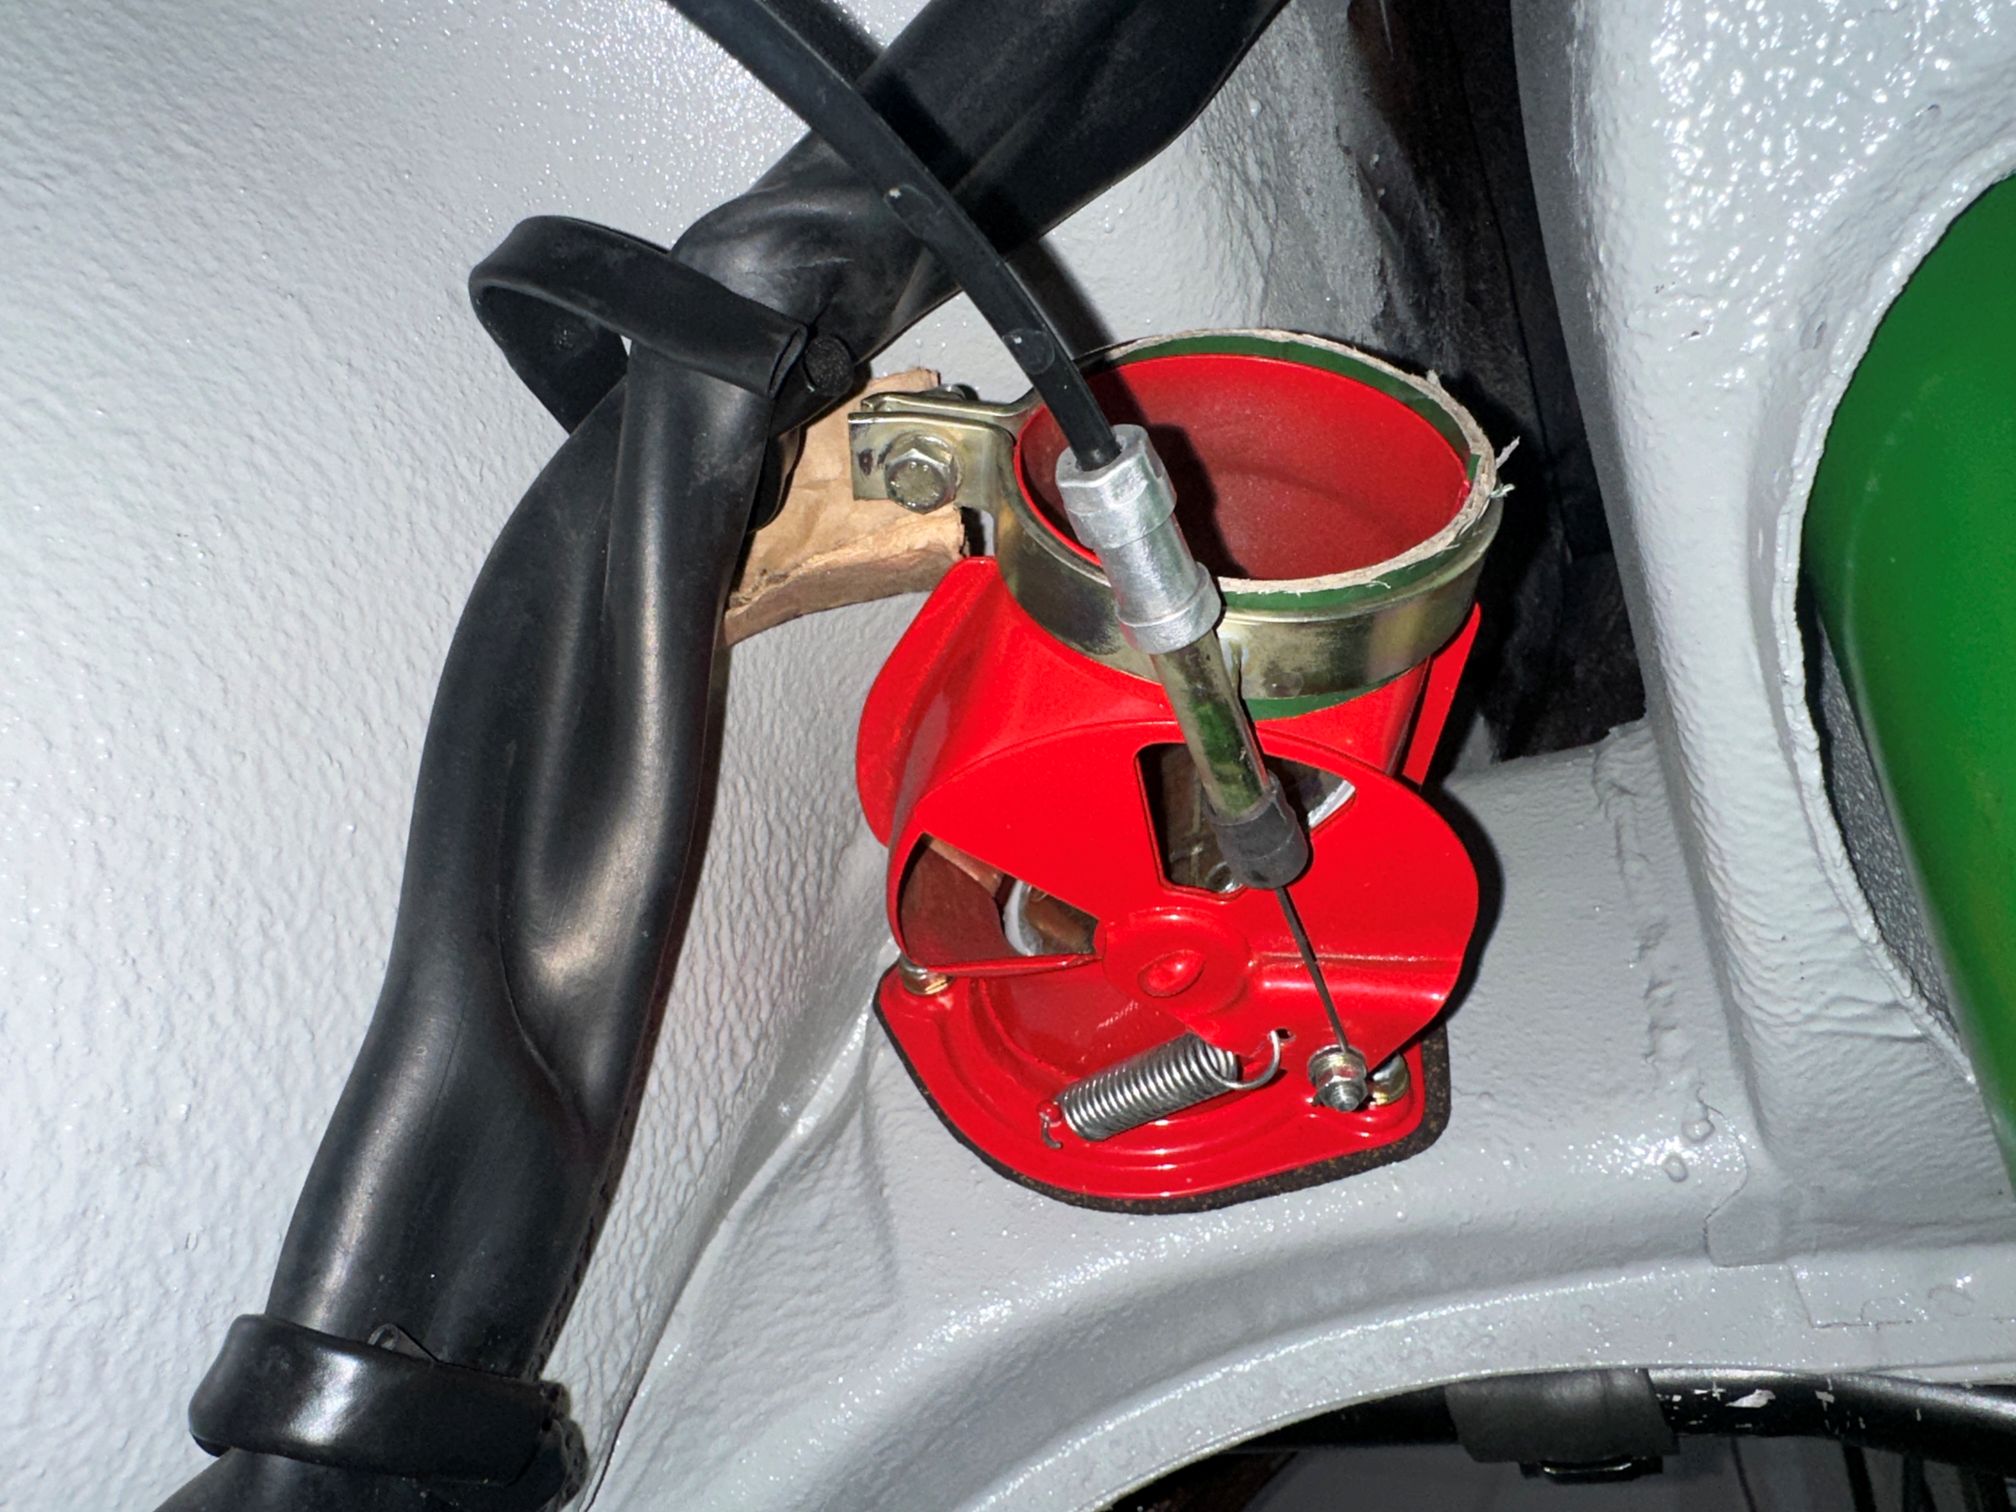
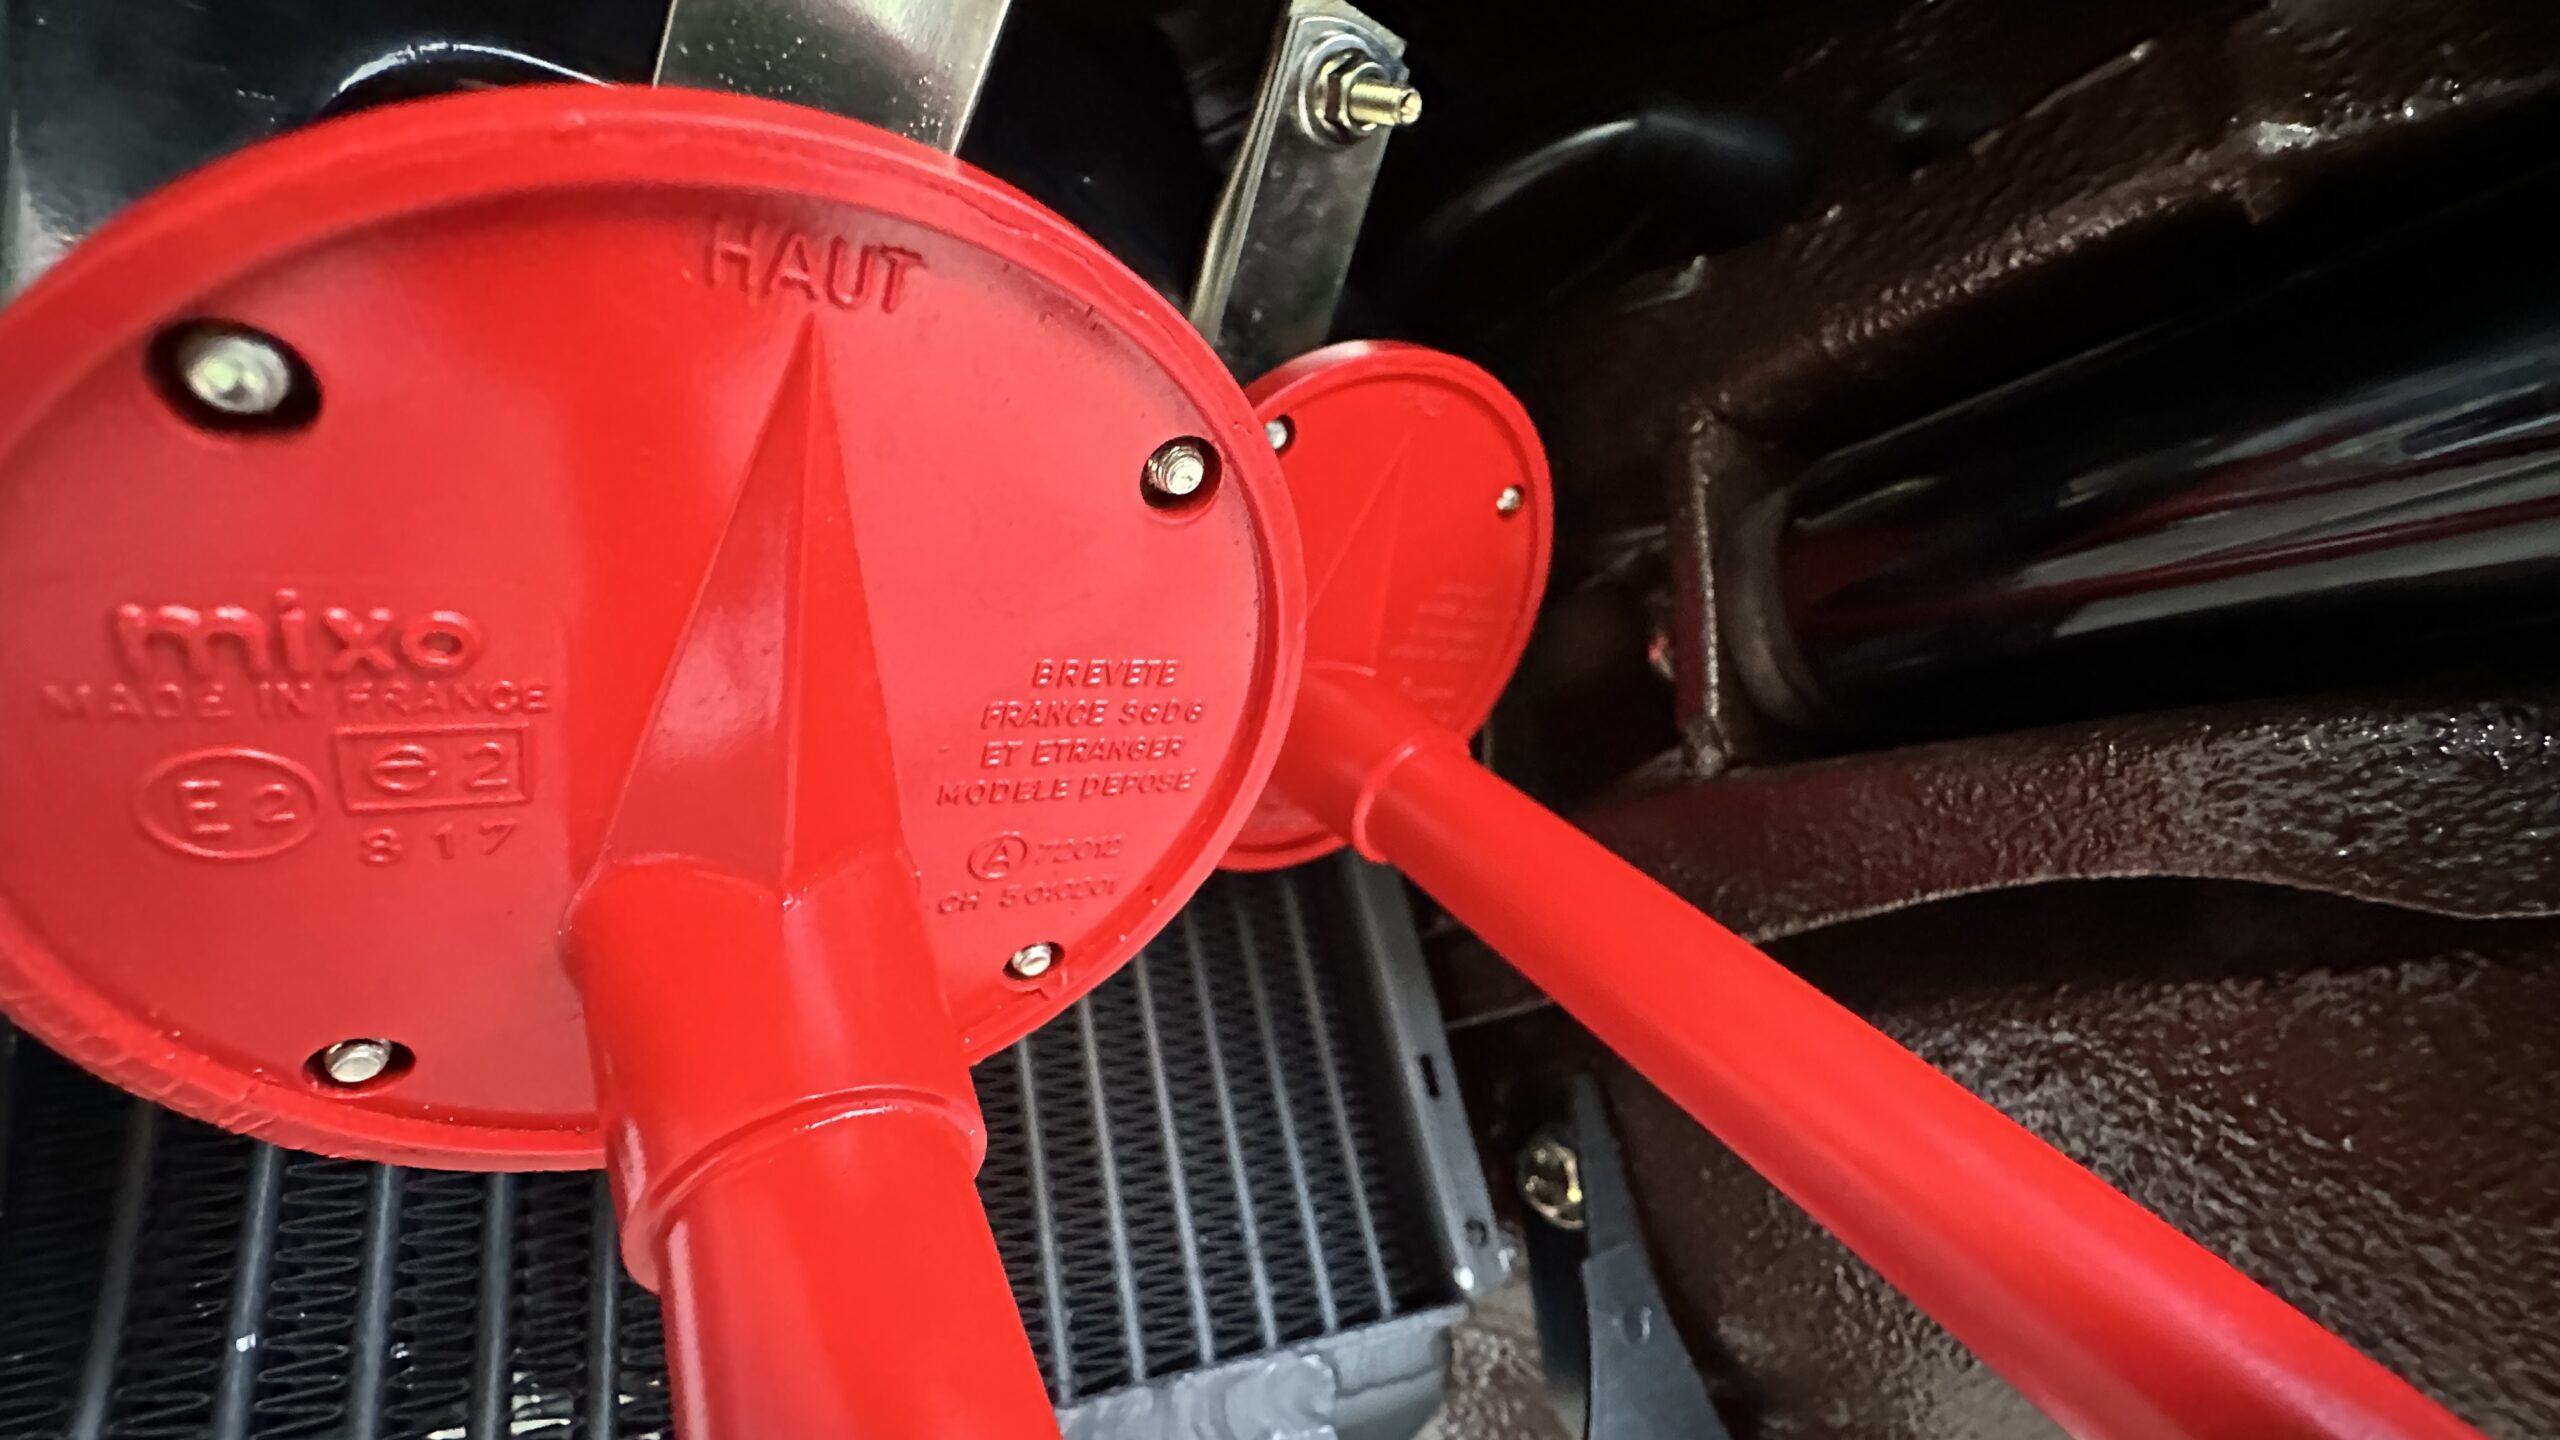
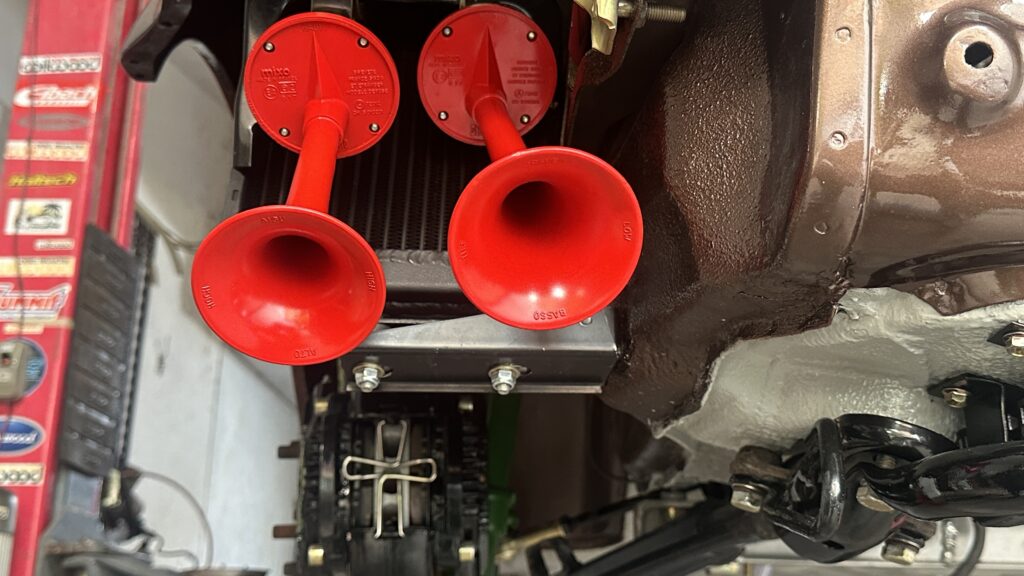
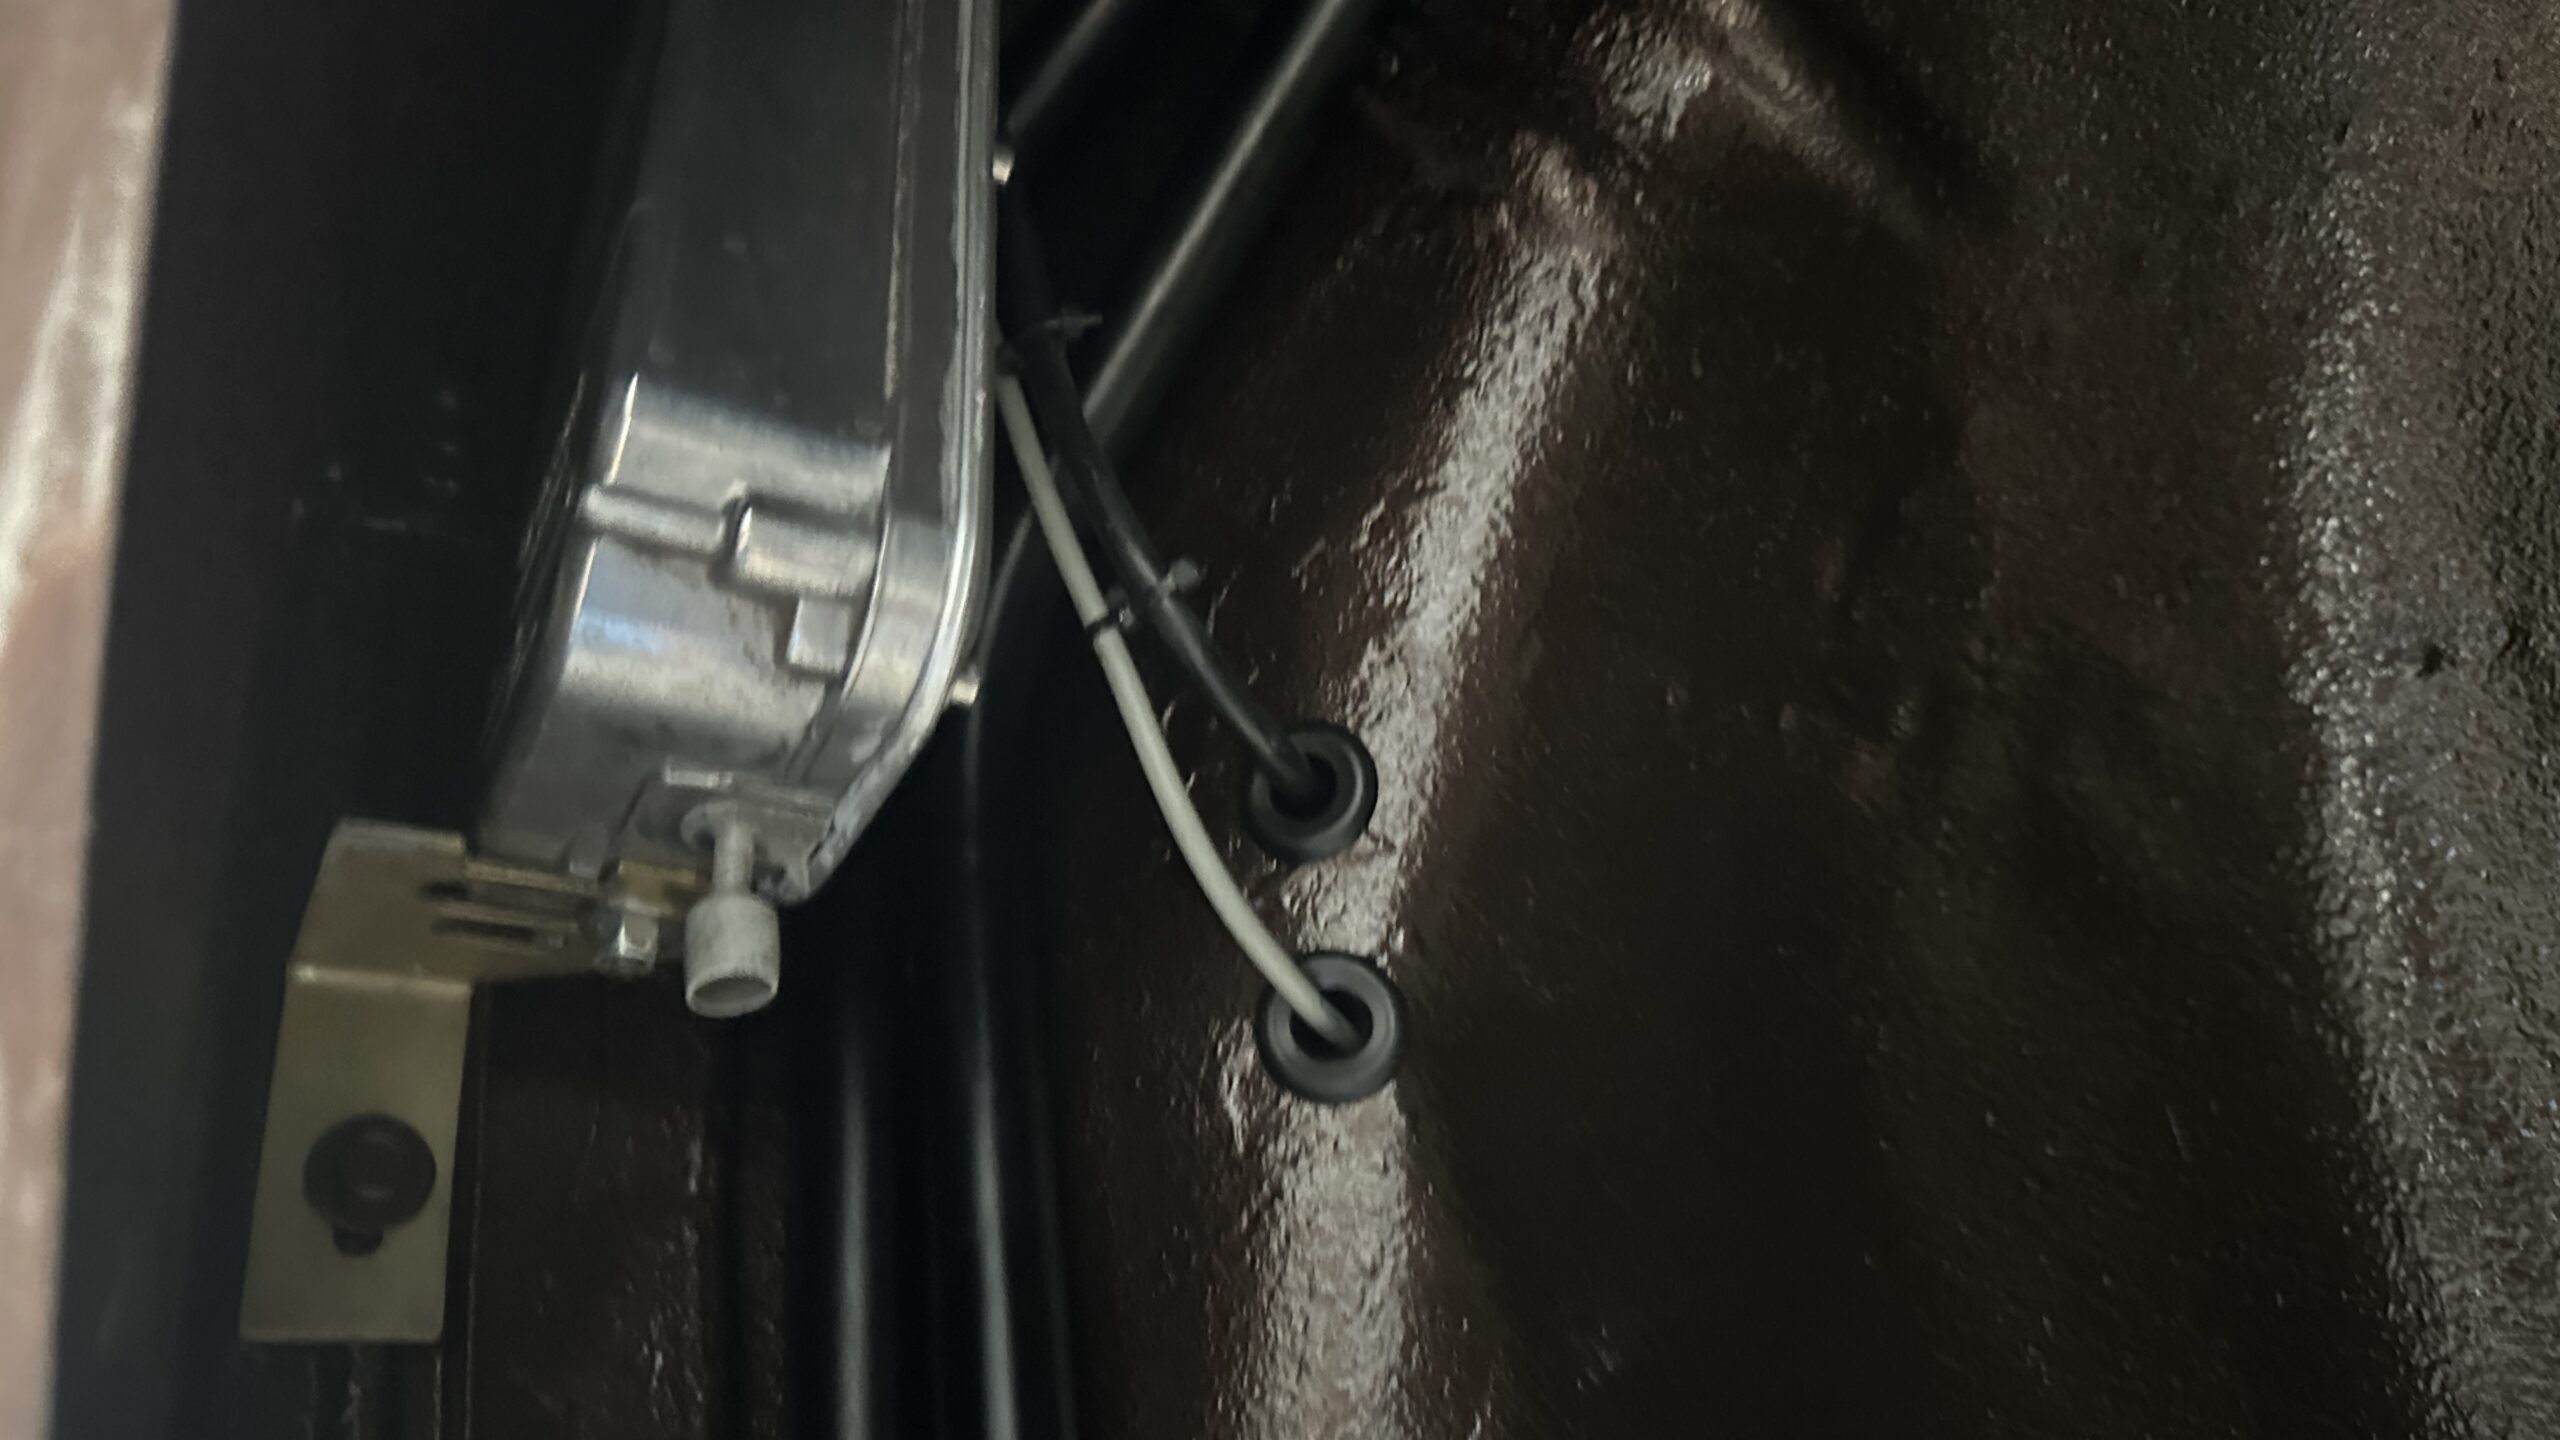
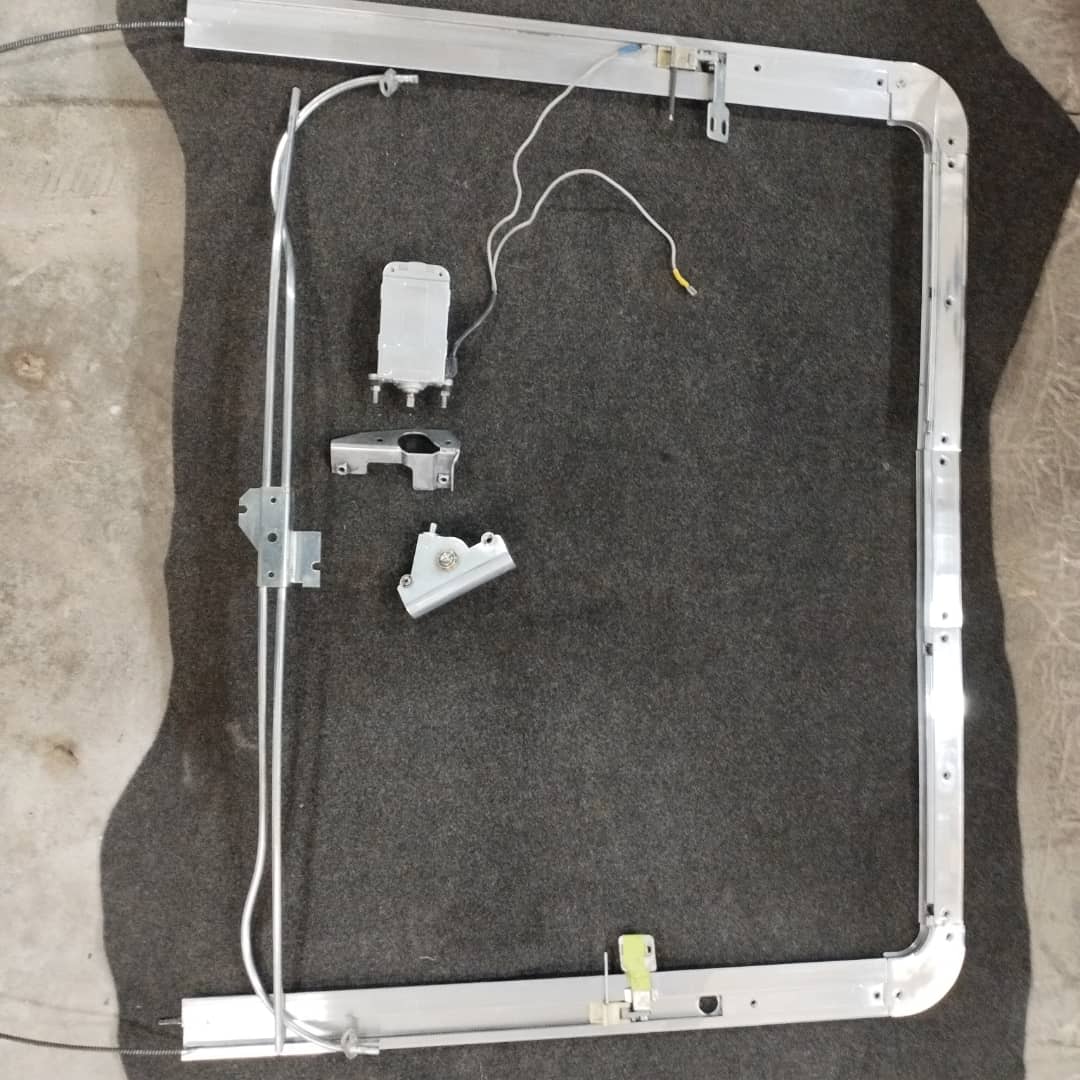
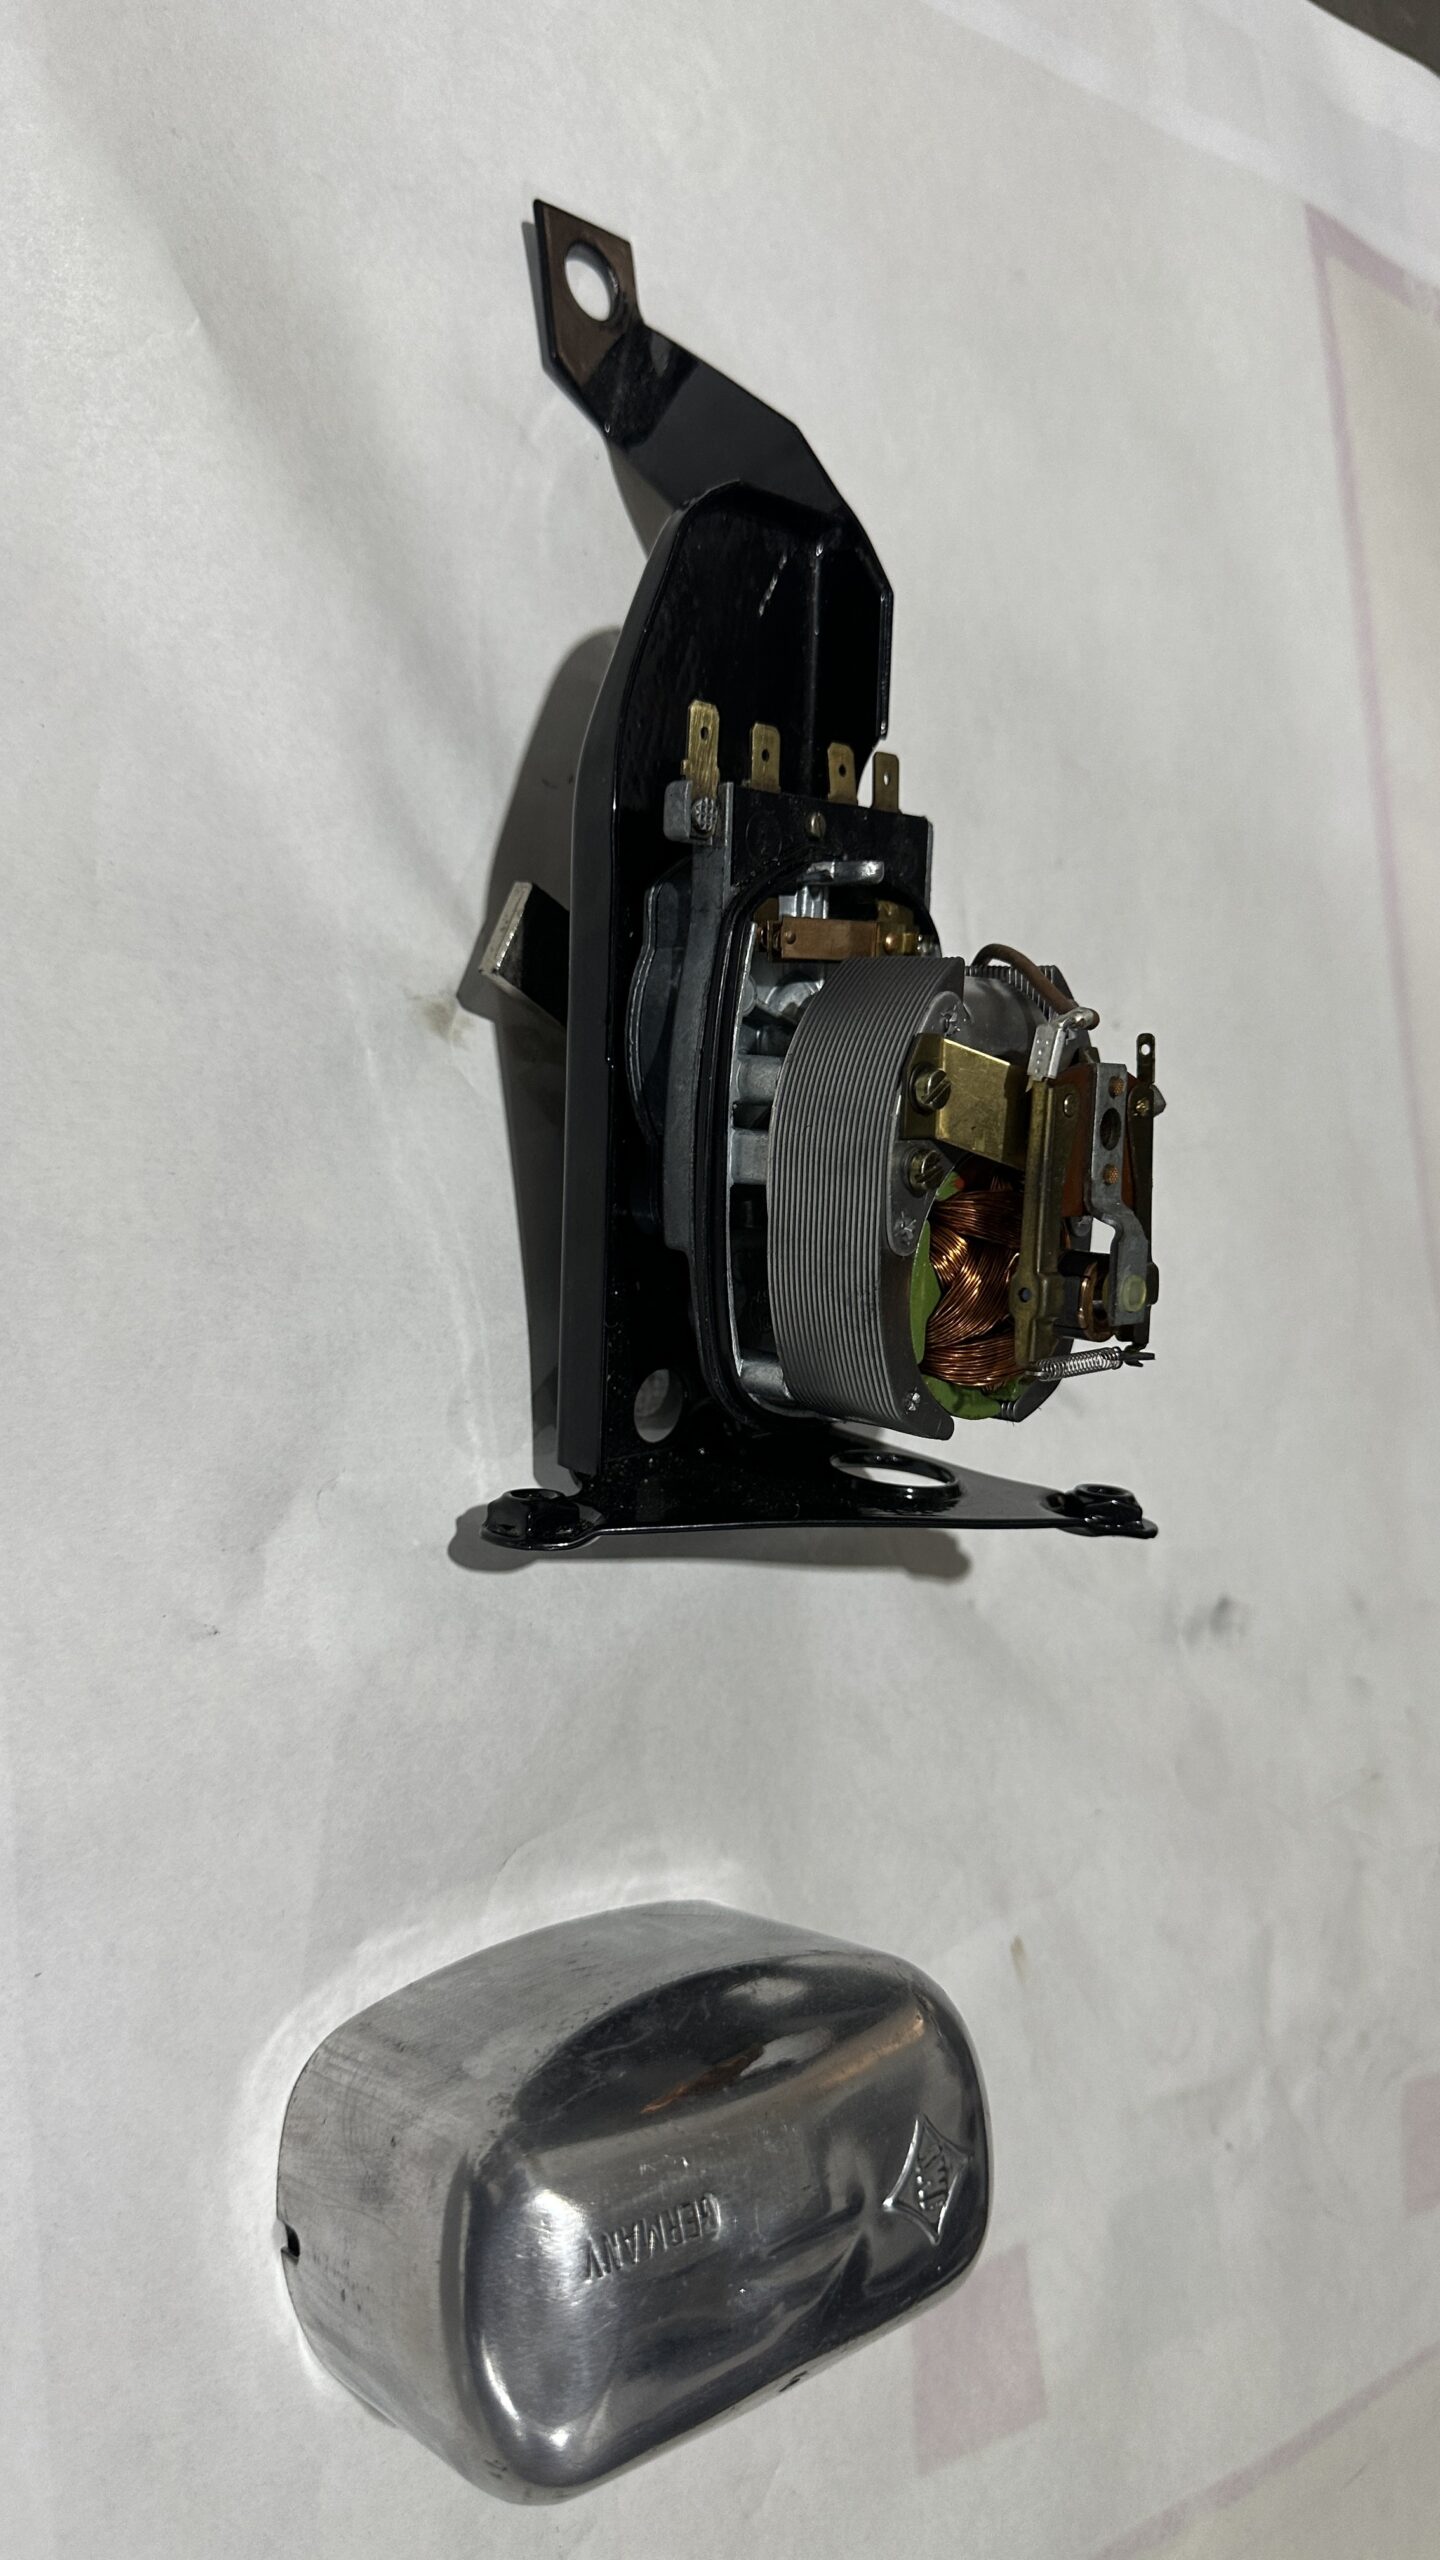
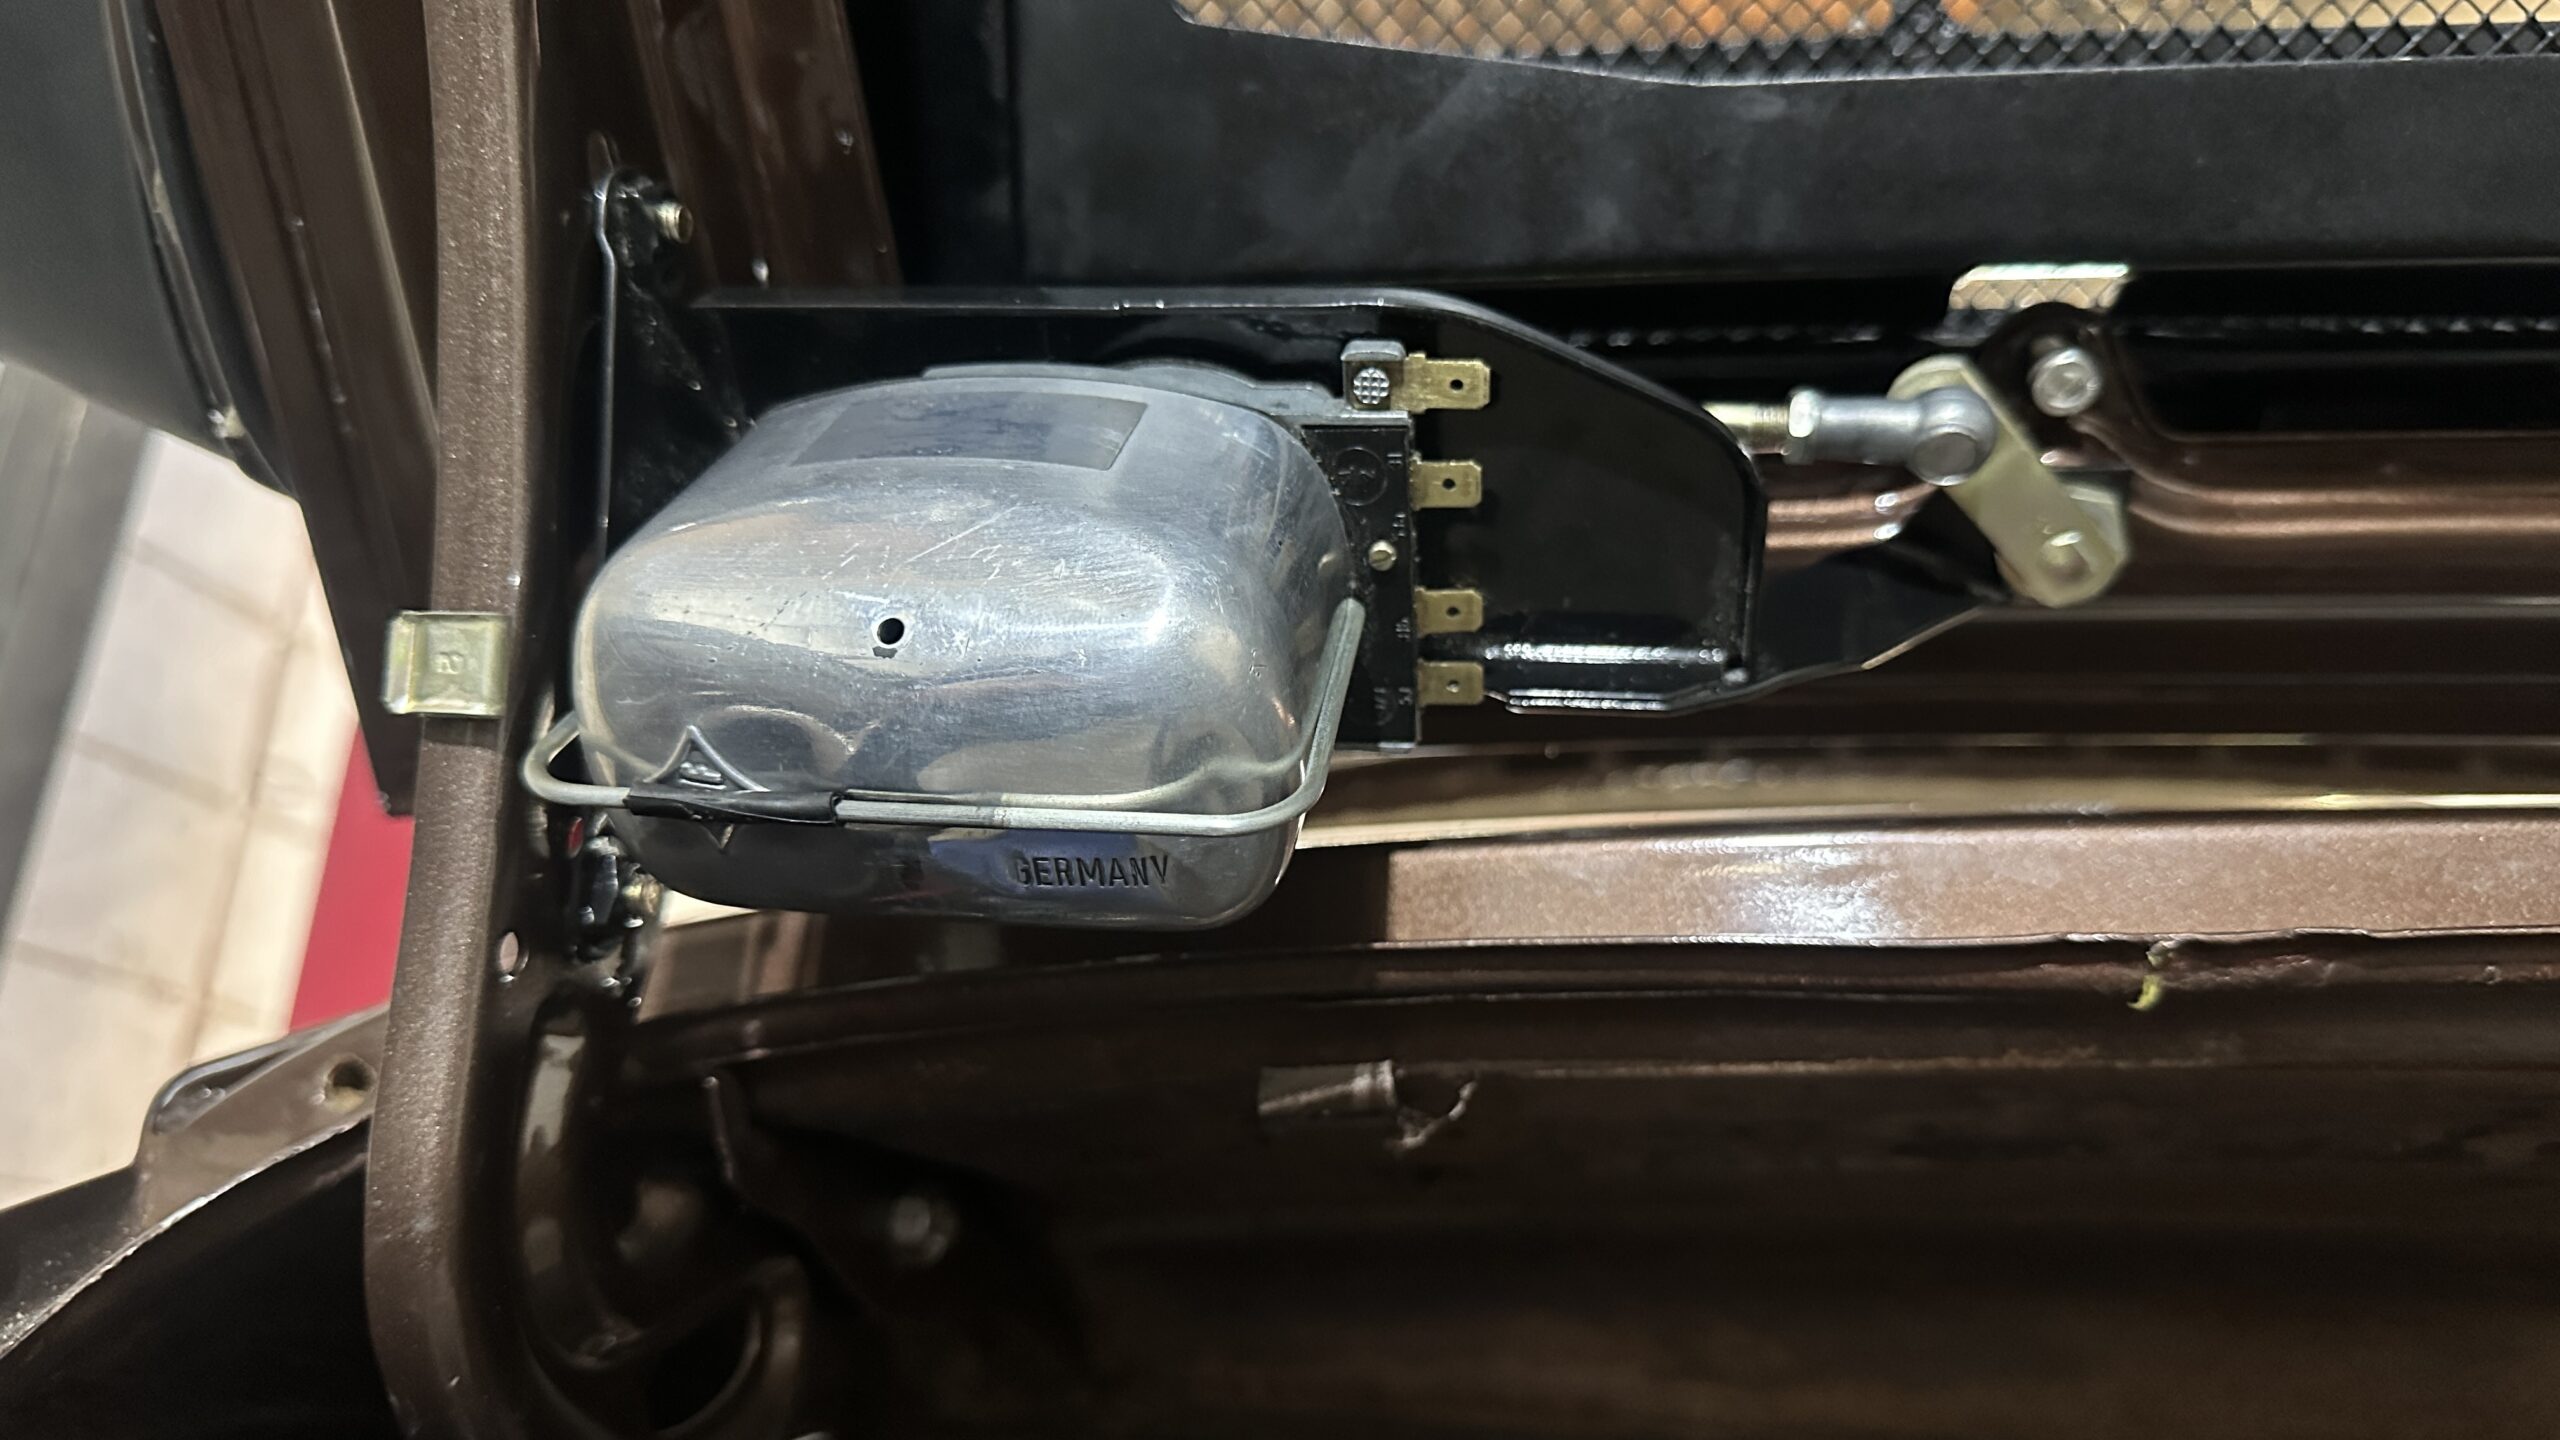
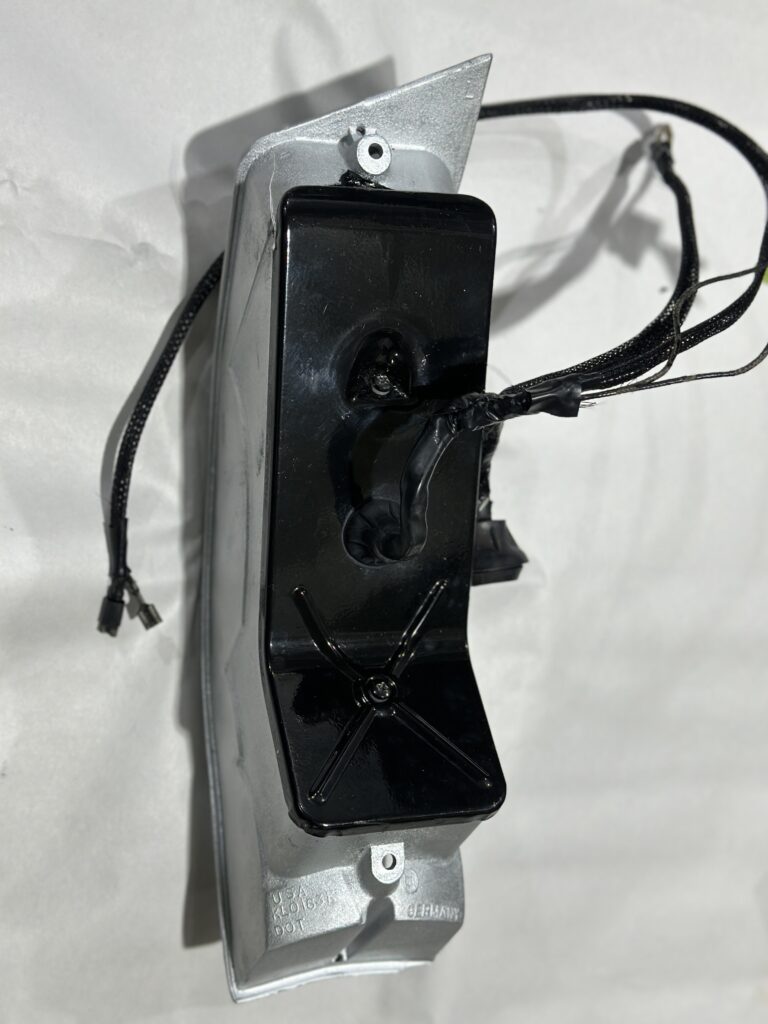
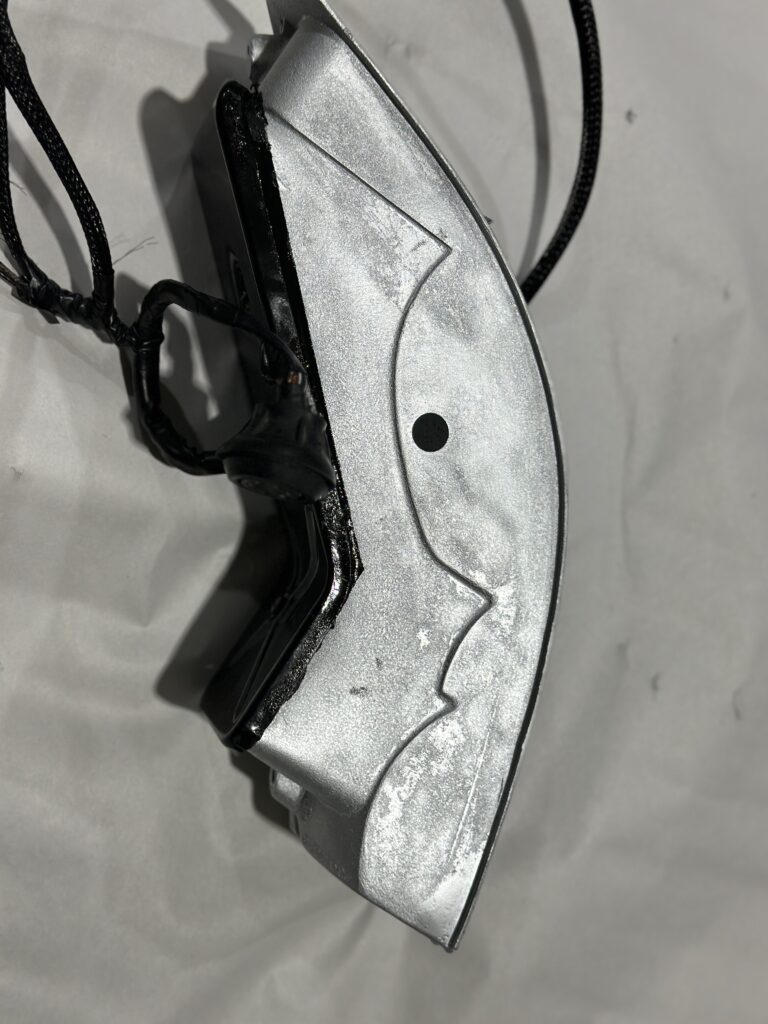
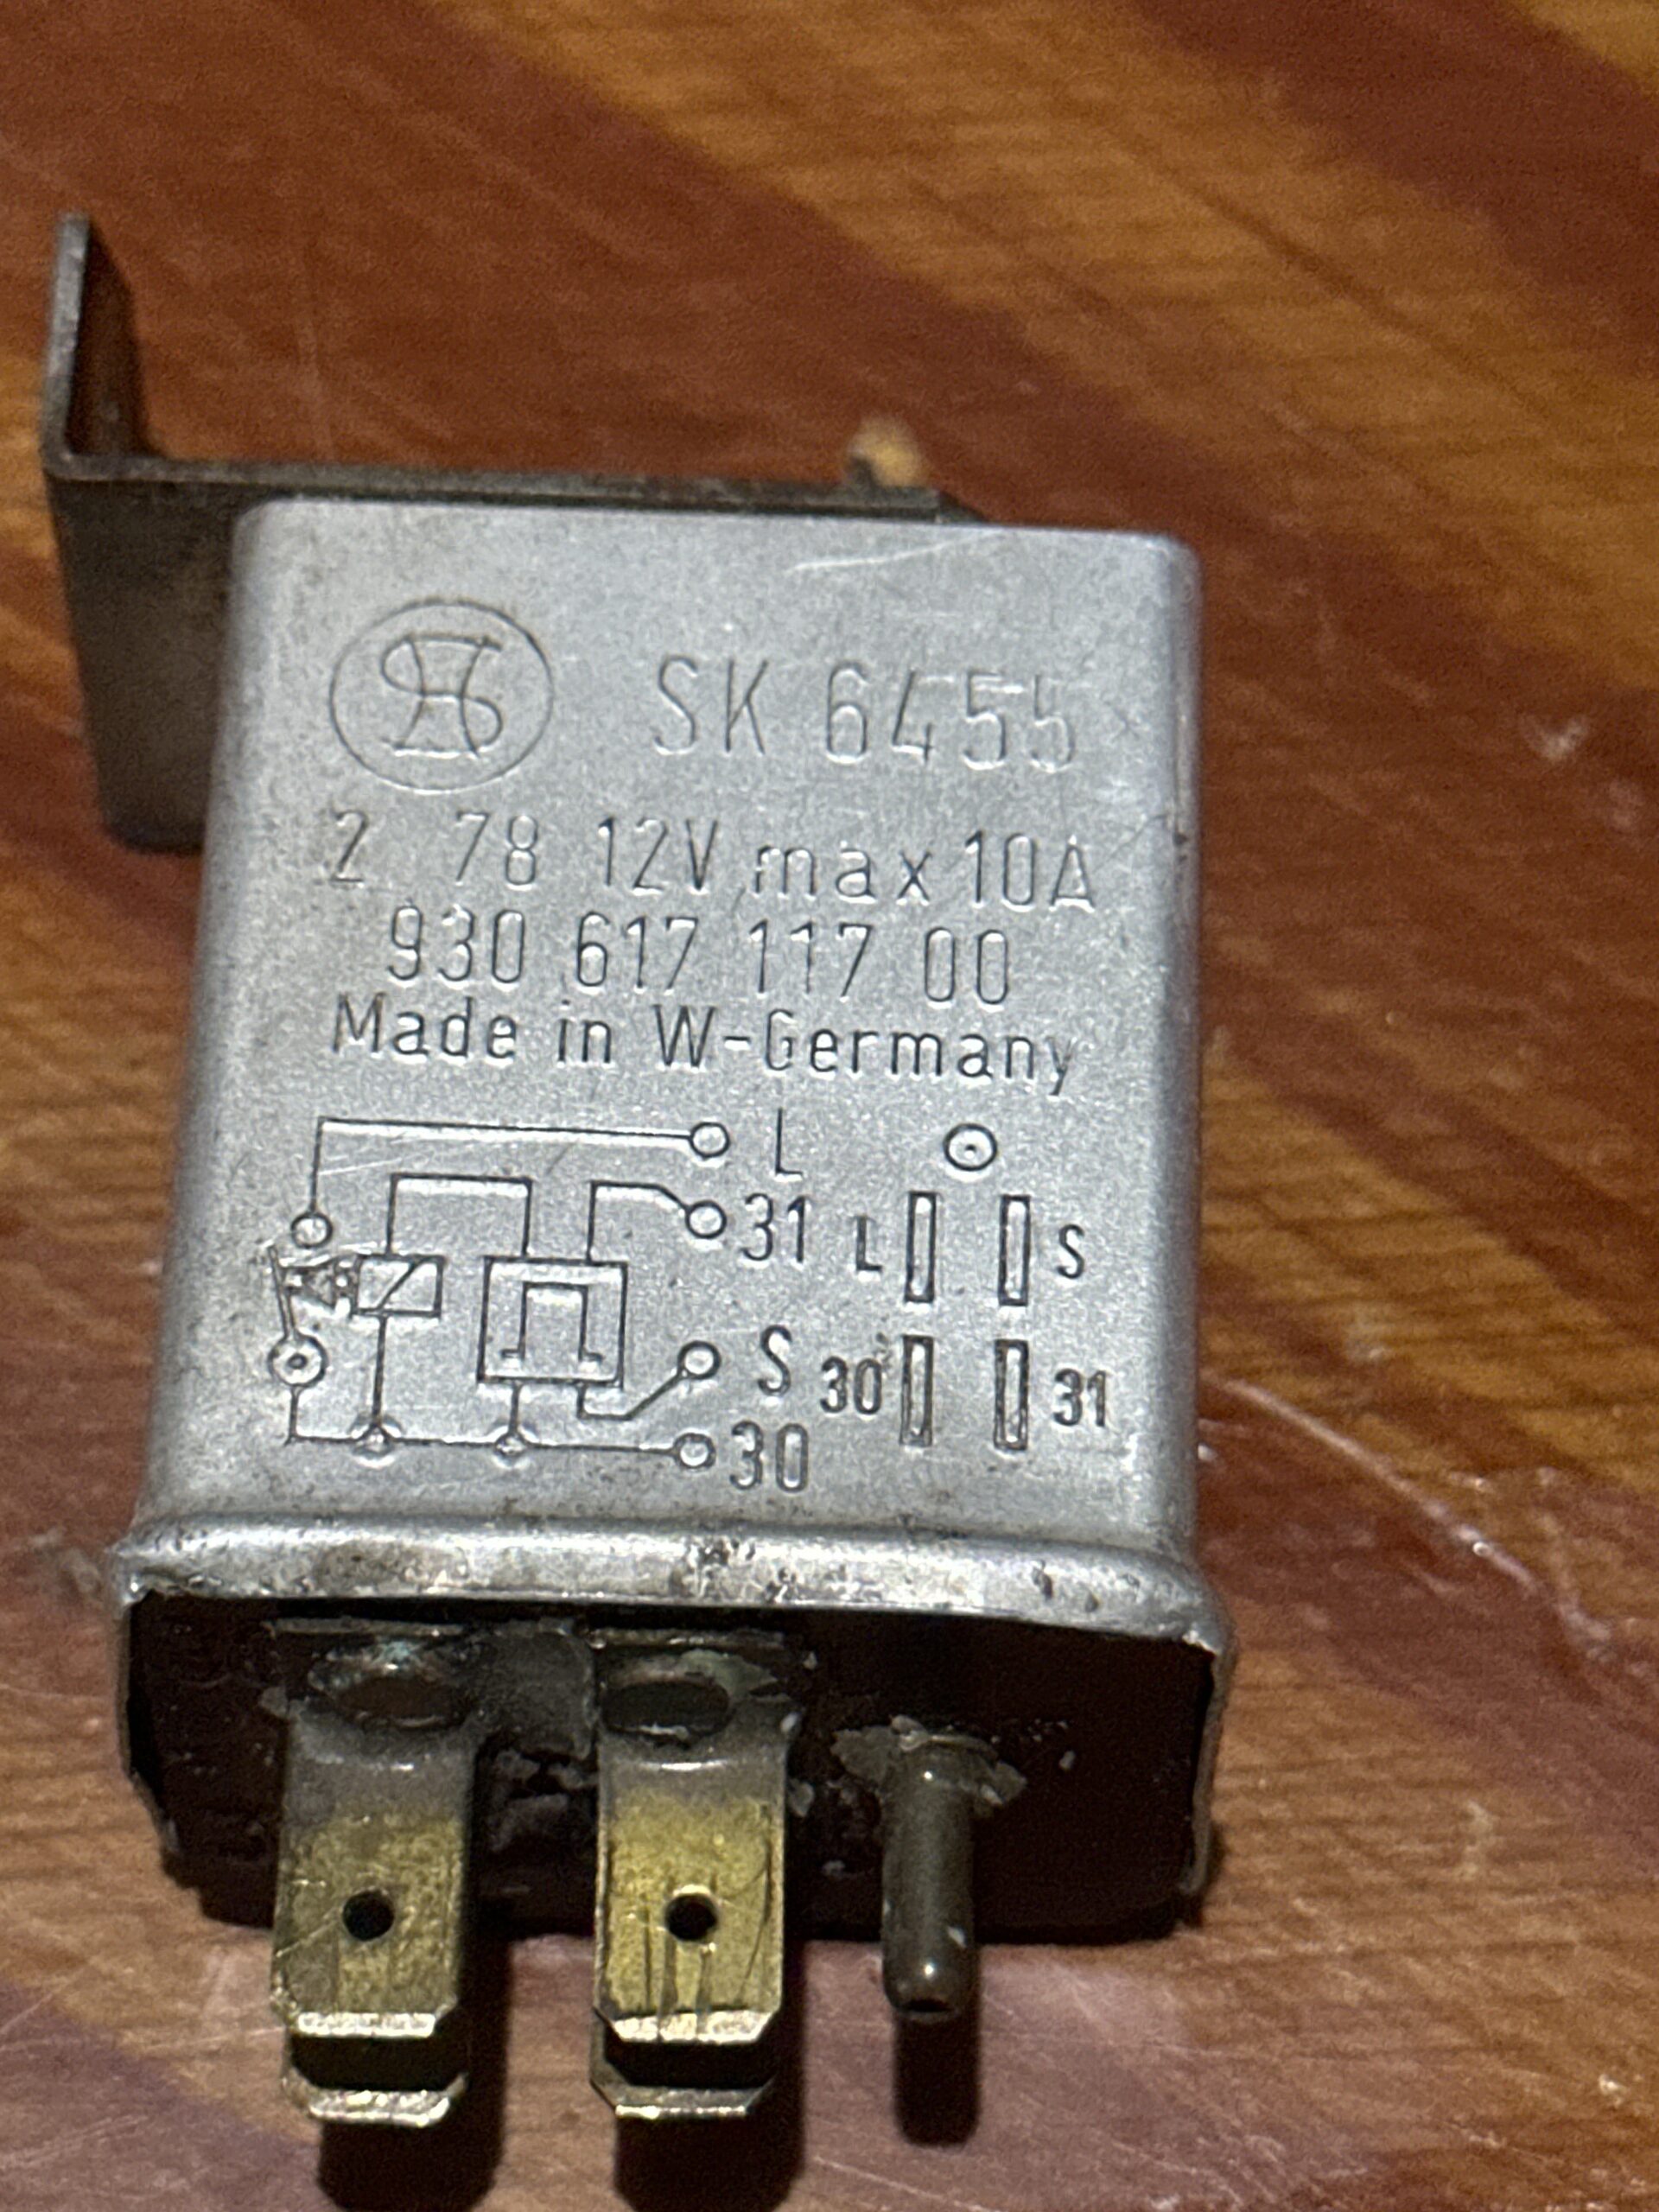
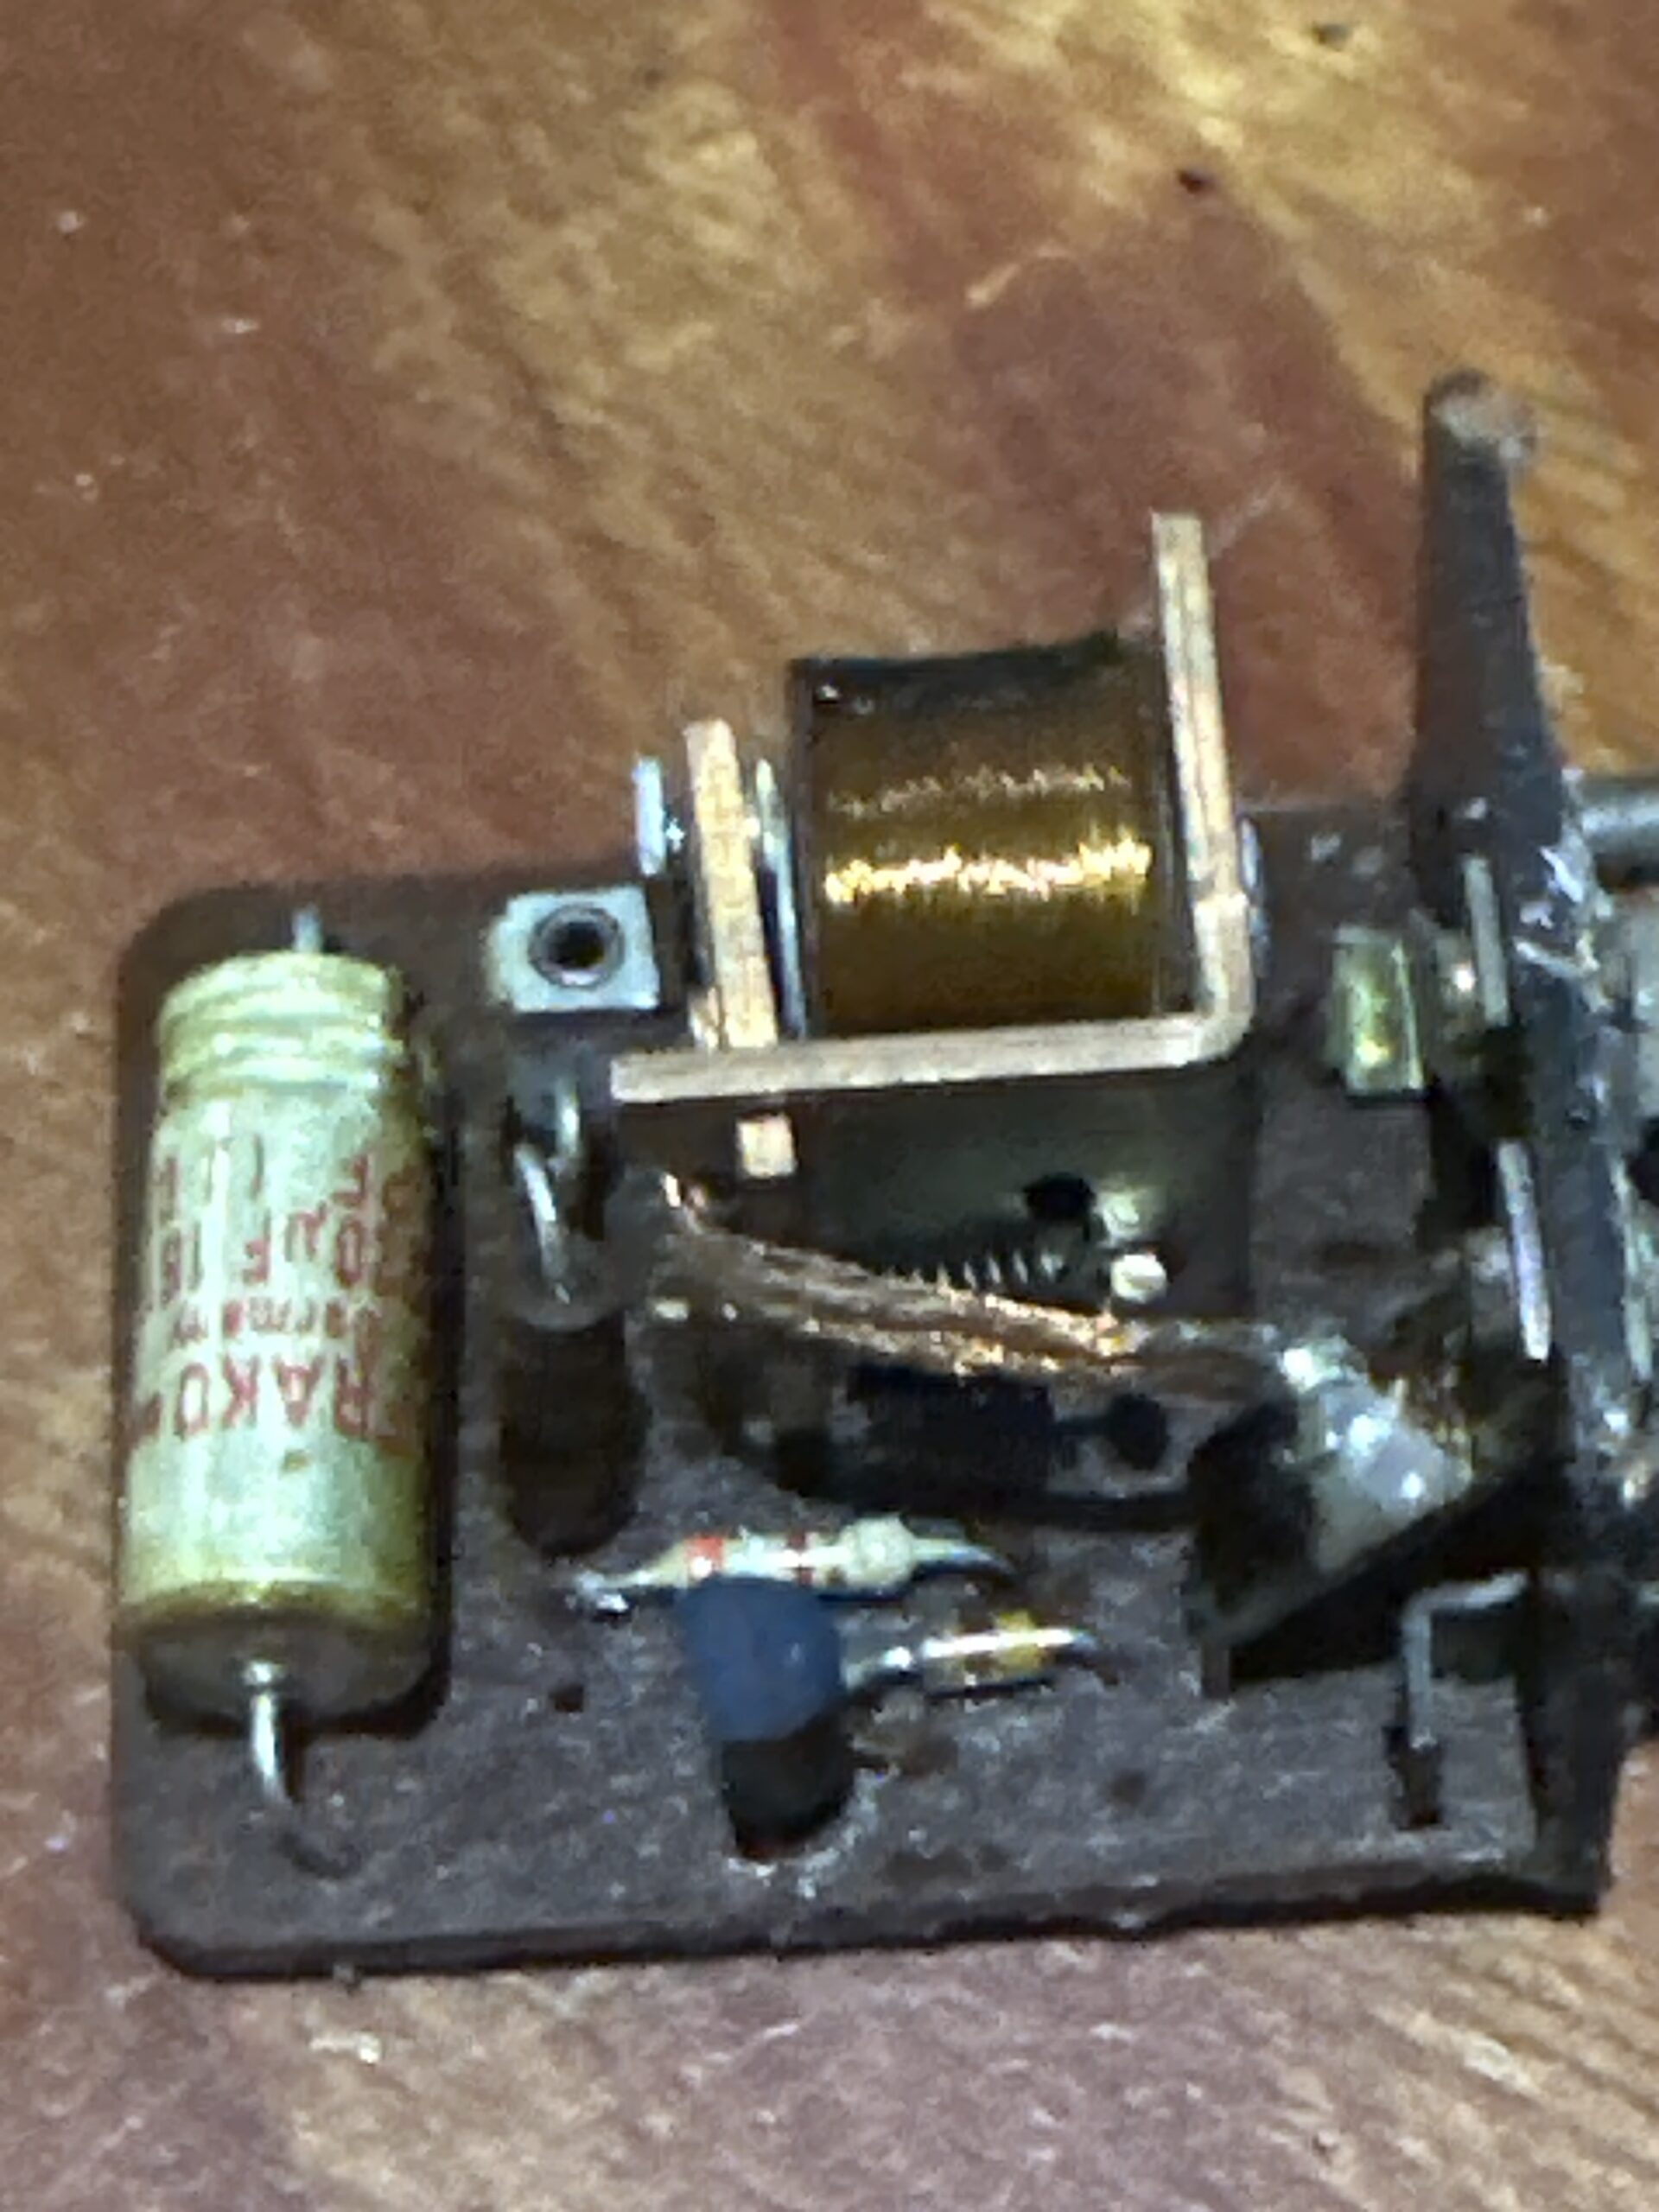
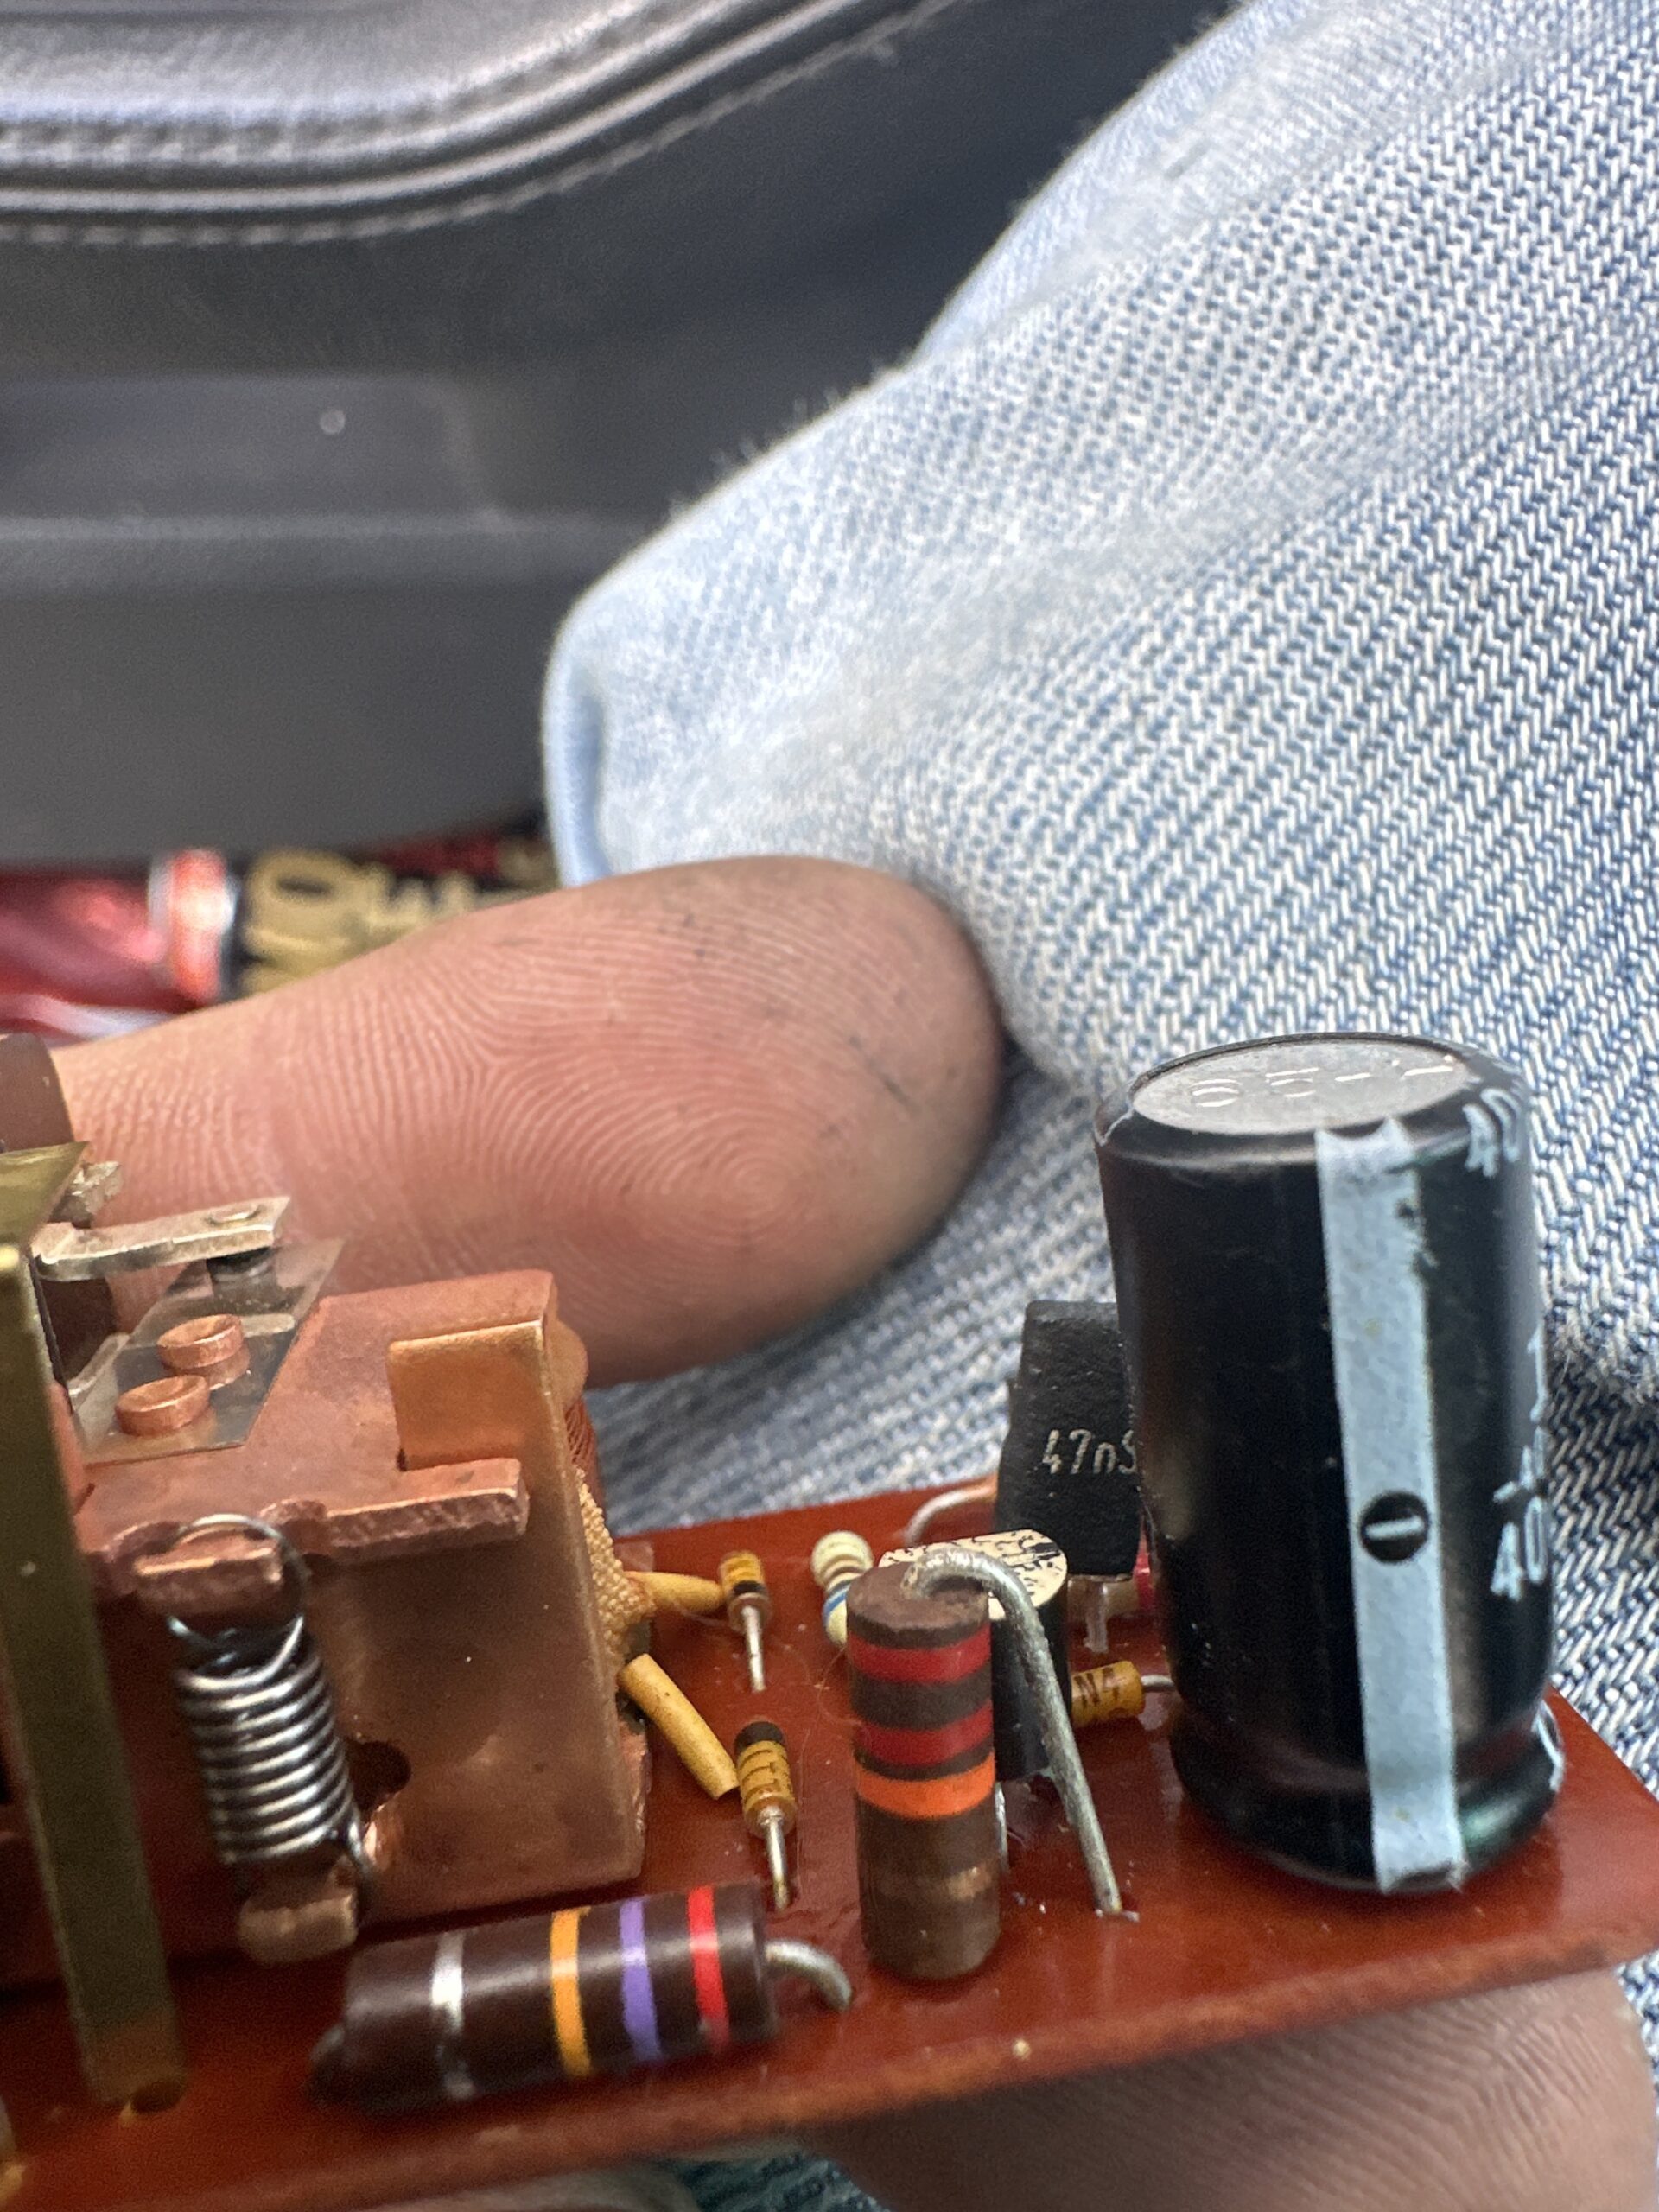
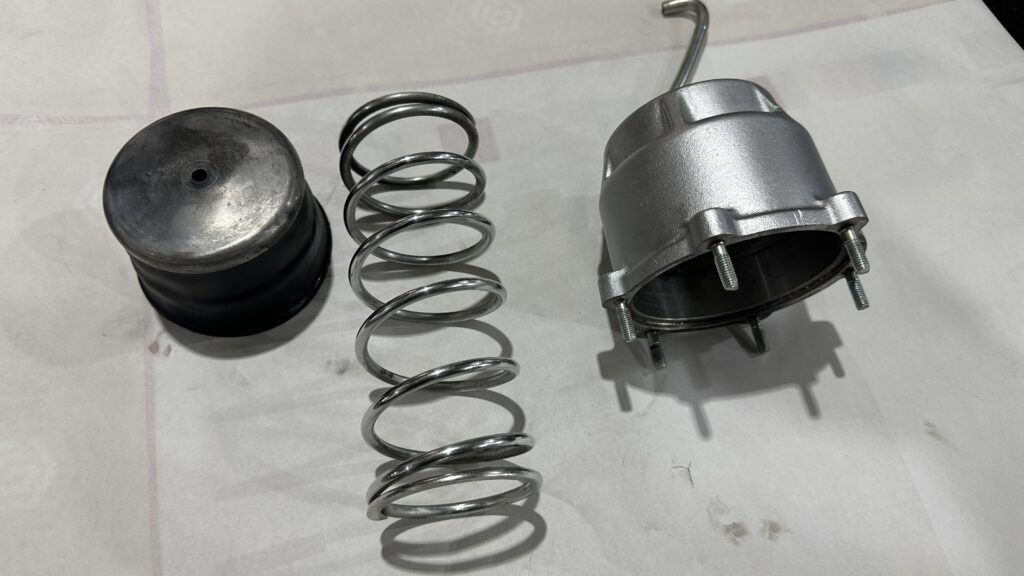
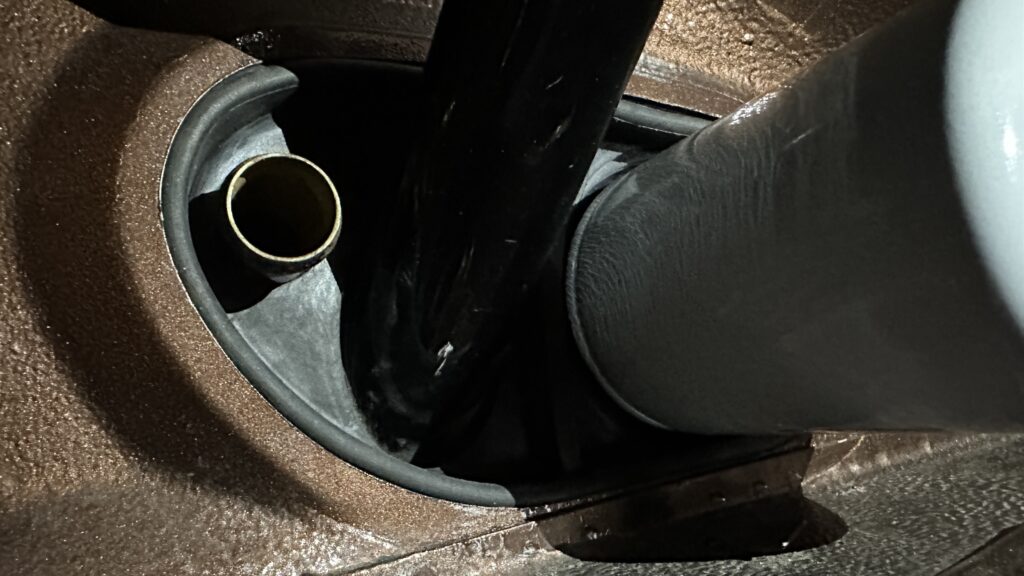
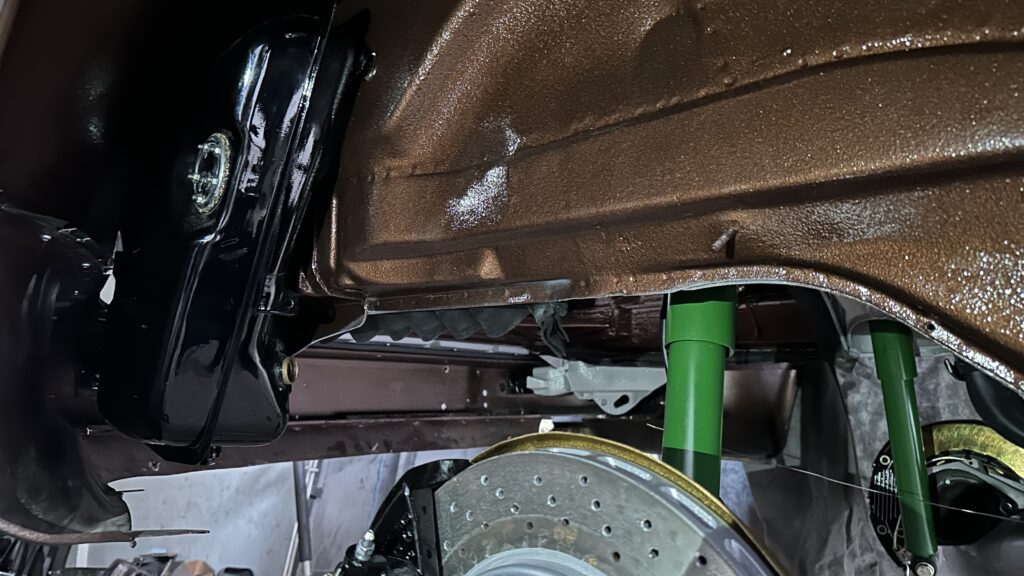
Lastly, the heating hoses were replaced with new ones, and the original clamps were restored. We also added discrete rubber seals at the internal joints to prevent any leakage. The rear flaper heating ducts were restored and powder-coated in red the original color , the spring was chromed, and the bolts were zinc-coated. New seals and cables were installed, and the automatic heating system was cleaned, restored, and is now functioning as if it just left the dealership.

Now, even when temperatures outside hit 90°F or higher, you’ll enjoy a perfect internal climate. No more worrying about the inefficiency that the factory A/C systems were known for. Whether it’s a hot summer day or a long drive, you’ll feel cool and relaxed inside, no matter the heat outside. The system now ensures that you’re always comfortable, making every ride more enjoyable.

we can see the evaporator, which has been professionally cleaned, checked, and is now waiting for reassembly and the installation of a new TXV expansion valve for improved cooling efficiency."
we can see the air and heating distribution system, which has been completely disassembled, thoroughly cleaned, and is now ready for reassembly to restore its optimal performance
This image shows the rear heating windows that have been fully restored. The windows were carefully painted in their original red color to maintain the car's classic appearance. The interior flapper has been zinc-coated for corrosion resistance, while the spring has been chromed, providing both durability and a sleek finish. This restoration ensures that the heating system looks as good as new while functioning efficiently.
This image shows the thermal insulation installed on the roof of the vehicle, just before the OEM headliner is applied. This upgrade is part of the effort to improve both acoustic and thermal insulation in the car, significantly enhancing comfort. The additional thermal insulation helps maintain better temperature control inside the cabin, ensuring more efficient A/C performance while also reducing outside noise for a quieter ride."
"This image shows the heated window installed in the Porsche 930, with new seals ensuring a perfect fit and preventing leaks. The new seals contribute to the vehicle’s overall insulation and enhance the efficiency of the heating system, keeping the cabin warm and comfortable during colder conditions."
Here we can see the complete A/C and heating distribution system installed, featuring thorough maintenance, new hoses, and restored clamps
Left Heater Flapper with Installed Cable.
Right Heater Flapper with Installed Cable. The cardboard visible there is to prevent scratching the system before installing the heating hose.
A new adjustable thermal expansion valve (TXV) from the renowned brand Danfoss was installed, featuring a calibrated orifice specifically designed for R134a refrigerant. This upgrade ensures more precise and efficient refrigerant flow control.
Here we can see the complete thermal expansion valve (TXV) kit, which includes the calibrated orifice, seals, and flare-type fittings required for installation. This TXV allows fine adjustment of the superheat for more precise thermal control.
As part of the ongoing restoration and improvements to the A/C system, the adjustable TXV has been installed on the evaporator, as shown here
Here we can see the complete thermal expansion valve (TXV) kit, which includes the calibrated orifice, seals, and flare-type fittings required for installation. This TXV allows fine adjustment of the superheat for more precise thermal control.

Electrical System

The entire electrical system was removed from the vehicle, thoroughly tested, and reinstalled with original wiring. This included the headlamp washer system, window washer system, and fuel pumps, which are often the most affected by age.

  • All relays were replaced with new ones to ensure reliability and performance.

  • The rear windshield washer switch was replaced with a new one, and the window washer switch was also upgraded to a new component.

  • The horns were restored to their original functionality.

  • The windshield washer reservoir and headlamp washer reservoir were replaced with OEM parts, along with all new hoses and both water pumps to ensure proper fluid circulation.

  • In addition, many more components were inspected, restored, or replaced to maintain the system’s integrity and ensure long-term performance.

Here we can see the restoration process of the fuse box, with all new relay bases and fuses installed. The wiring is still being organized and will be completed shortly
The new windshield and headlamp washer water reservoir, fully replaced with OEM parts to ensure optimal performance
Restored OEM horns with zinc-coated base
Restored OEM horns with a zinc-coated base, just like when it left the dealer,
Both horns look like new, fully restored with their zinc-coated base, ready installed in the Porsche 930."
As part of the electrical system, the original electric antenna also received service. The base was cleaned and zinc-plated, and new cable pass-through grommets were installed.
The sunroof was also disassembled, cleaned add a new cable and underwent maintenance outside of the car before being reassembled.
Electric Windows Door System Maintenance
As part of the Porsche 930 restoration process, the power window system underwent preventive maintenance. The internal mechanisms were disassembled, the rails and gears were cleaned, and specialized lubrication was applied to ensure smooth, quiet, and effortless operation.
As part of the Porsche 930's restoration, the power window mechanism was fully disassembled for inspection. The access cover was zinc-plated, along with the screws, to protect them from corrosion and restore their original appearance. The gears and teeth were in excellent condition, as shown in the images, so after a thorough cleaning and proper lubrication, the system was reassembled and sealed. Work performed: Zinc plating of the access cover and hardware. Detailed cleaning of internal components. Lubrication with Silicon grade grease. Smooth and quiet operation confirmed. Cleaning of rails, guides, and motor. Lubrication with silicone and Teflon-based grease. Reassembly and functionality test.
opening the mechanism, we can clearly see the excellent condition of the gears, showing no wear or damage. This confirms the system was well preserved. A deep cleaning was performed, followed by proper lubrication, and then the unit was reassembled.
The windshield wiper motor has undergone maintenance, with the shaft and arm being zinc-plated for enhanced corrosion protection
New Conector for h4 headlight New rubber seal for headlight add
The taillight connectors in the engine bay are in excellent condition, as shown
The OEM taillights were restored and powder-coated on the exterior for enhanced durability
New license plate lights have been added
The female connector for the taillights is in perfect cosmetic and functional condition
The wiring harness hooks have been coated with black heat shrink tubing, as shown in the image
The taillight wiring harness is now securely in place
The license plate light wiring runs through the rear bumper
This relay, known as the "cut-off relay," is responsible for keeping the ignition system energized for a few seconds after the engine is shut off. Its function is to burn off any residual fuel emitted by the injectors during shutdown, ensuring a quicker and smoother start the next time the engine is cranked. This relay is often bypassed when it fails. In our case, it was no longer functional, so we brought it back to life by replacing the faulty NPN transistor and the Zener diode. A custom Arduino-based test bench was used to simulate and verify its post-shutdown behavior, making the demonstration both functional and visually engaging.
Here we can see the internal view of the relay, showing that the coil is in perfect condition with a strong original copper color, and the capacitor is also in excellent shape. This specific relay model has become very hard to find, so we decided to restore it instead of replacing it. The damage was minimal and repairable, making it a great candidate for preservation and reuse in this original system.
The seatbelt warning module was fully restored and calibrated. Both the buzzer and flashing light functions are active and tuned to the original factory behavior — a detail rarely functional on other units currently for sale.
The potentiometer visible in the image is part of the original adjustable design. It allows fine-tuning of the buzzer and seatbelt warning light duration, from as little as 1 second up to 30 seconds. We have calibrated it to 10 seconds, but the timing can be easily adjusted using a small flat screwdriver.
New Starter Massey Ferguson

Interior

This image shows the thermal insulation installed on the roof of the vehicle, just before the OEM headliner is applied. This upgrade is part of the effort to improve both acoustic and thermal insulation in the car, significantly enhancing comfort. The additional thermal insulation helps maintain better temperature control inside the cabin, ensuring more efficient A/C performance while also reducing outside noise for a quieter ride."
New Headliner in process of Installing

Engine Overhaul

Engine Overhaul

In this section, you’ll see part of the engine overhaul process. Unfortunately, since this project started about two years ago, I didn’t initially plan to document every step, so by the time I decided to create this page, the long block had already been assembled.

That said, it’s important to note that this engine was fully rebuilt, with all internal components replaced, including bearings, piston rings, and everything necessary to bring it back to optimal condition.

At the end of this section, under invoices and receipts, you’ll find proof of purchase for all components used during the rebuild.

During the engine rebuild, special attention was given to the precise alignment of the camshaft gears. Proper cam timing is essential for optimal engine performance, ensuring accurate valve operation and preventing premature wear or power loss. A custom 3D-printed alignment tool was used during the process to replicate factory specifications and improve precision during reassembly.
Here we can see the octopus pipe installed on the engine along with its injectors. The pipe was powder coated for enhanced durability, and the injectors, which were in perfect working condition, were galvanized. As shown in other images, their tips are flawless — which is precisely the part most commonly damaged in these components.
The air injection system was fully restored. The check valve was ultrasonically cleaned, function-tested, and zinc-coated to preserve both its integrity and original appearance. The diverter valve underwent the same process: ultrasonic cleaning, function verification, and zinc plating. The rigid pipe that distributes air to the injectors was carefully decarbonized, internally inspected, and powder coat, maintaining its original design and appearance.
The air injection check valve was fully restored. It was ultrasonically cleaned, function-tested, and zinc-coated to preserve its original appearance and protect it against corrosion.
air injection restored filter housing
The air injection check valve was fully restored. It was ultrasonically cleaned, function-tested, and zinc-coated to preserve its original appearance and protect it against corrosion.

In this video, we show the cam timing setup at 0.028 inches, which corresponds to approximately 0.71 mm.

The manufacturer’s recommended range is between 0.65 mm and 0.80 mm, placing this setting well within spec. Accurate timing within this range ensures proper valve overlap and optimal engine performance, particularly under boost.

Turbo System Rebuild

A brand new Borg Warner K27 turbo was installed as part of the restoration process
Borg Warner Turbo
The completely disassembled wastegate received zinc plating, cleaning, new studs, nuts, and bolts. Here you can see the protection on the spring to prevent rust in the future."
powder coat high temperature
As part of the restoration of the turbocharging system, we rebuilt and tested the wastegate valve by replacing the diaphragm, studs, nuts, and bolts, zinc-plating the dump tube, and resurfacing the exhaust valve.
high temperature powder coat
yellow zin coating bolt and zinc plating pipe
news studs zin plating
Here we can observe the wastegate valve during a 0 bar pressure test, remaining fully closed as expected. Ensuring a proper seal at zero pressure is critical in turbocharged engines, as any leakage through the wastegate can lead to slower spool-up times and reduced boost efficiency. A fully sealed wastegate at rest guarantees that all exhaust gases are directed toward the turbine, allowing the turbo to build boost faster and operate more efficiently under acceleration. In this particular setup, the wastegate begins to open gradually at approximately 1.1 bar and reaches full opening at 1.4 bar, providing controlled boost regulation and protecting the engine from overboost conditions.
In this image, the wastegate valve is shown fully open at 1.4 bar of pressure. This confirms the correct operation of the boost control system. A consistent and predictable full opening at 1.4 bar ensures that excess exhaust pressure is safely diverted, preventing overboost and protecting the engine. The gradual actuation starting around 1.1 bar and reaching full opening by 1.4 bar allows for smooth boost regulation and optimal turbocharger performance under load.

This video demonstrates the wastegate operation described in the previous images.

It visually confirms the valve remains fully closed at 0 bar, begins to open gradually at approximately 1.1 bar, and reaches full opening at 1.4 bar. This behavior is essential for efficient boost control, allowing the turbocharger to perform optimally while protecting the engine from excessive pressure.

Oil Cooler System

A New Radiator Was Installed
oil pipes in perfect status
News Radiator hoses
Cleaner and inspection the oil thermostat

Invoices And Receipts

In this invoice, you’ll notice a few items that were not ultimately used, such as a pair of tail lights that turned out to be for European-spec vehicles. These purchases were made in France, and although that detail didn’t work out, the rest of the components were used in the restoration process. This is part of the learning curve and adjustments that come with working on classic cars—especially when dealing with specific variants like the US-market Porsche 930.
Views 197
229
Scroll al inicio